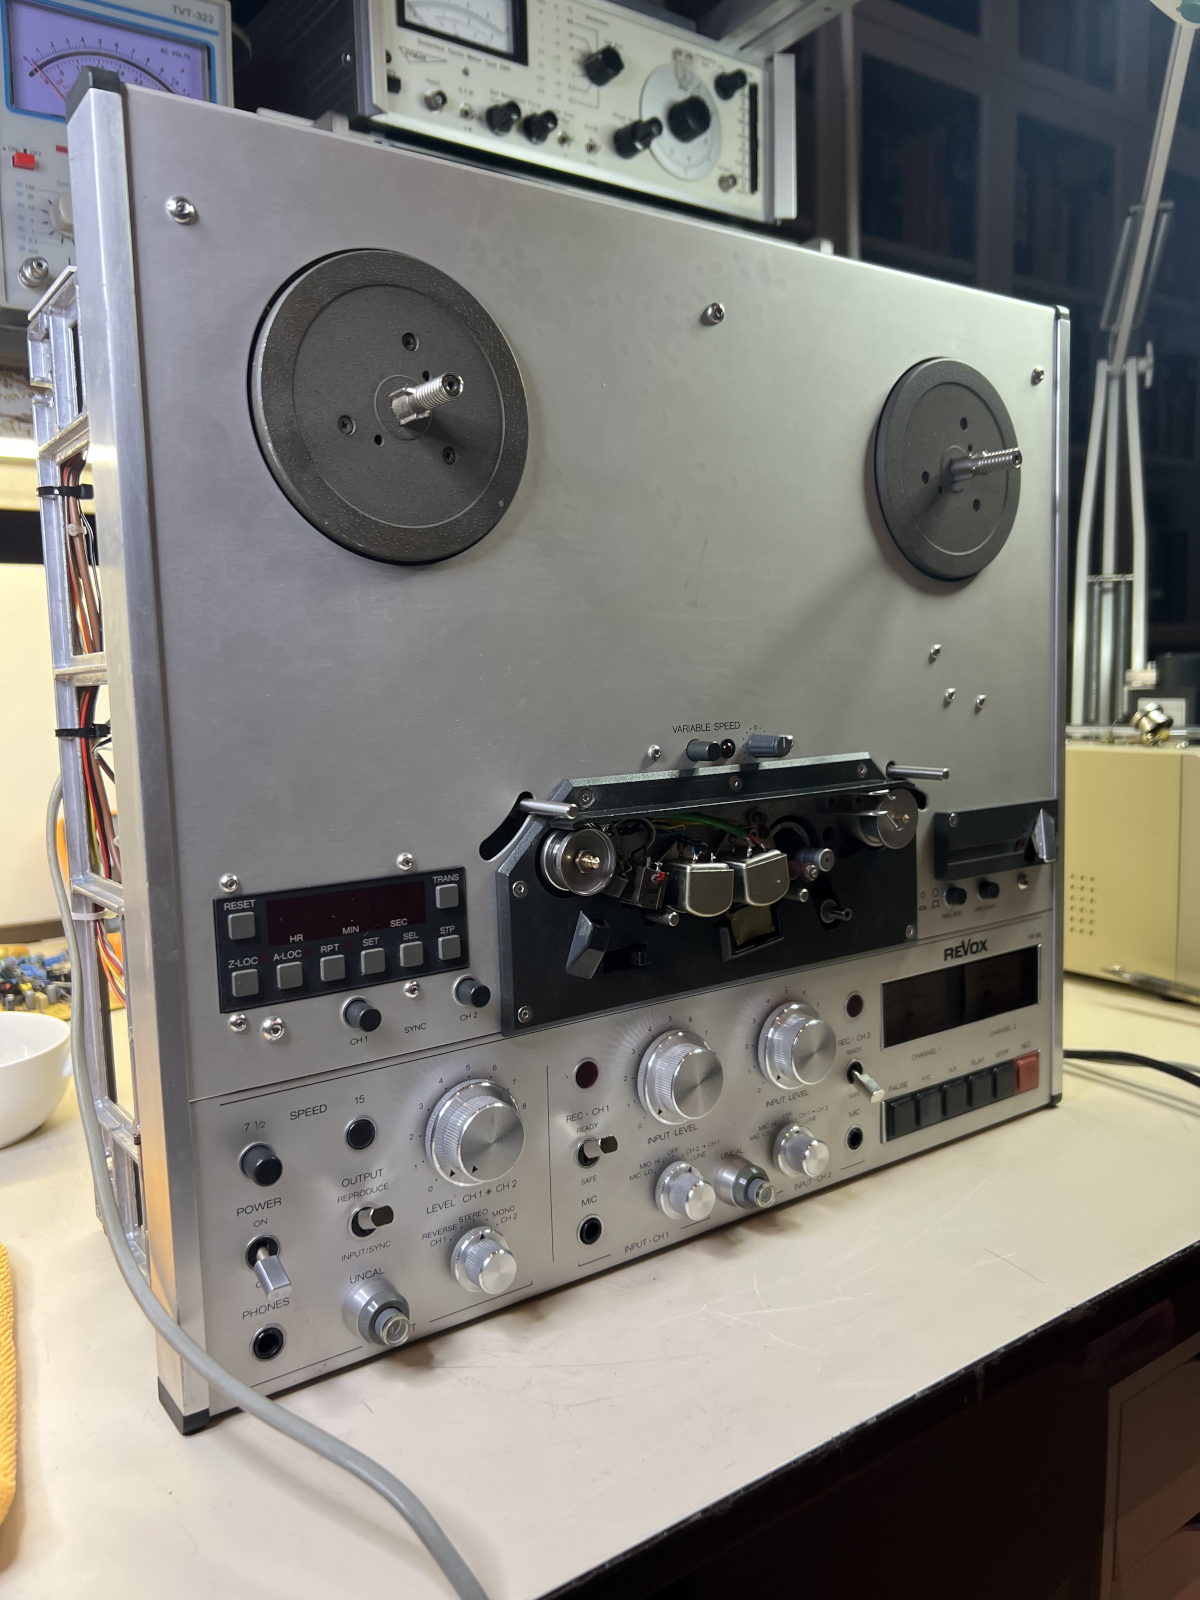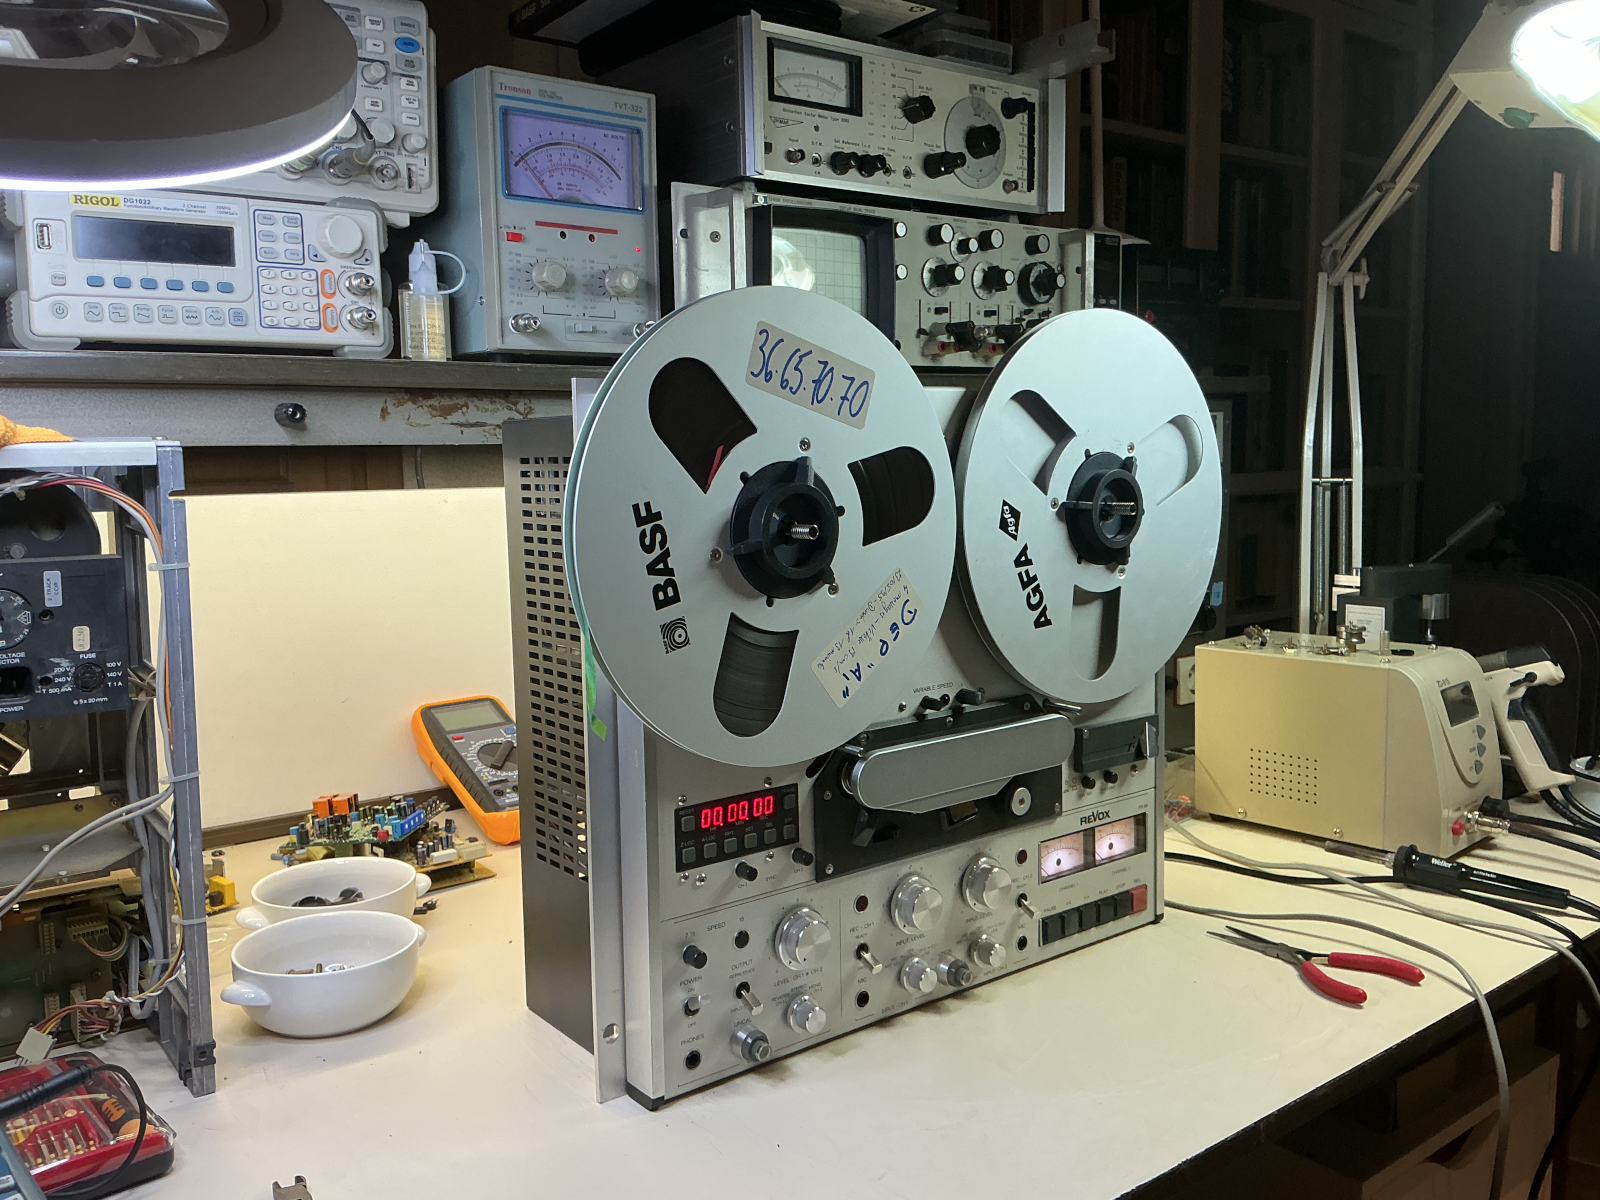





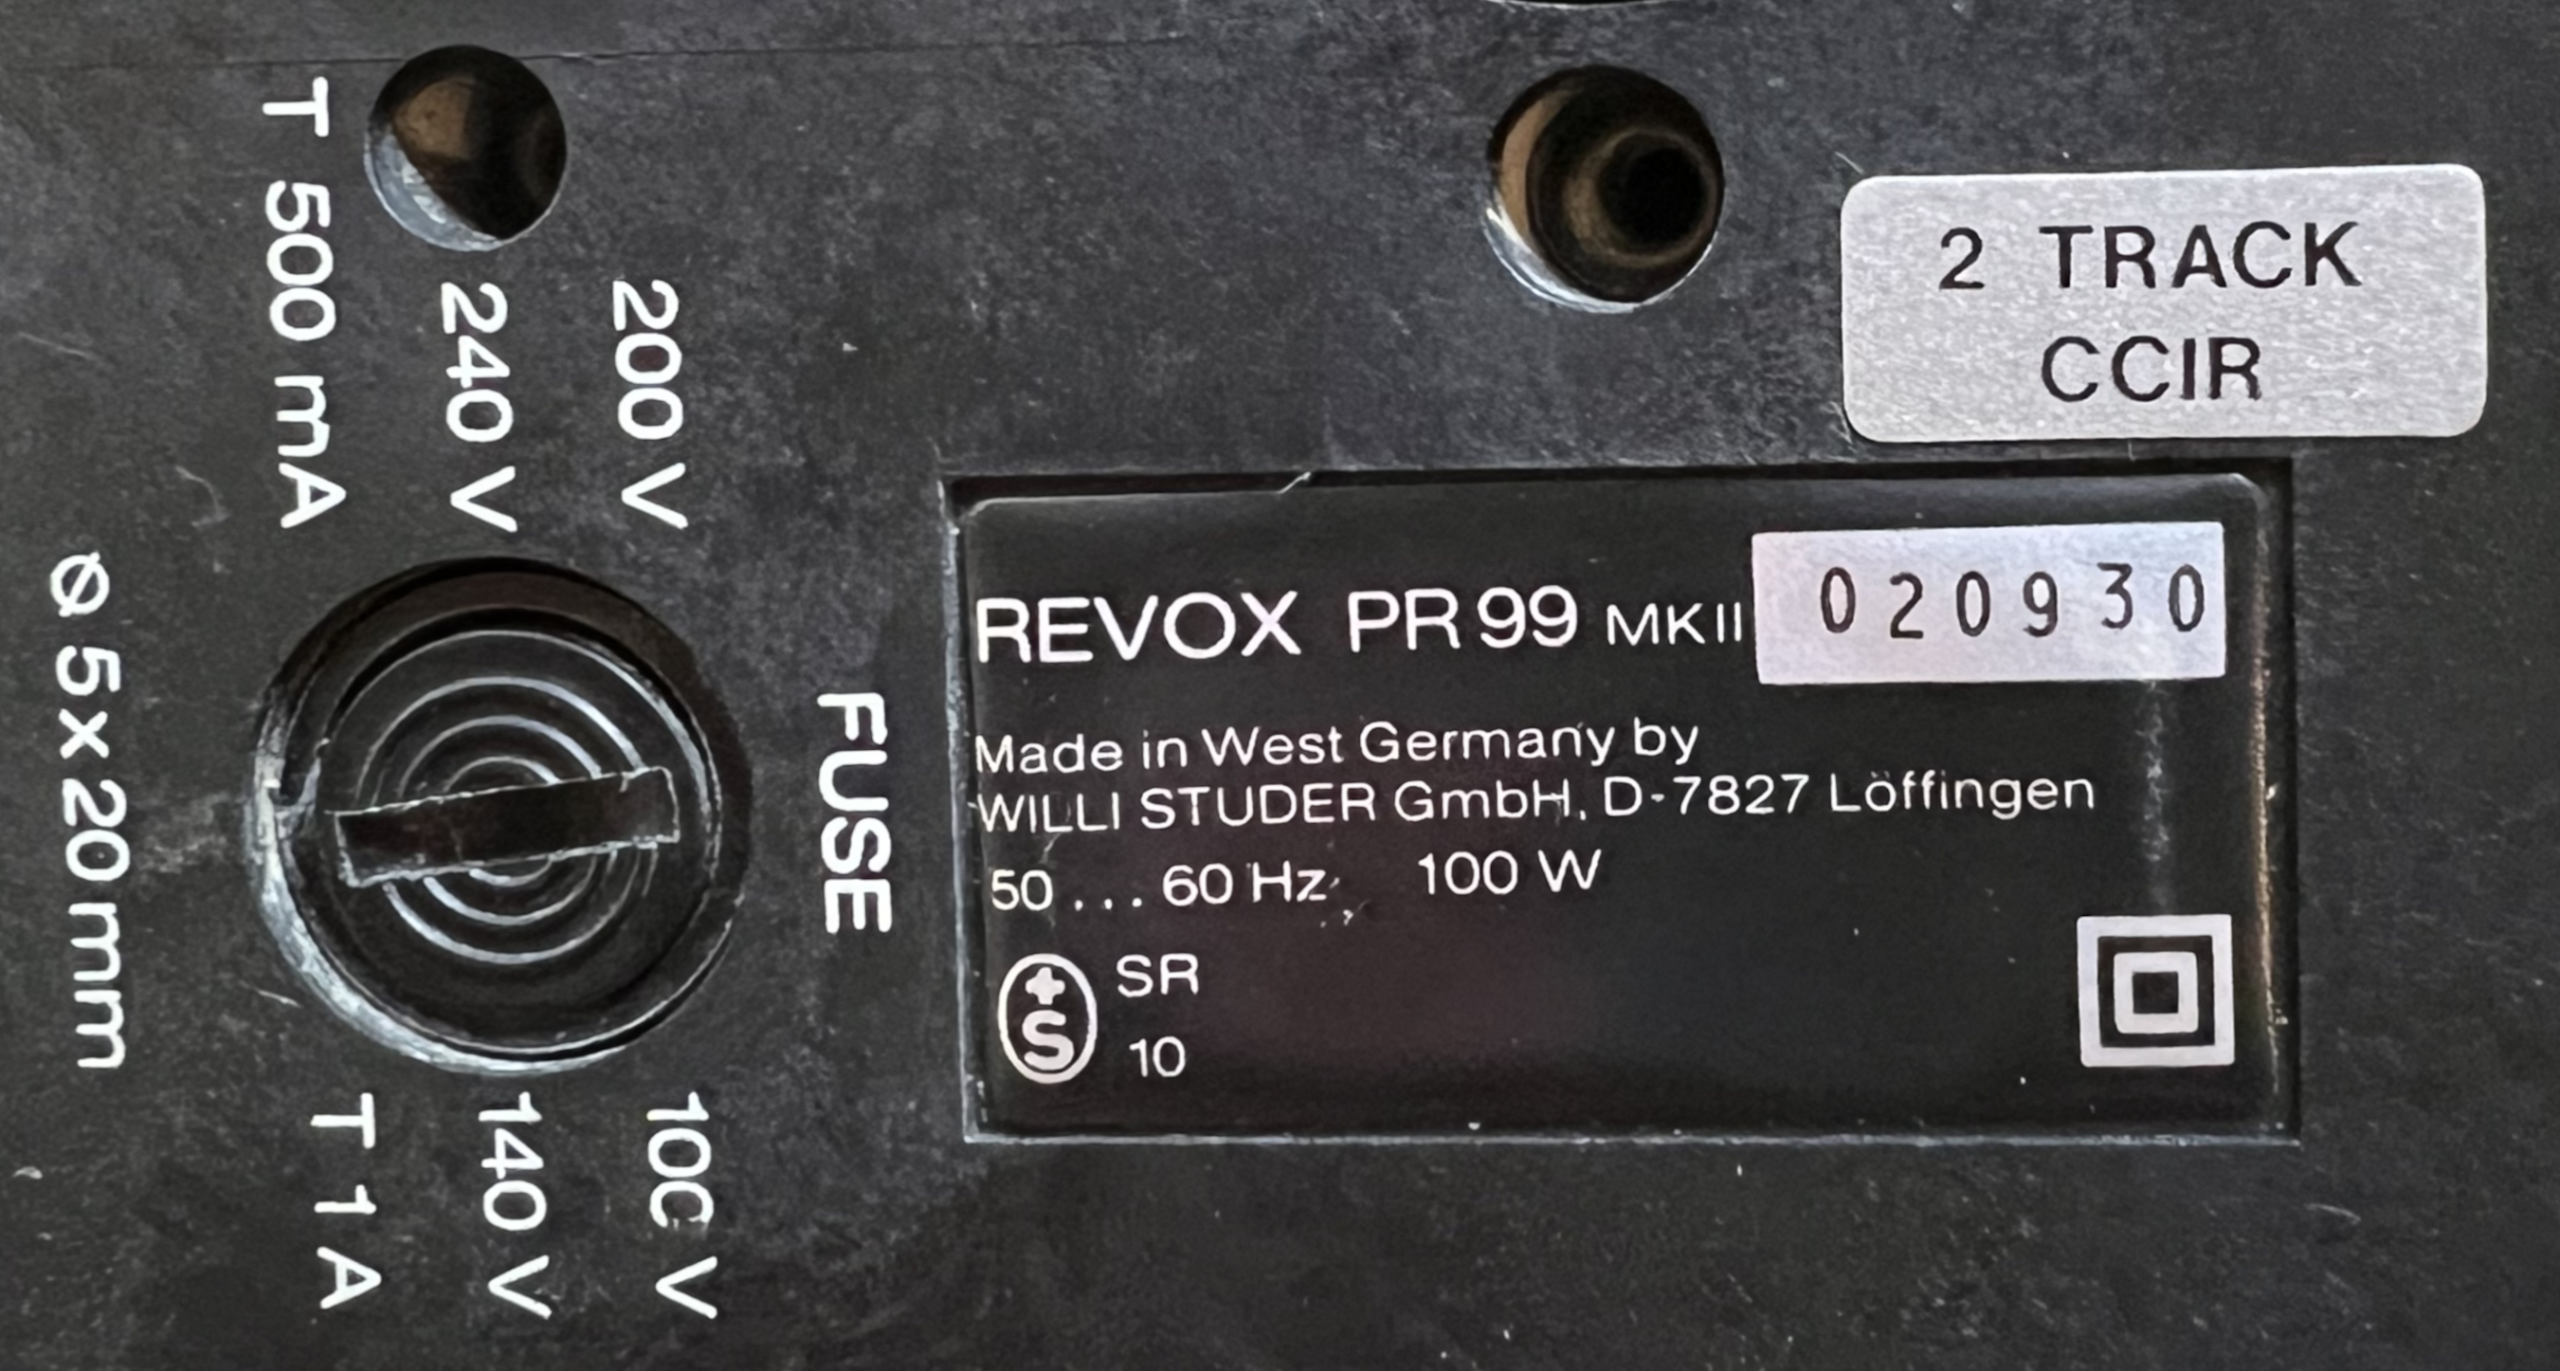
Late May, 2026, a friend from the village mentioned that he had a Revox tape recorder “somewhere” and asked if I’d be interested. He thought it was an A700. Now, I’m not a big fan of the model but it probably wouldn’t hurt to have a look.
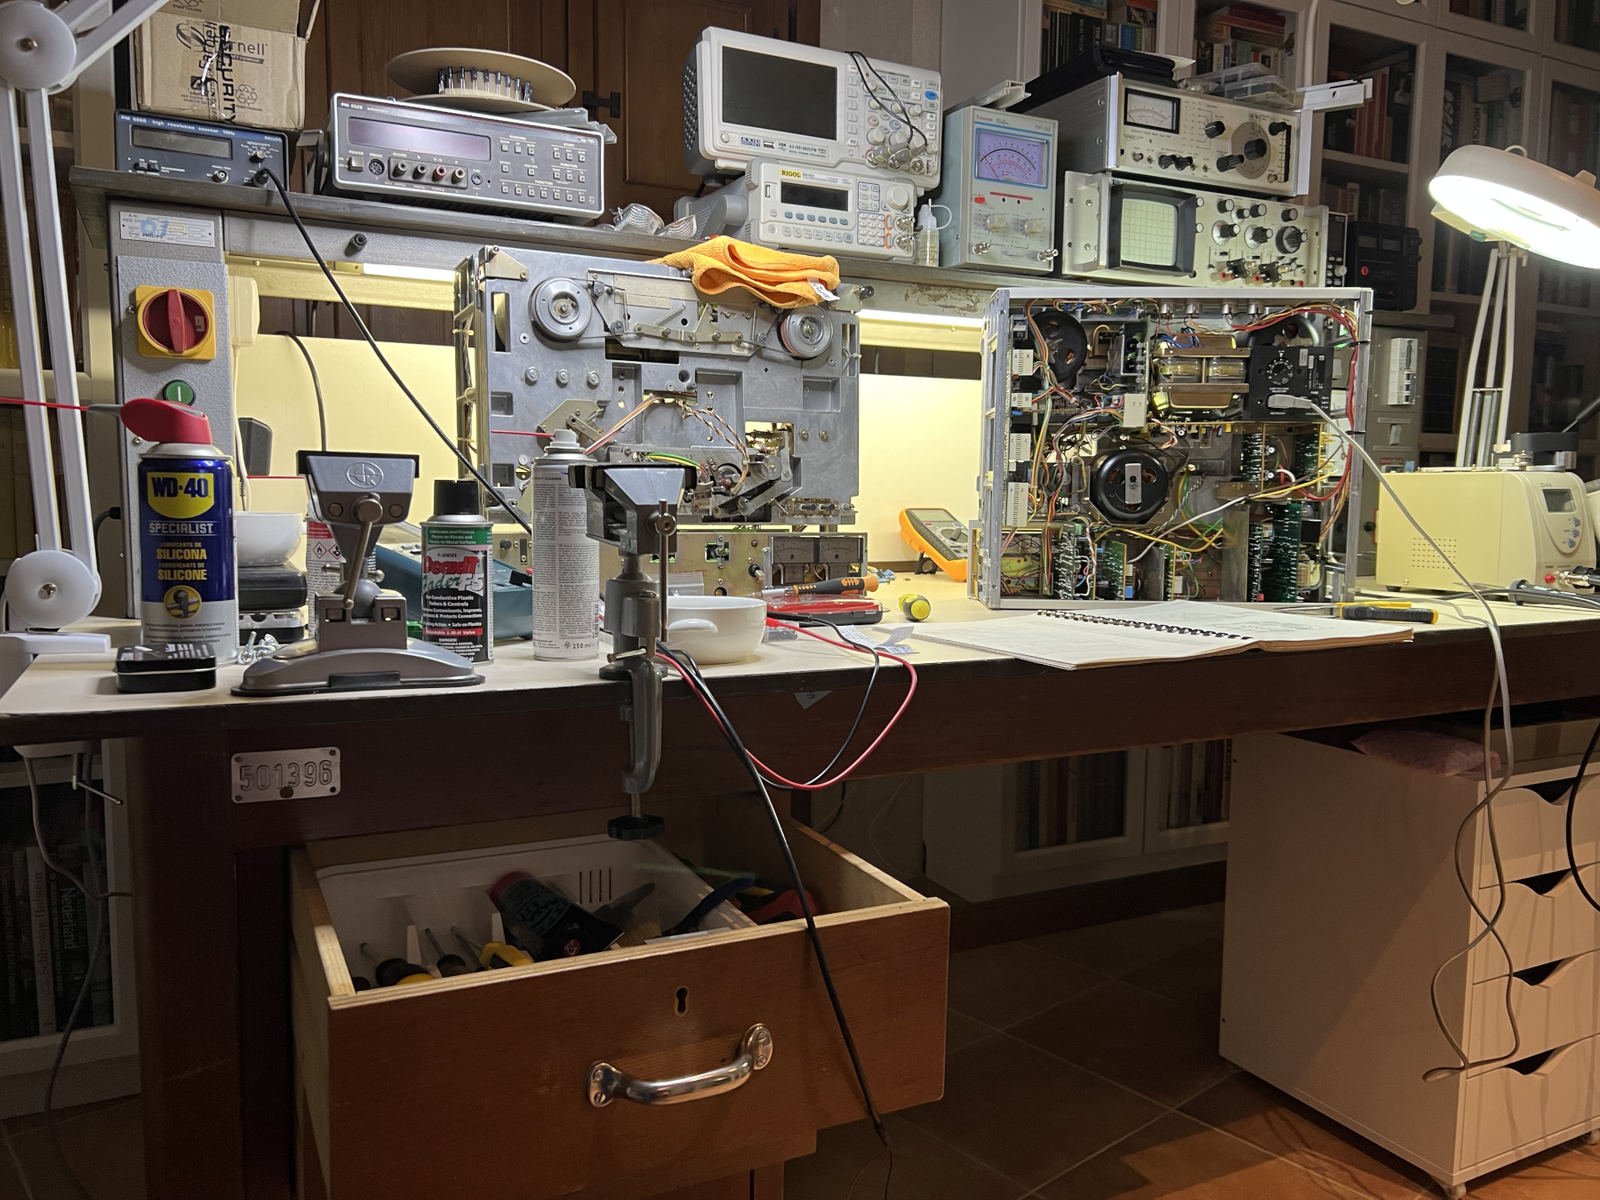
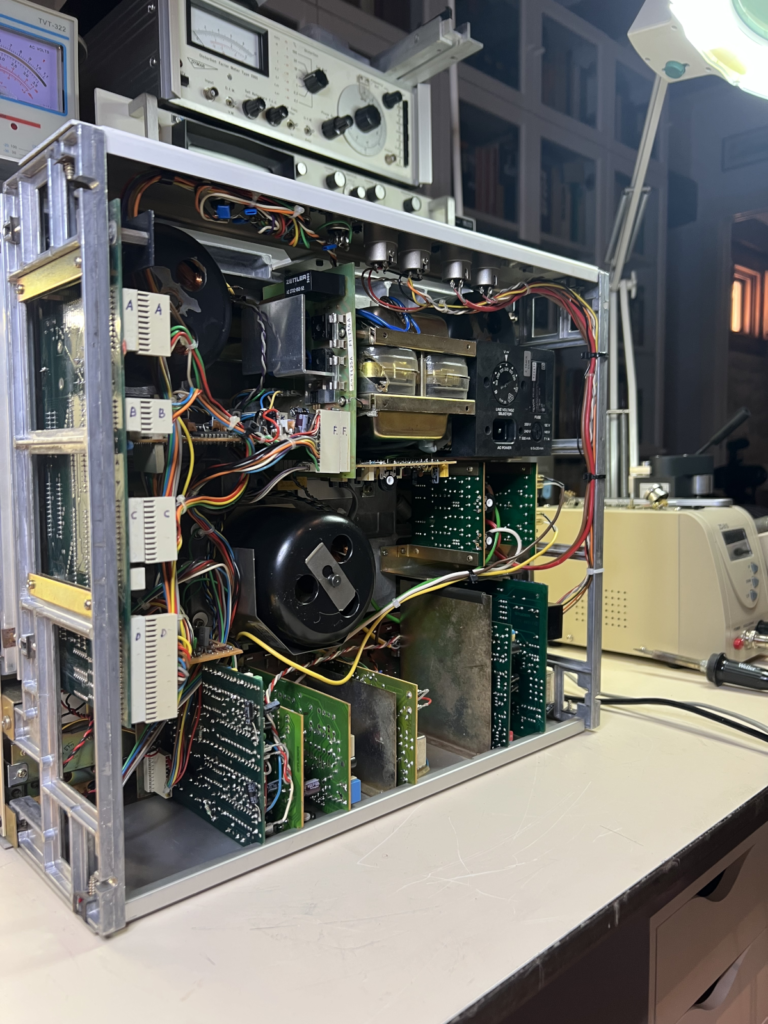
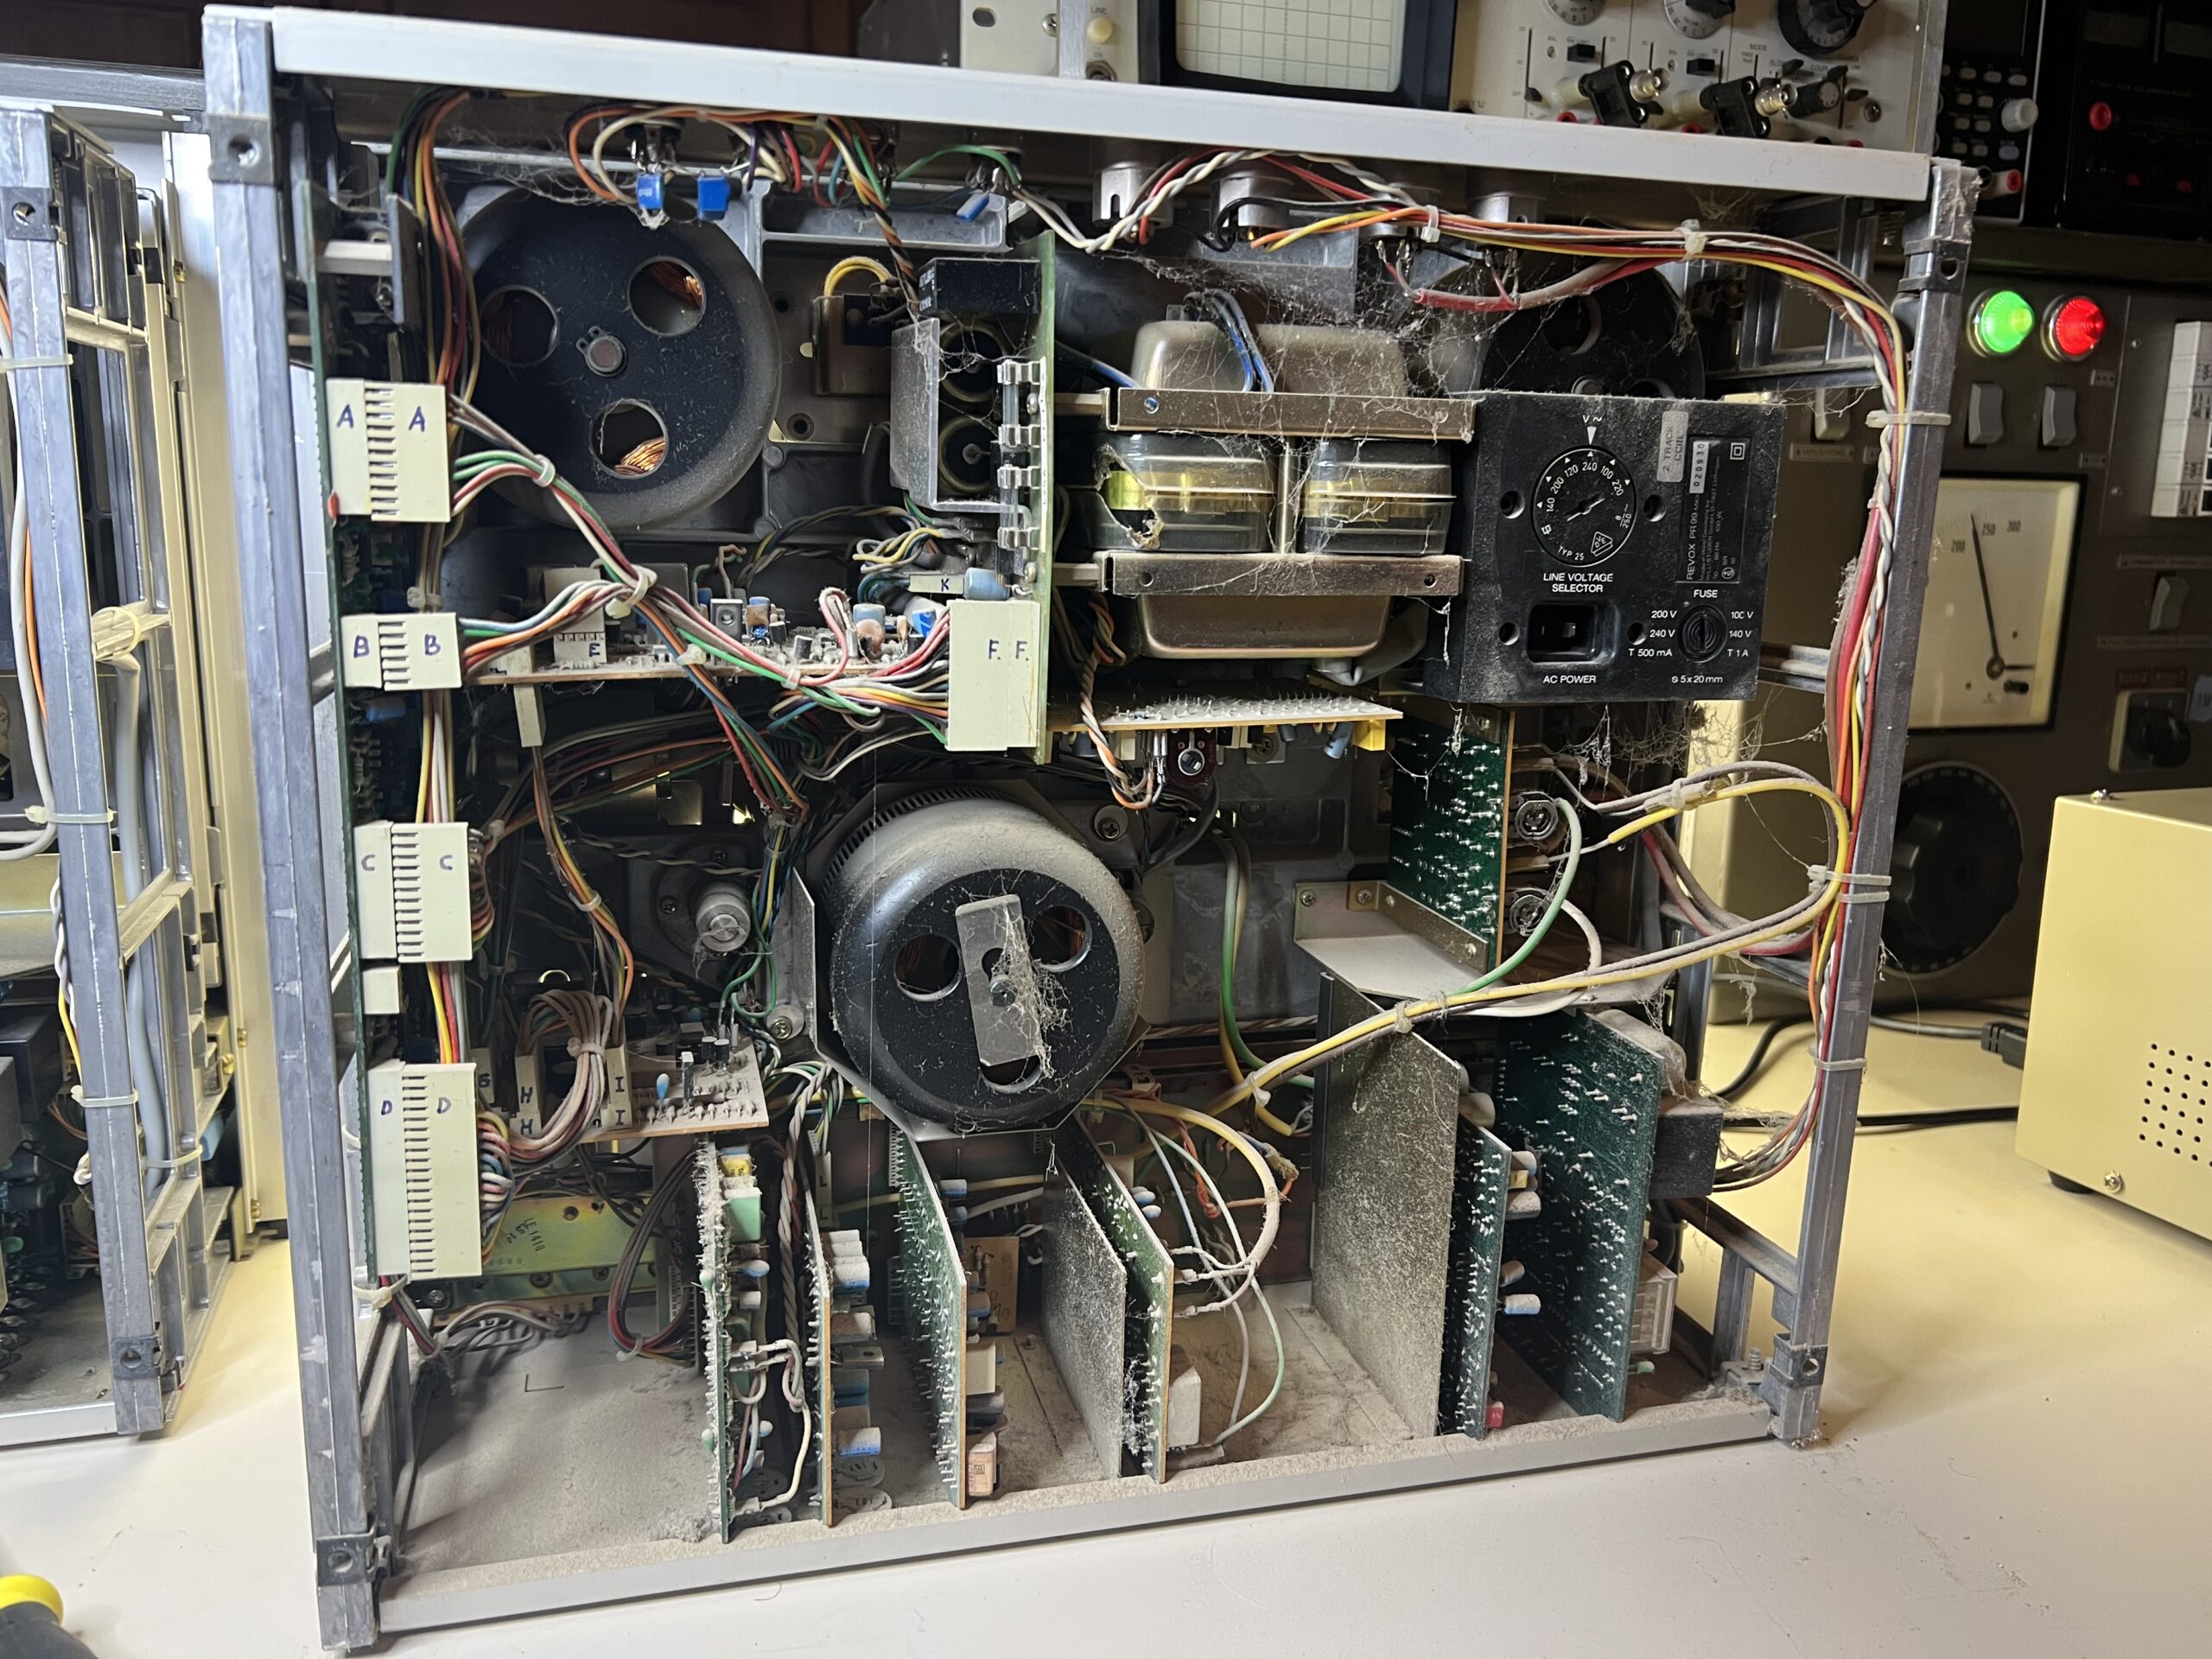
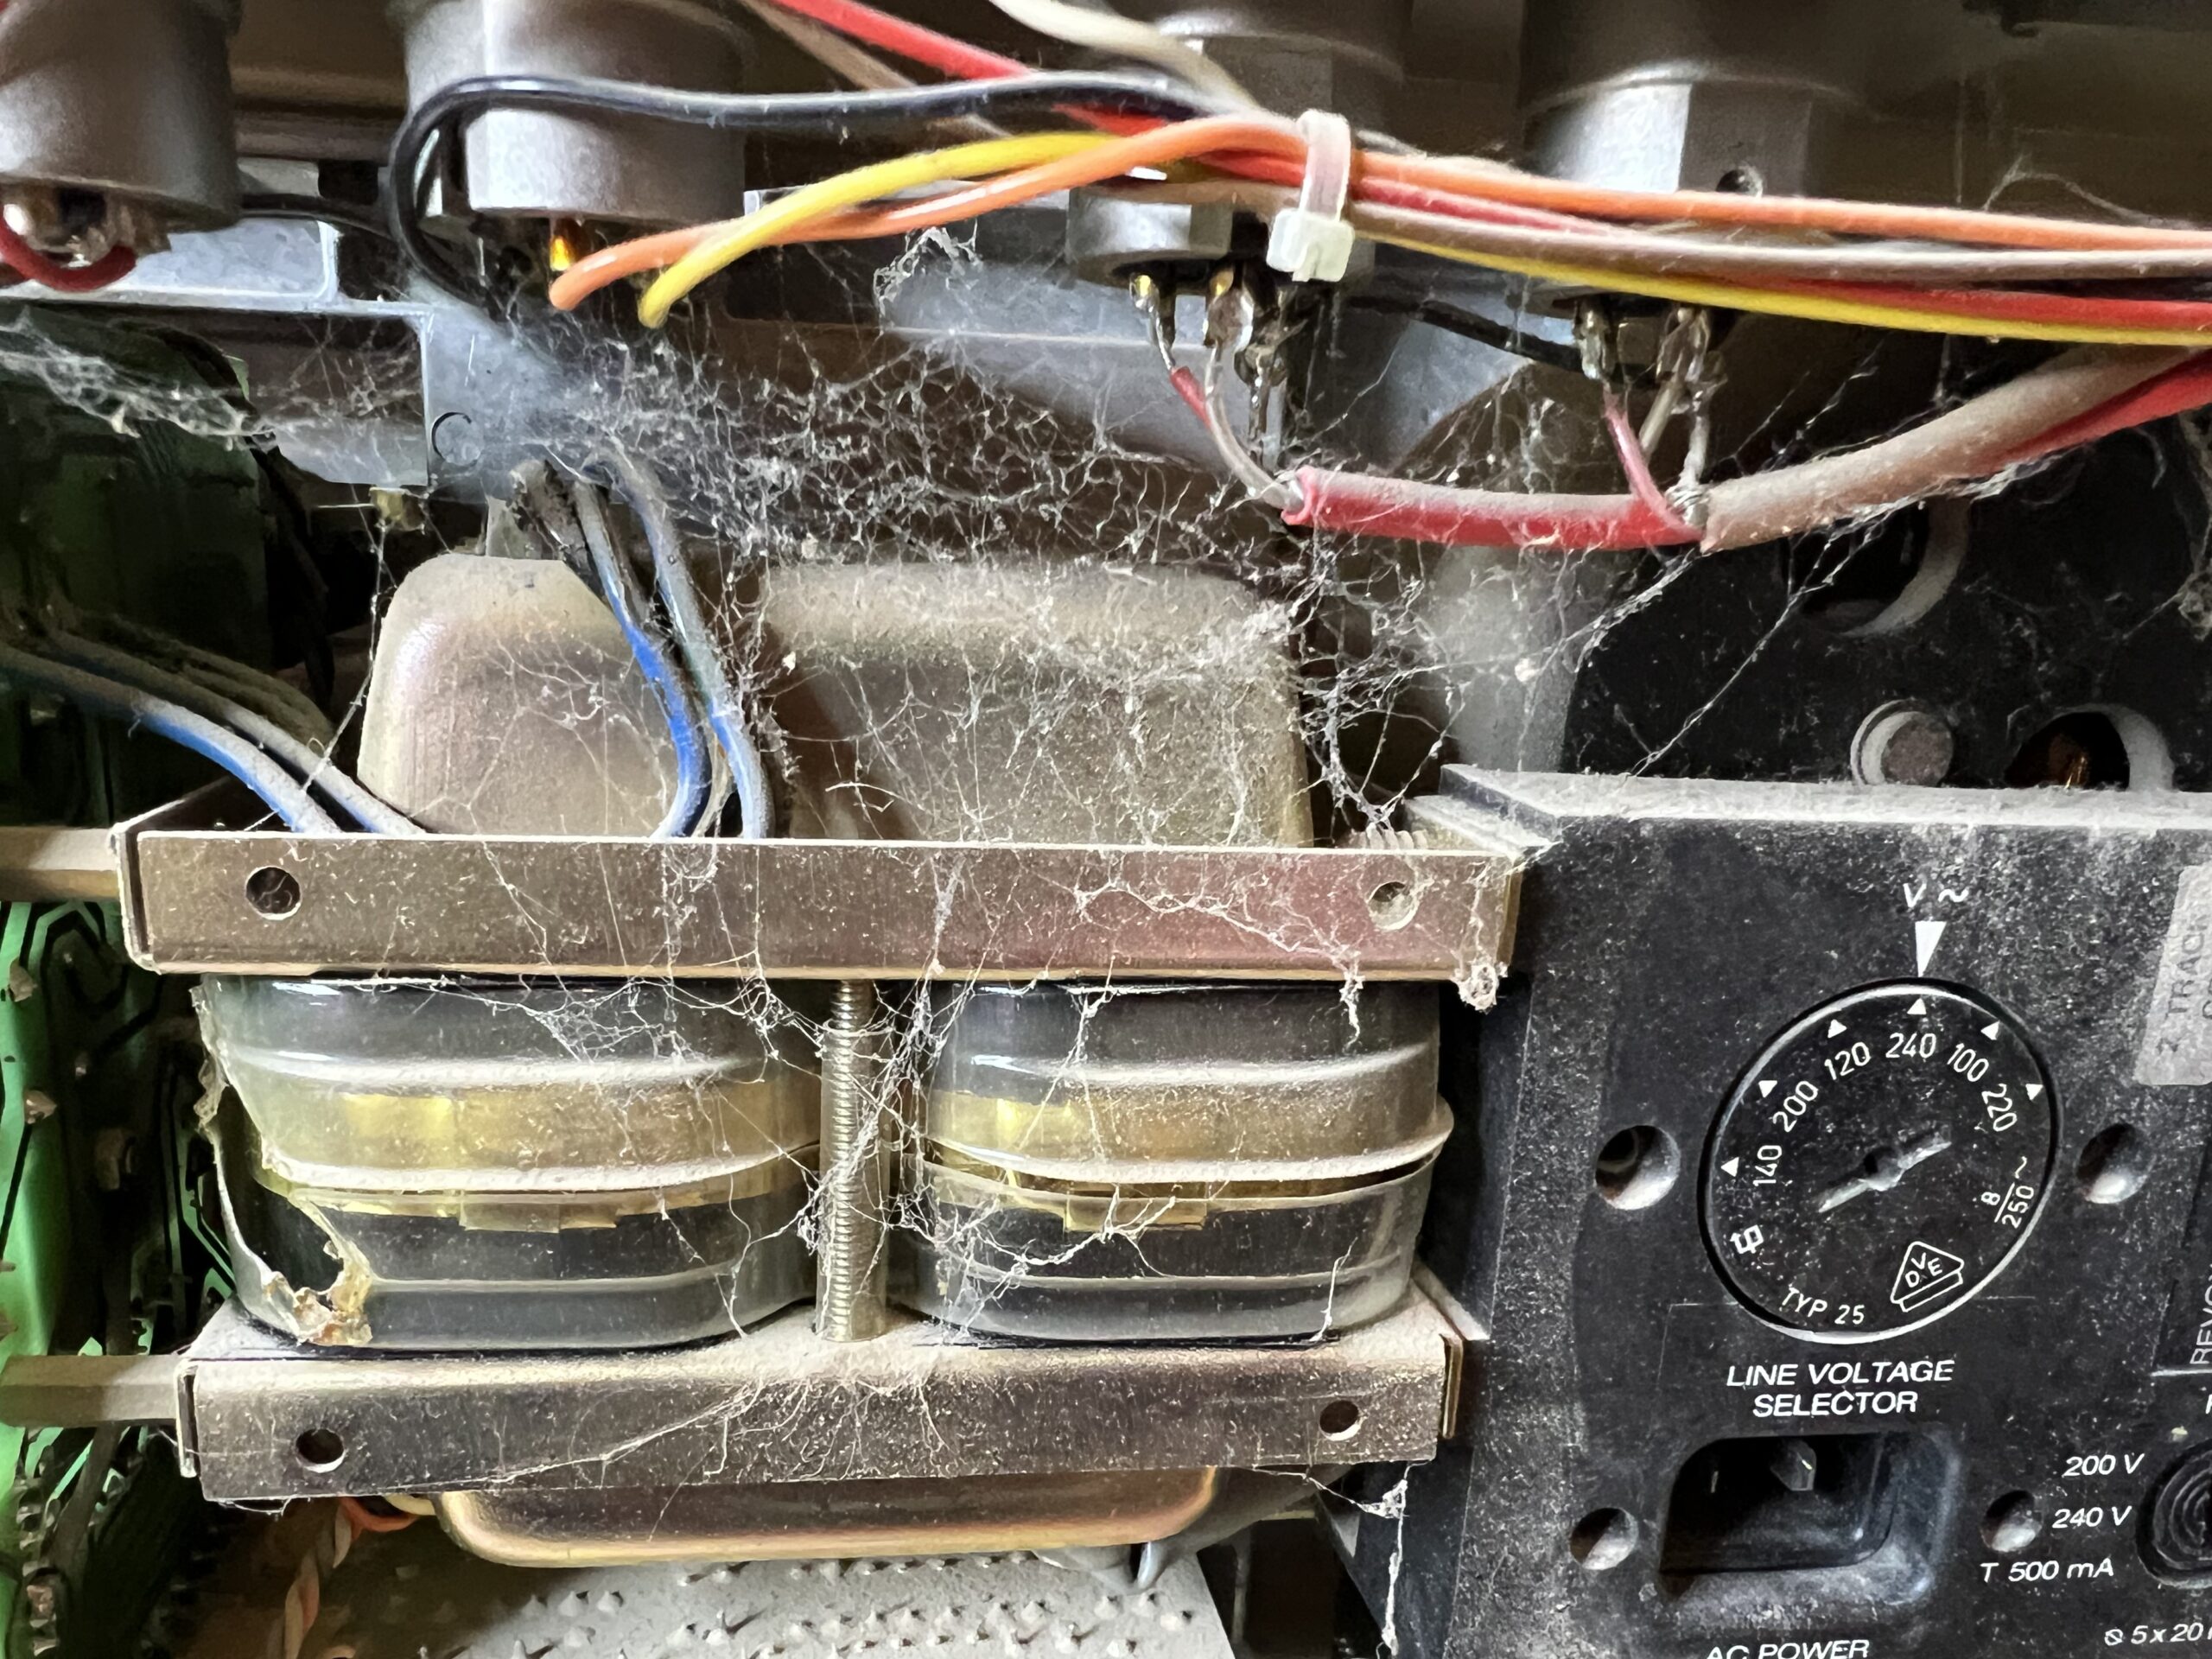
About a week later a PR99mkII arrived: a welcome stroke of luck. The machine seemed whole, albeit covered in dust and cobwebs inside out. A deal was soon struck. Once on the workbench and with its innards exposed, it became instantly clear that a full teardown was in order. It took a day or two to pry the PR99 apart. Remarkably, a well-preserved PR99 appeared from underneath all that barn dust.
After cleaning odd bits of hardware, and subjecting the cast aluminum chassis parts to a water jet at the local carwash, reassembly could start. Motor bearings and capacitors, tape guides, led lights, switches, etc. have been ordered.
Early next week the record and playback heads are off to Summertone in the UK for relapping. The reel tables are off to Switzerland for a Nextel treatment by Techtrader.
Work Performed
- Complete strip down
- Ultrasound cleaning of all mechanical parts
- 3 Motor capacitors replaced
- Bearings (4) in reel motors replaced with SKF
- Bearing capstan motor replaced with SKF
- Bearing for left-hand roller tape guide replaced with SKF
- 2 new brake bands installed and adjusted
- Installed metal levers (3) in toggle switches
- Cleaned and lubricated all rotary switches
- Cleaned all potentiometers
- Reseated and cleaned all receptacles
- Upper face plate thoroughly cleaned
- All new screws on face plate
- All electrolytic capacitors replaced with Panasonic caps
- All trimmers replaced with sealed Piher & Bourns models
- All relays overhauled
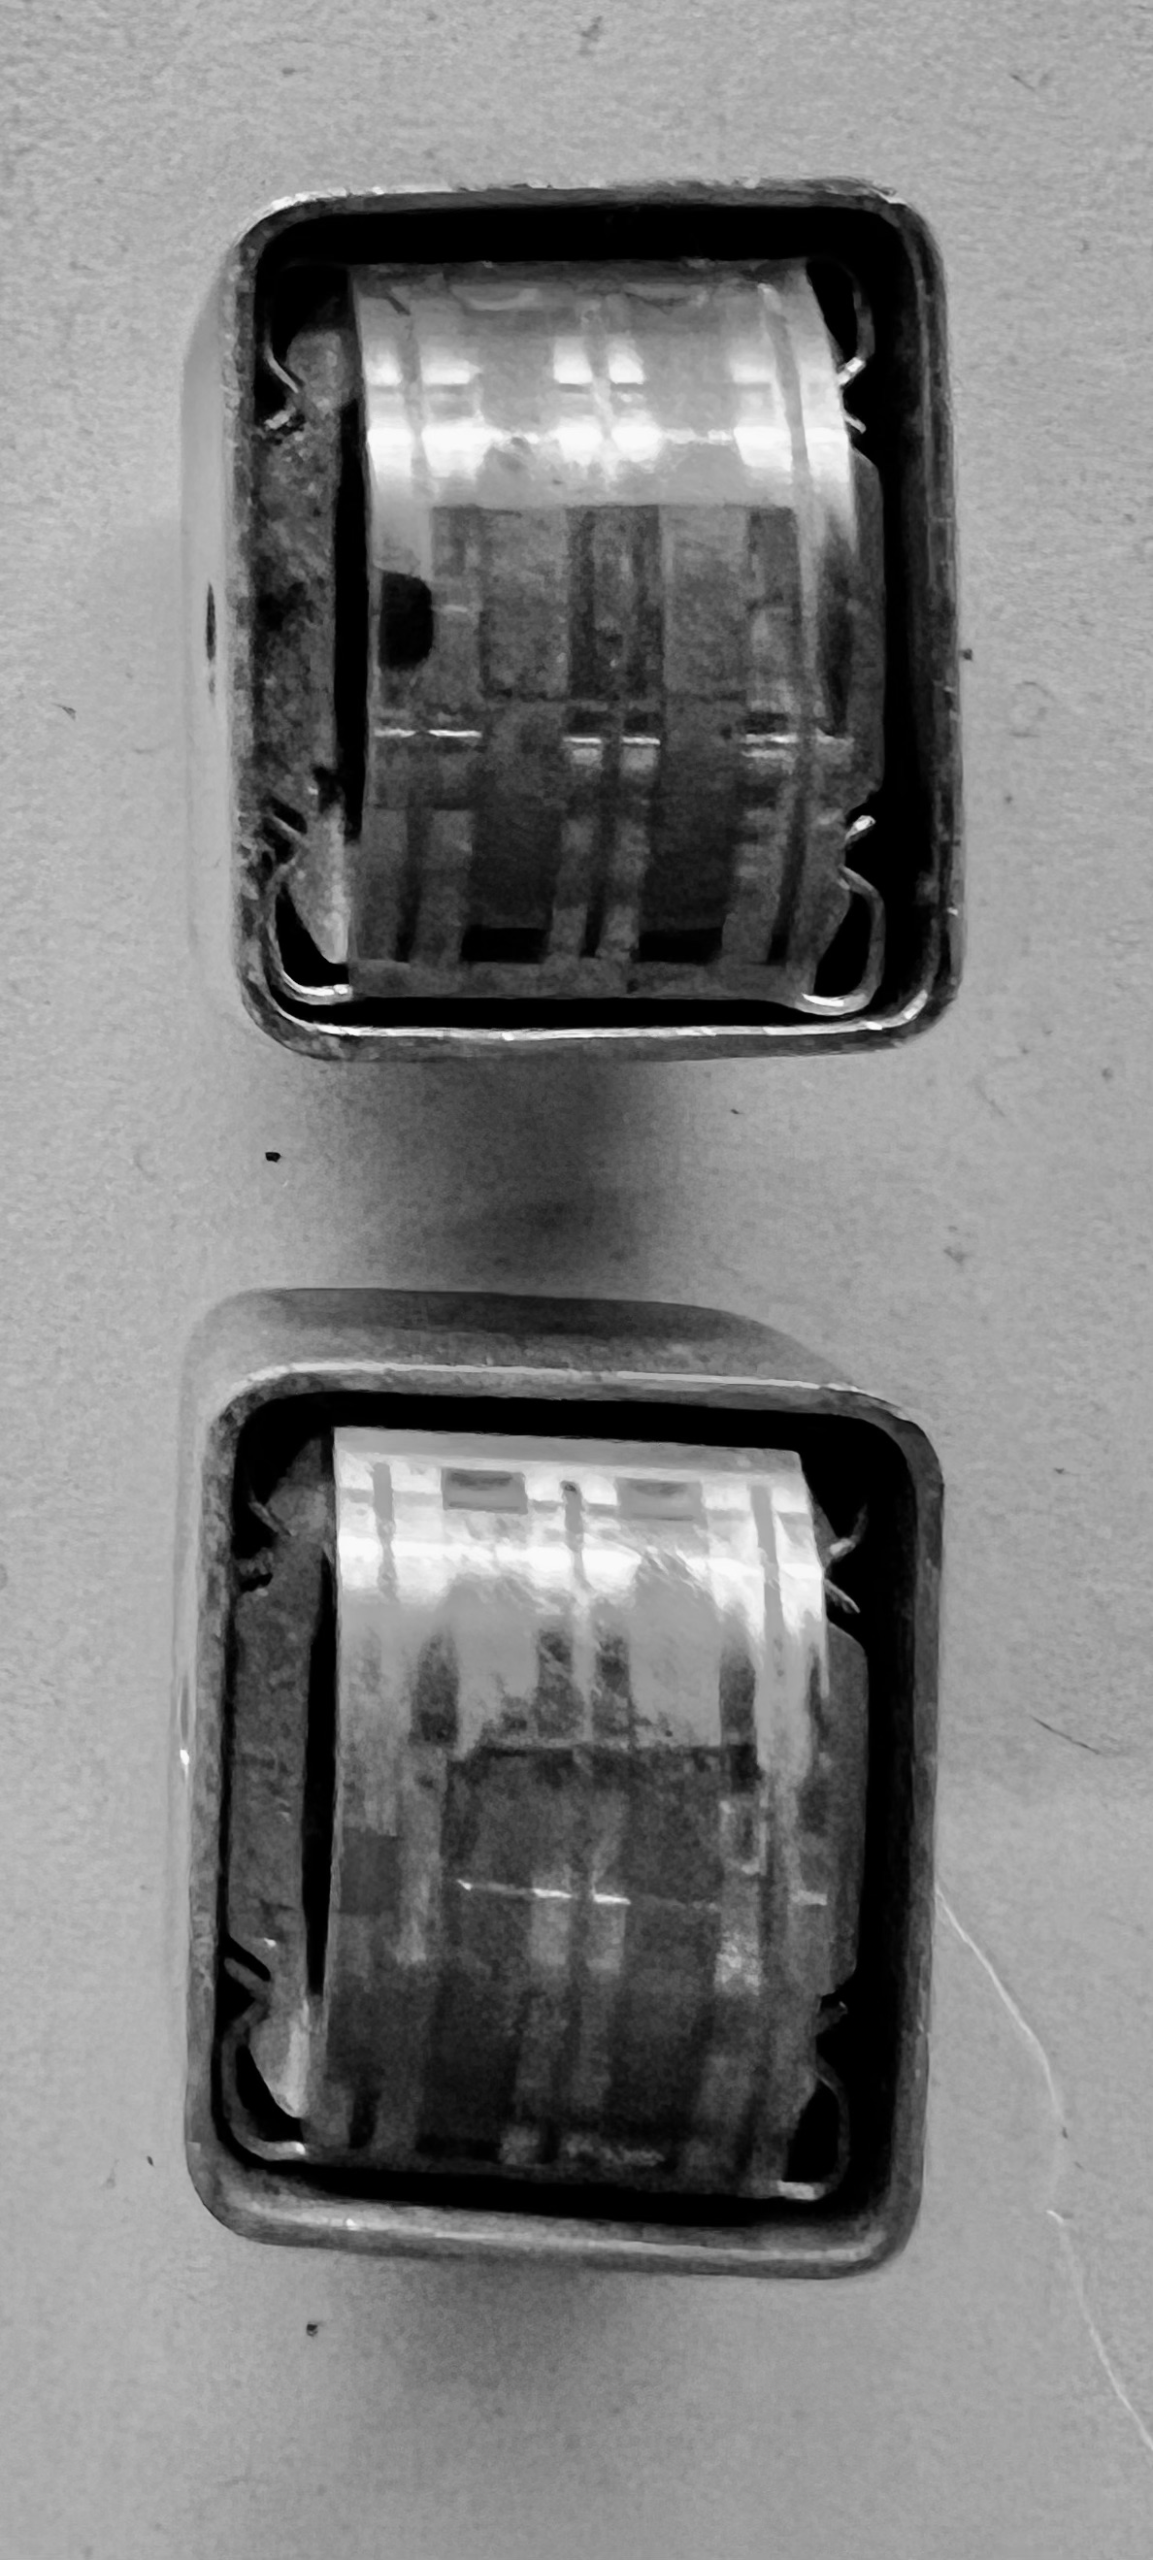
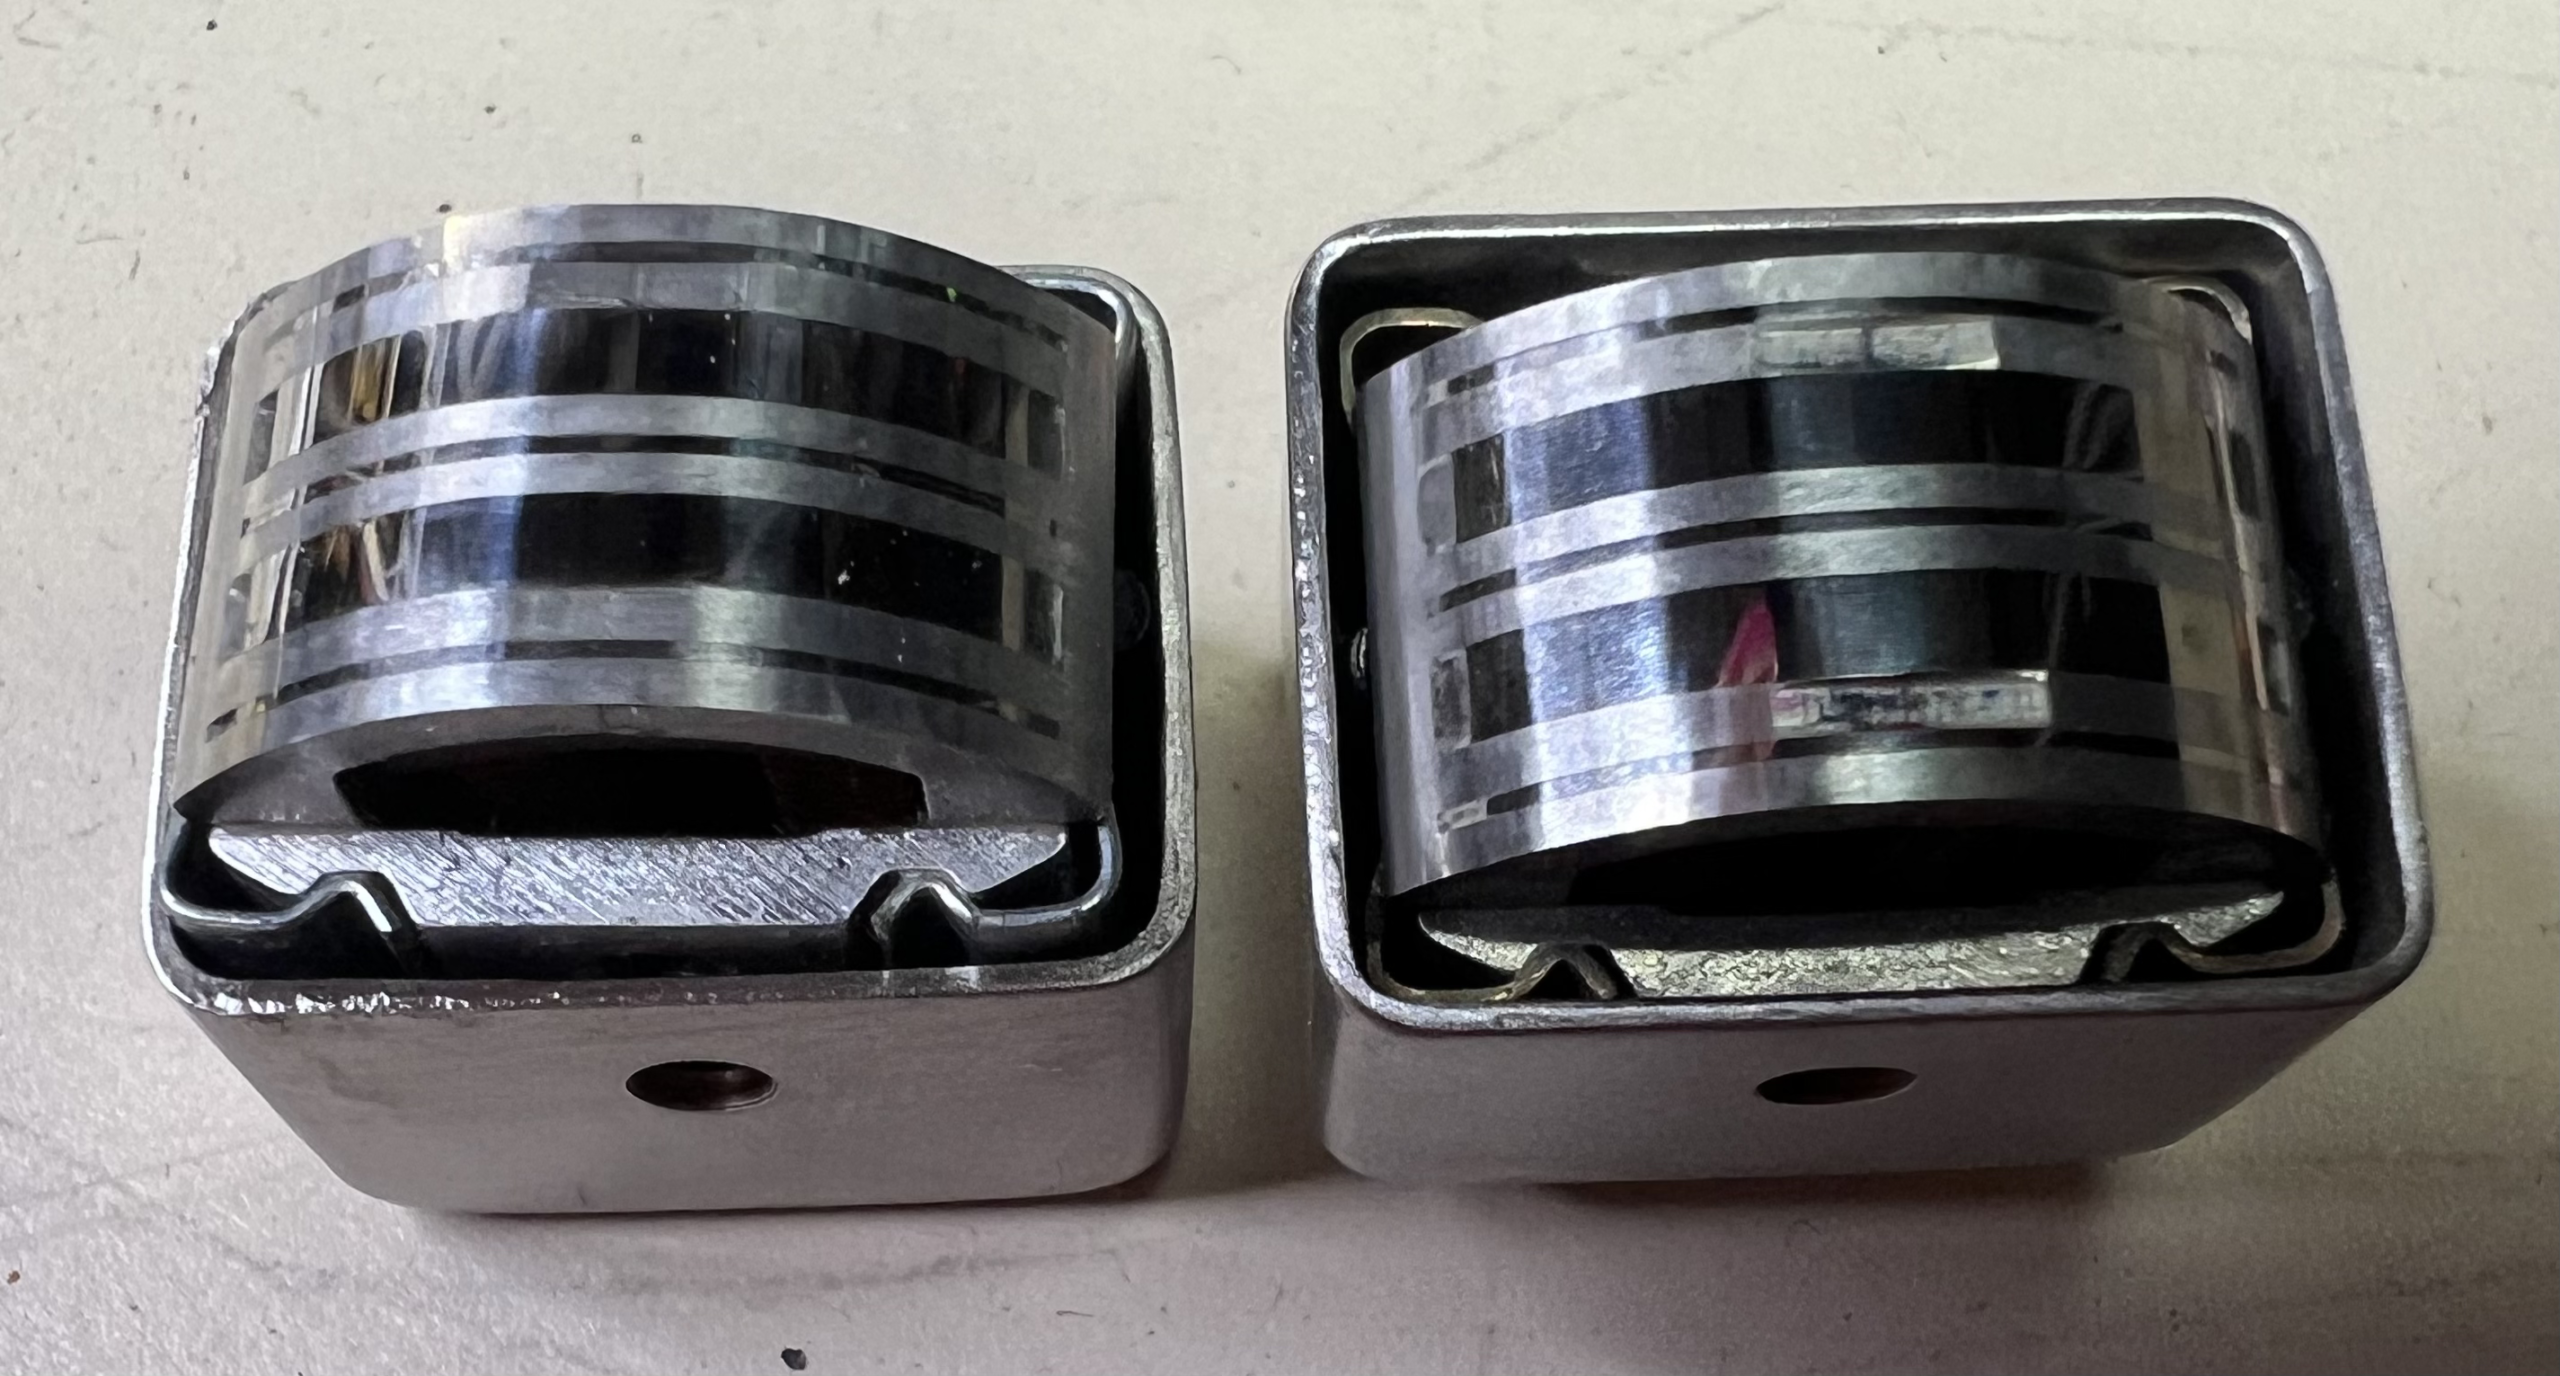
- 3 heads (erase, recording & play back) reworked & relapped
- Tape path realigned
- Reel table height adjusted
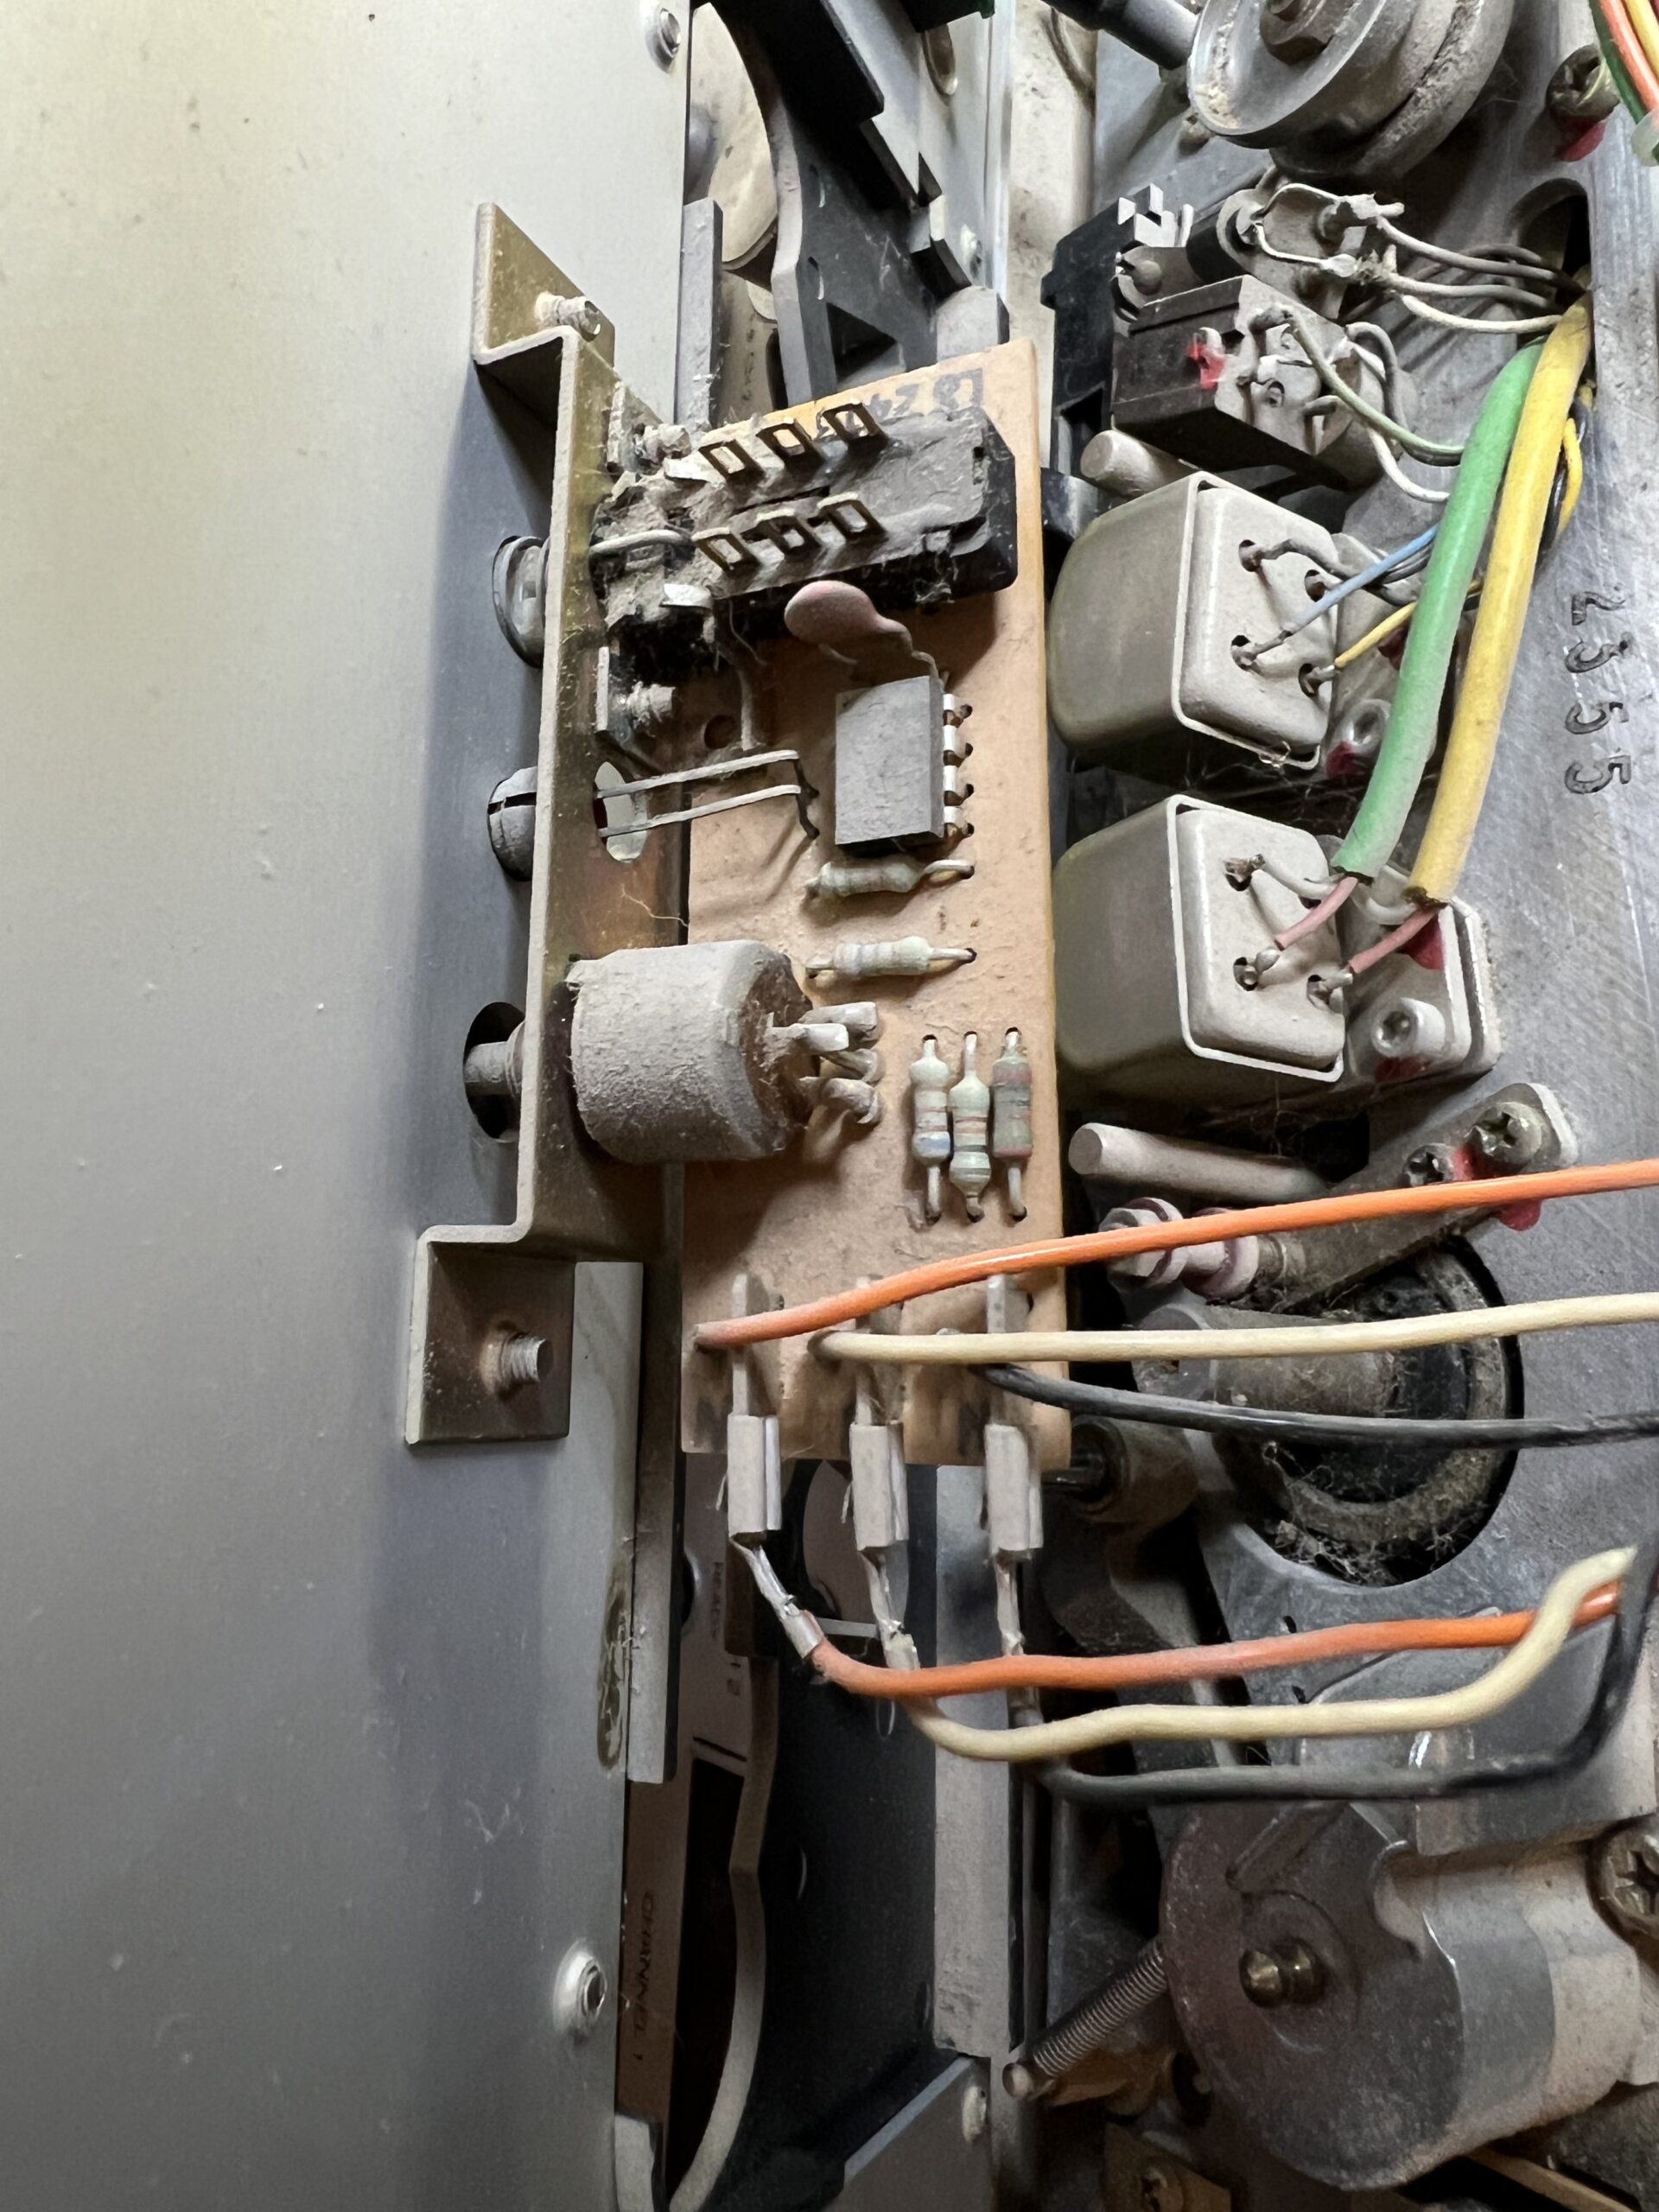
- Original Revox Mic pre-amp (1.177.856) installed for low-impedance transformer-balanced mic inputs
- White LEDs installed in VU meters
- Full alignment to RTM SM911 tape (levels, bias, equalization)
- Exhaustive final checks of all functions
- Checks of all performance parameters
- 48hr continuous test run on recording loop
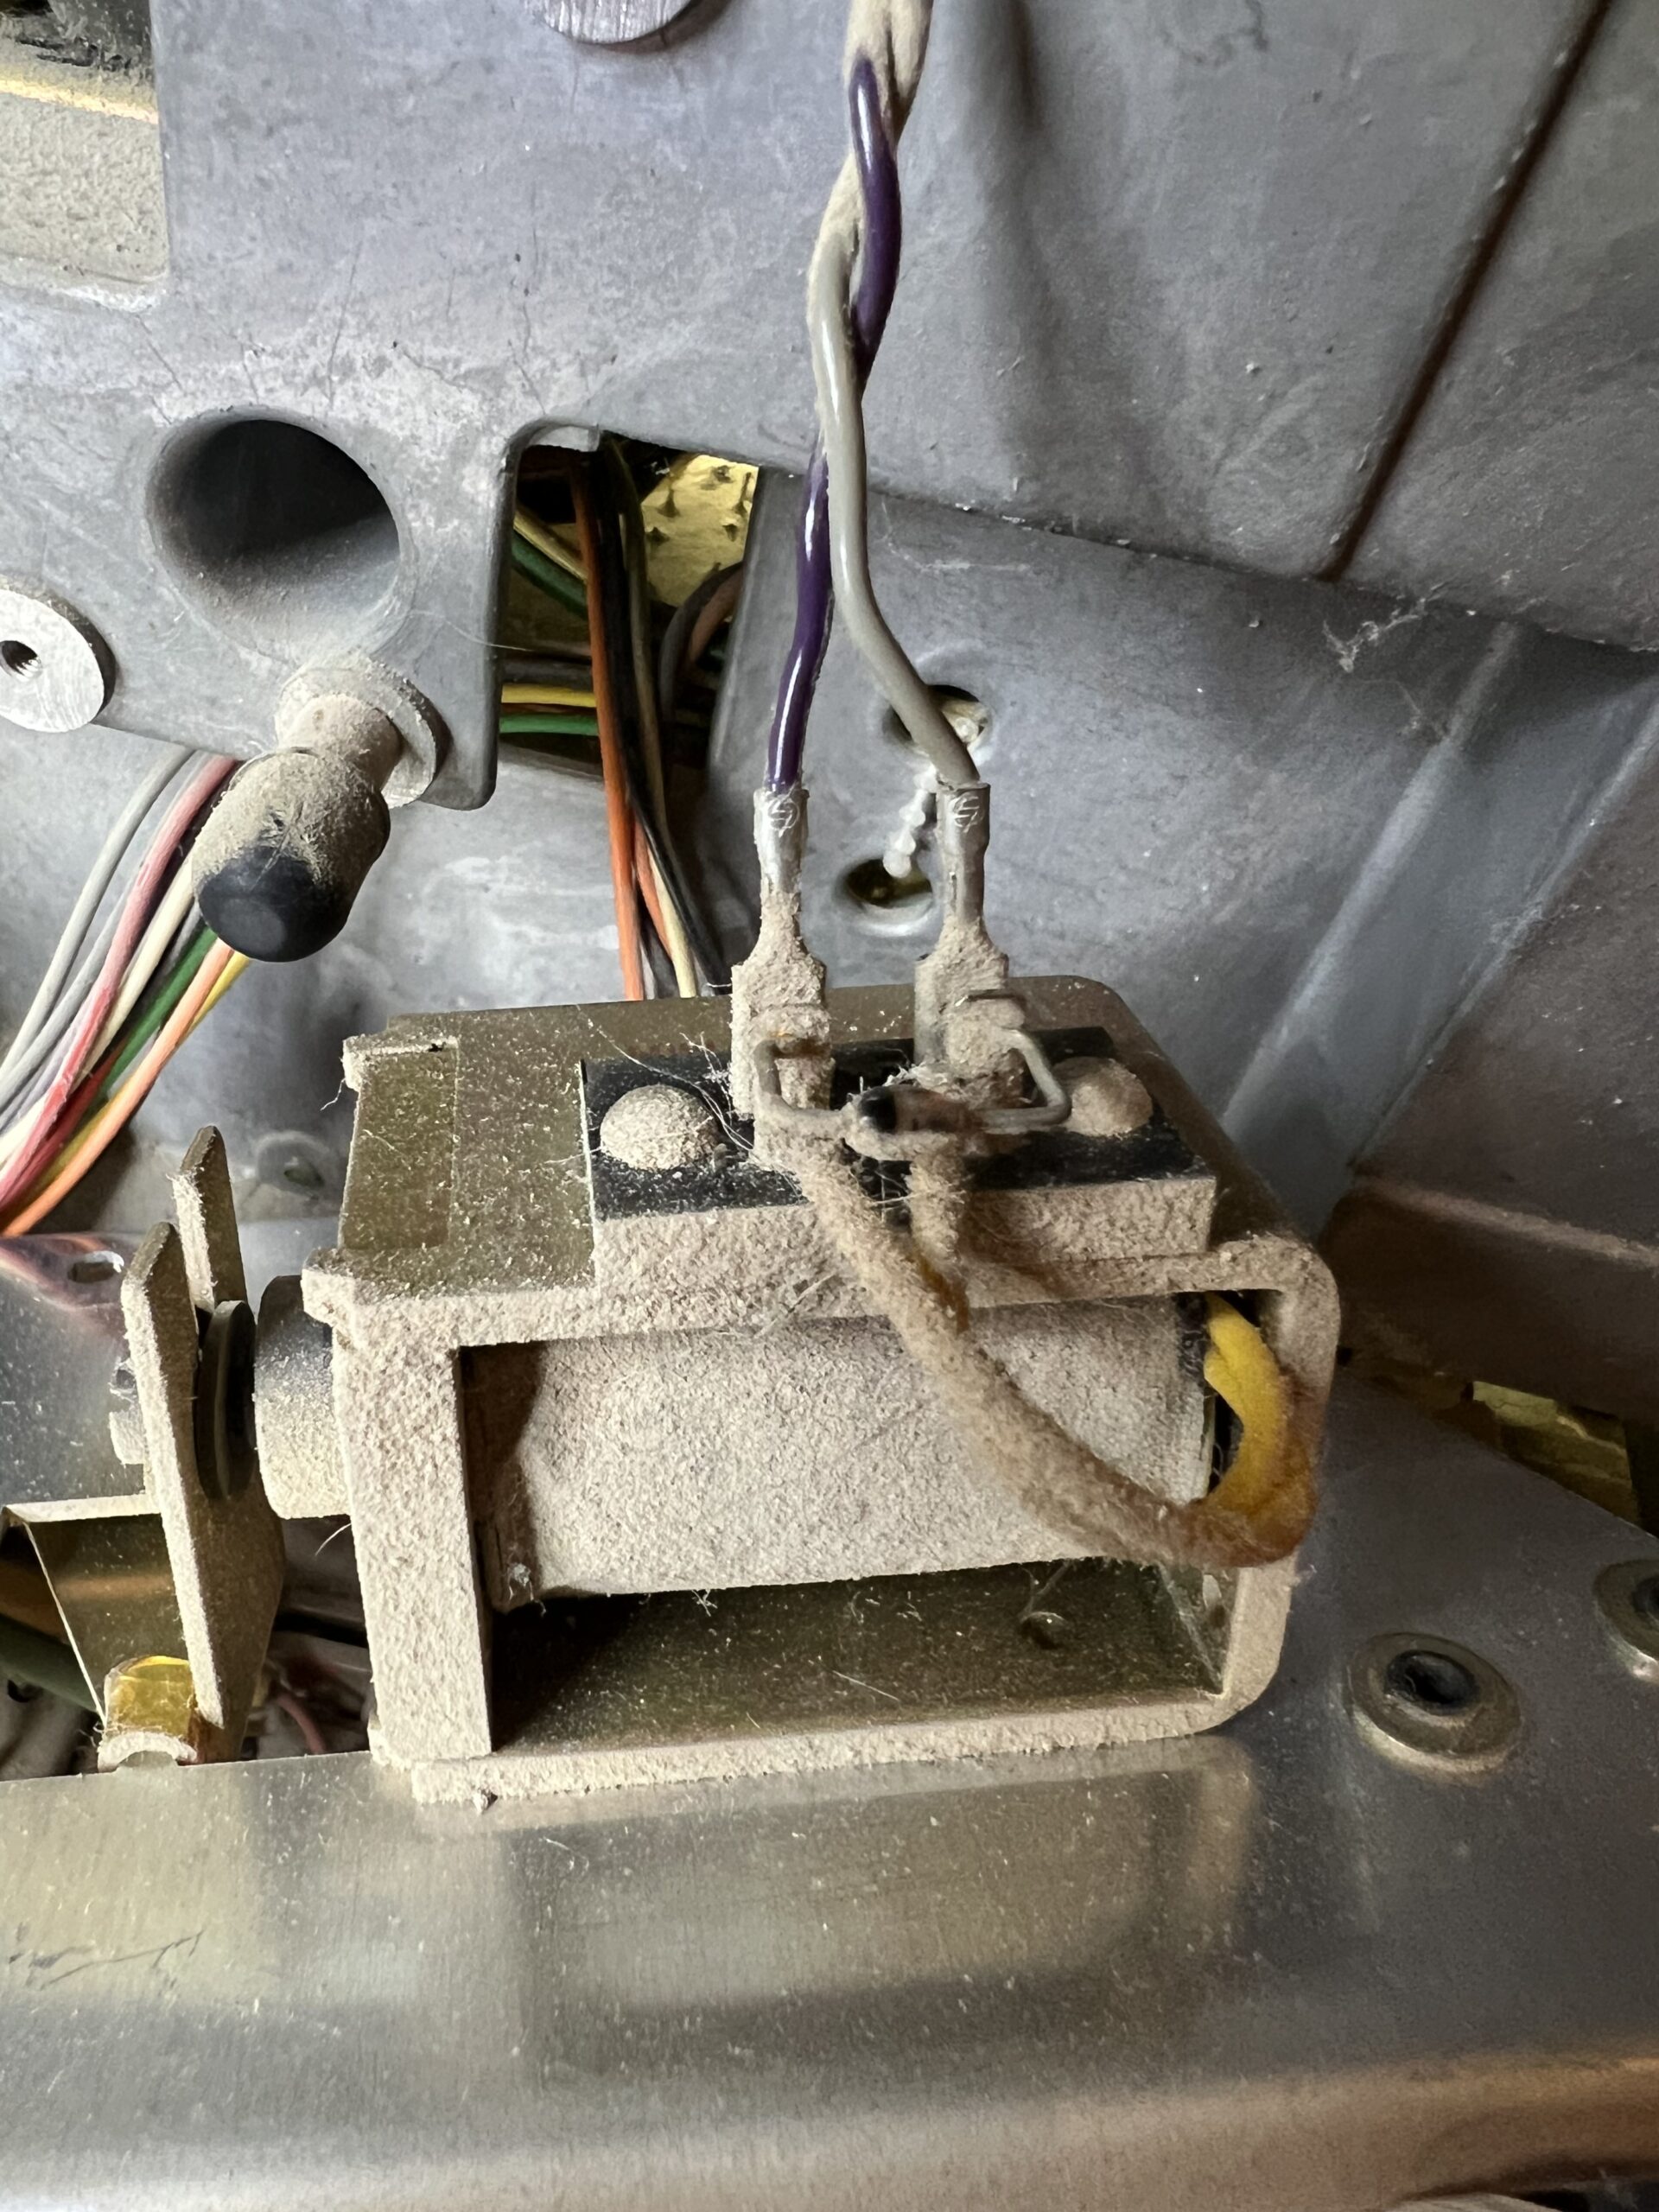
A tour of the stripped down Revox PR99mkII
Reassembly
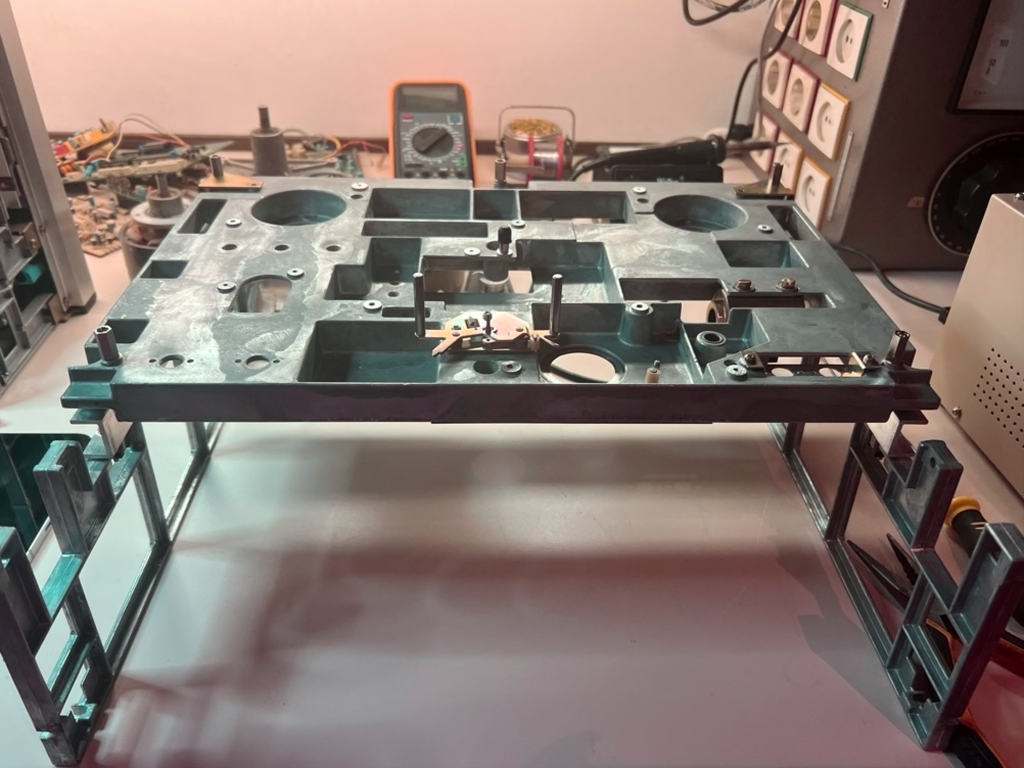
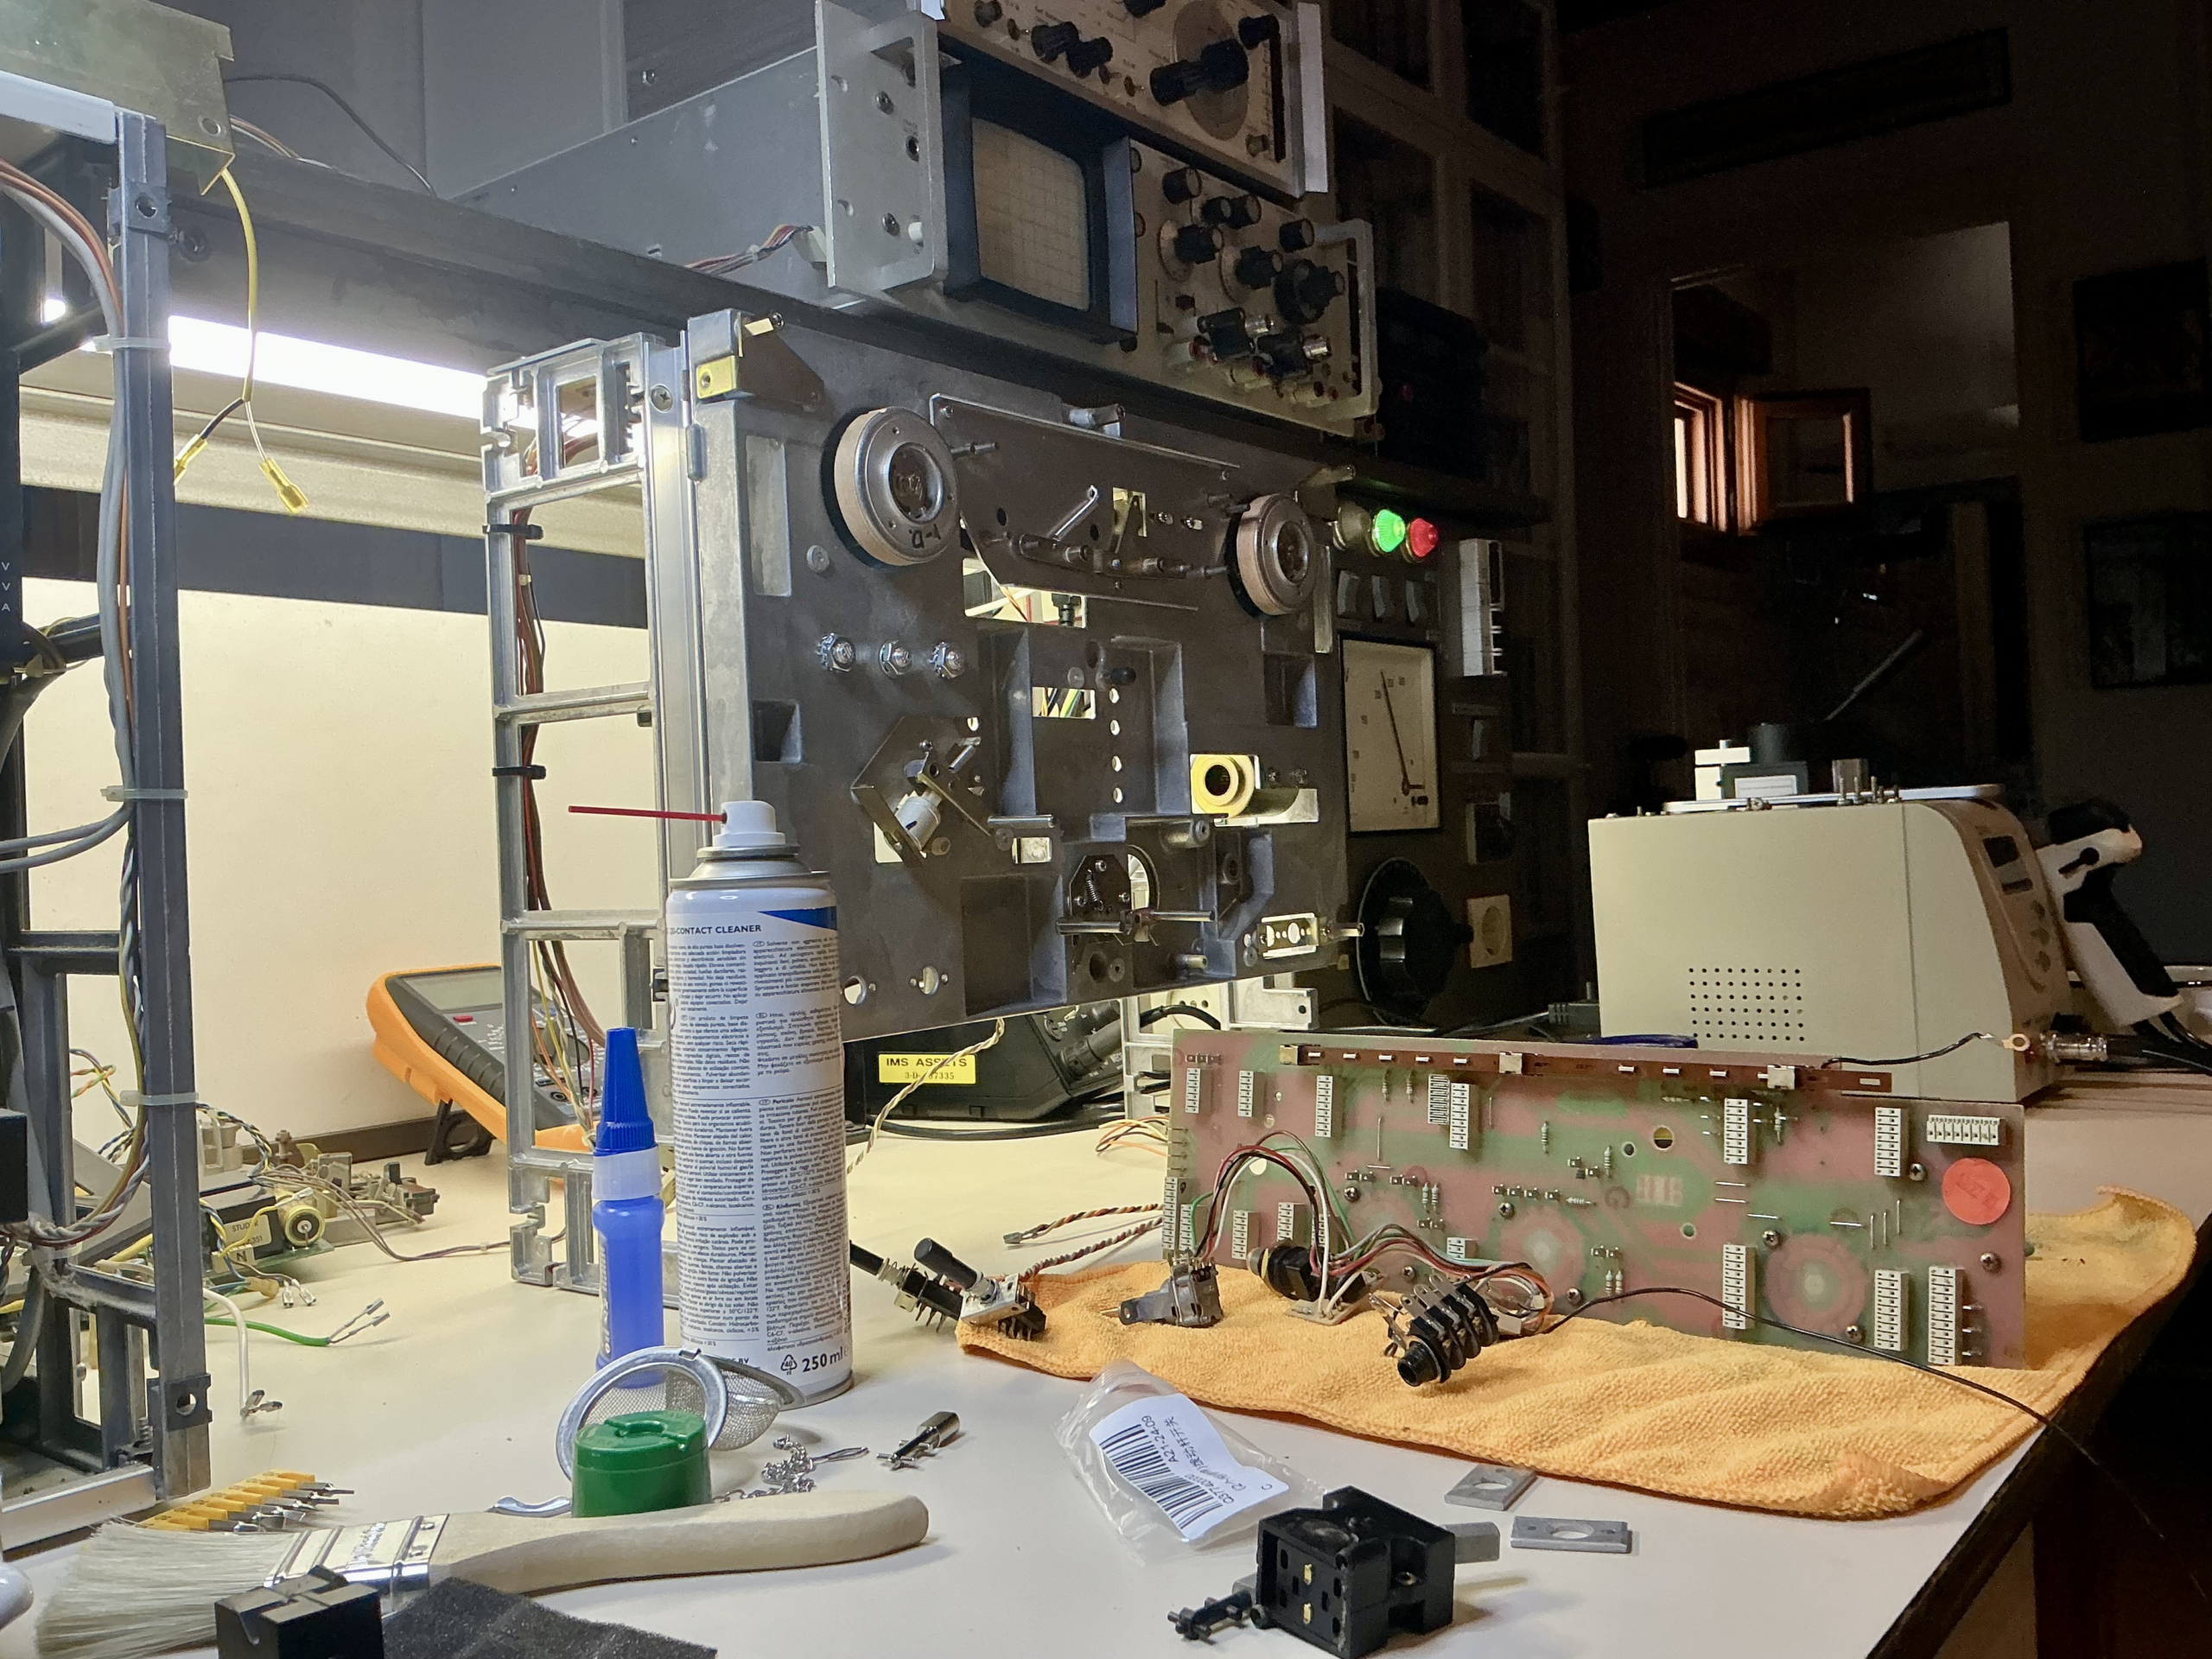
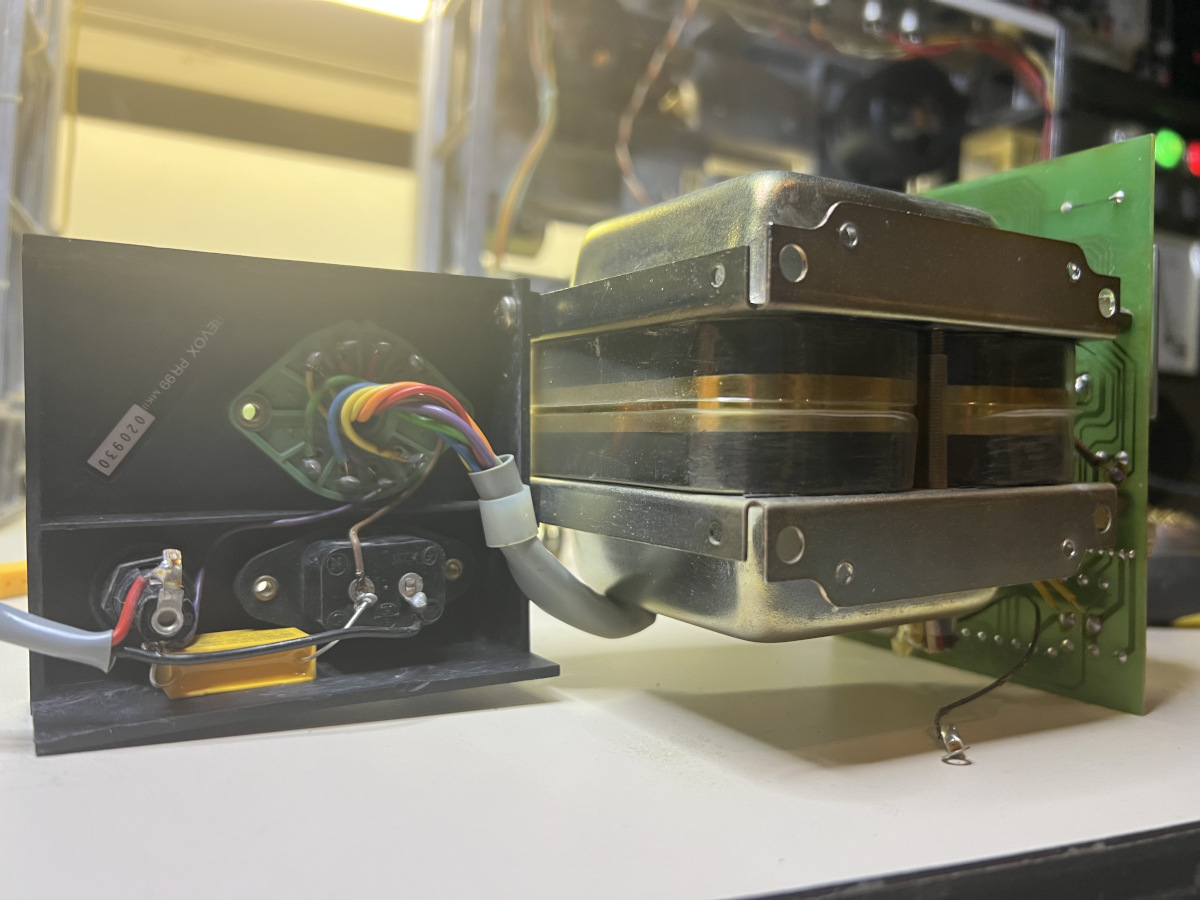
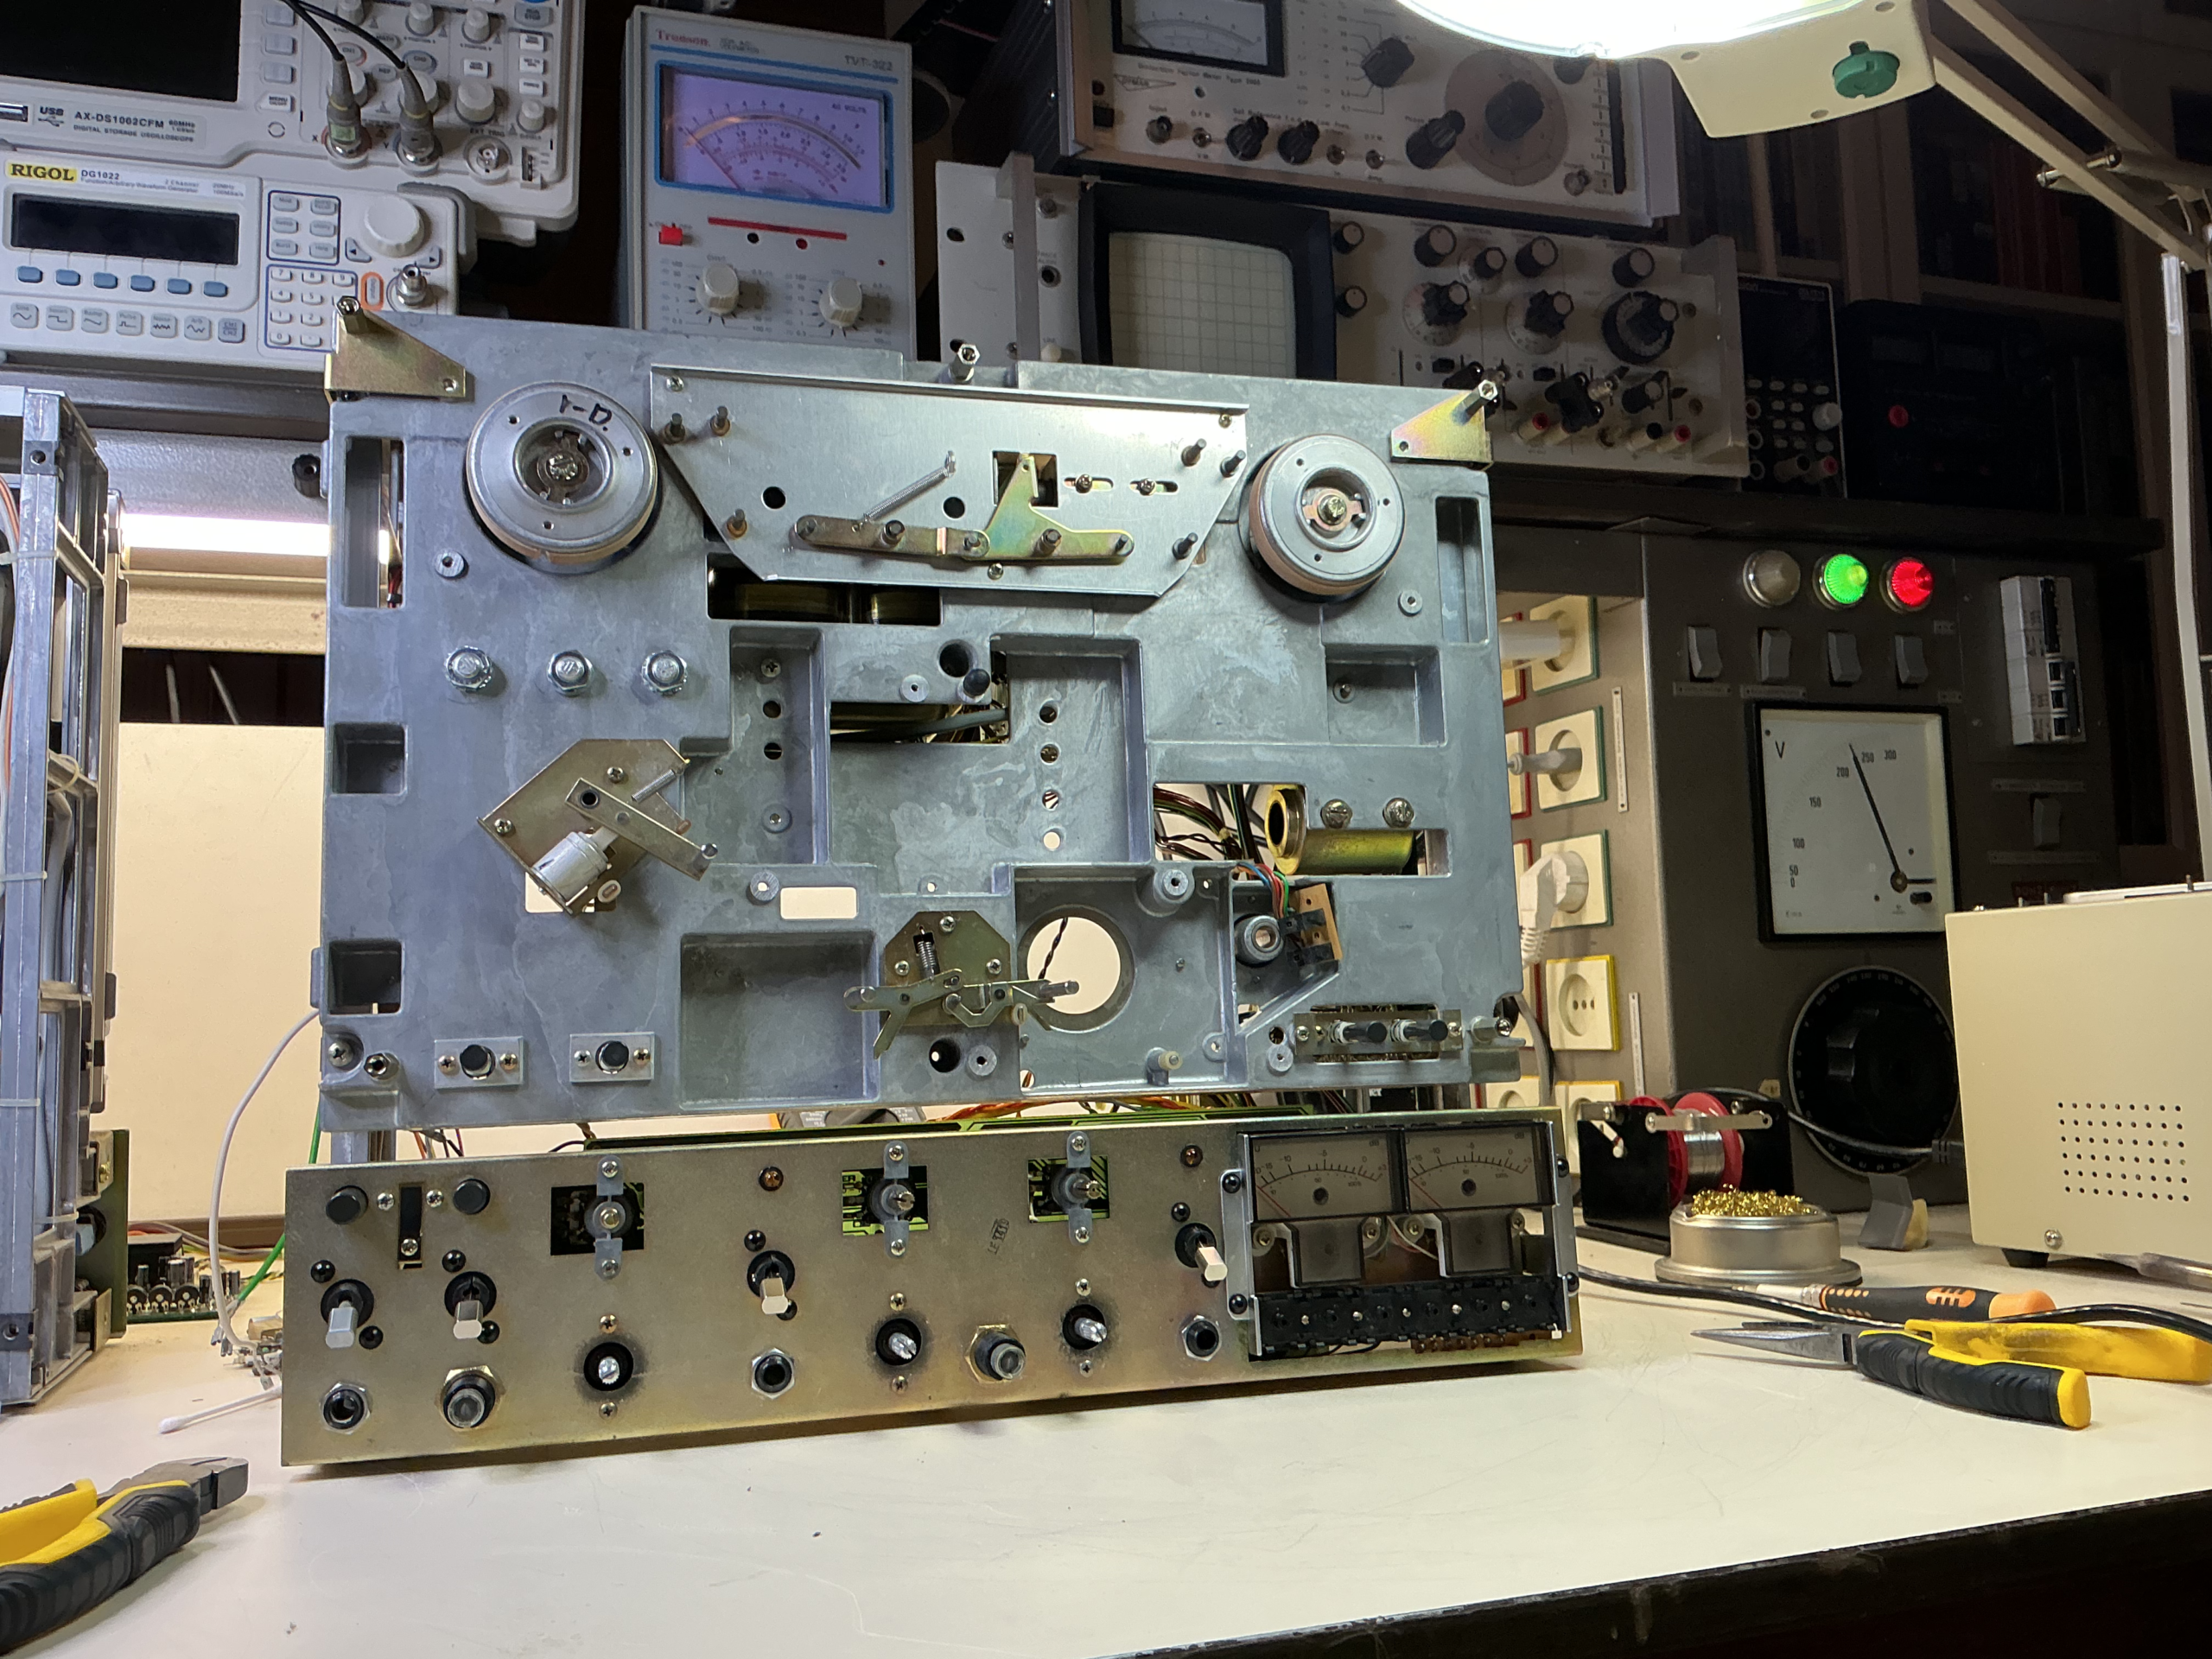
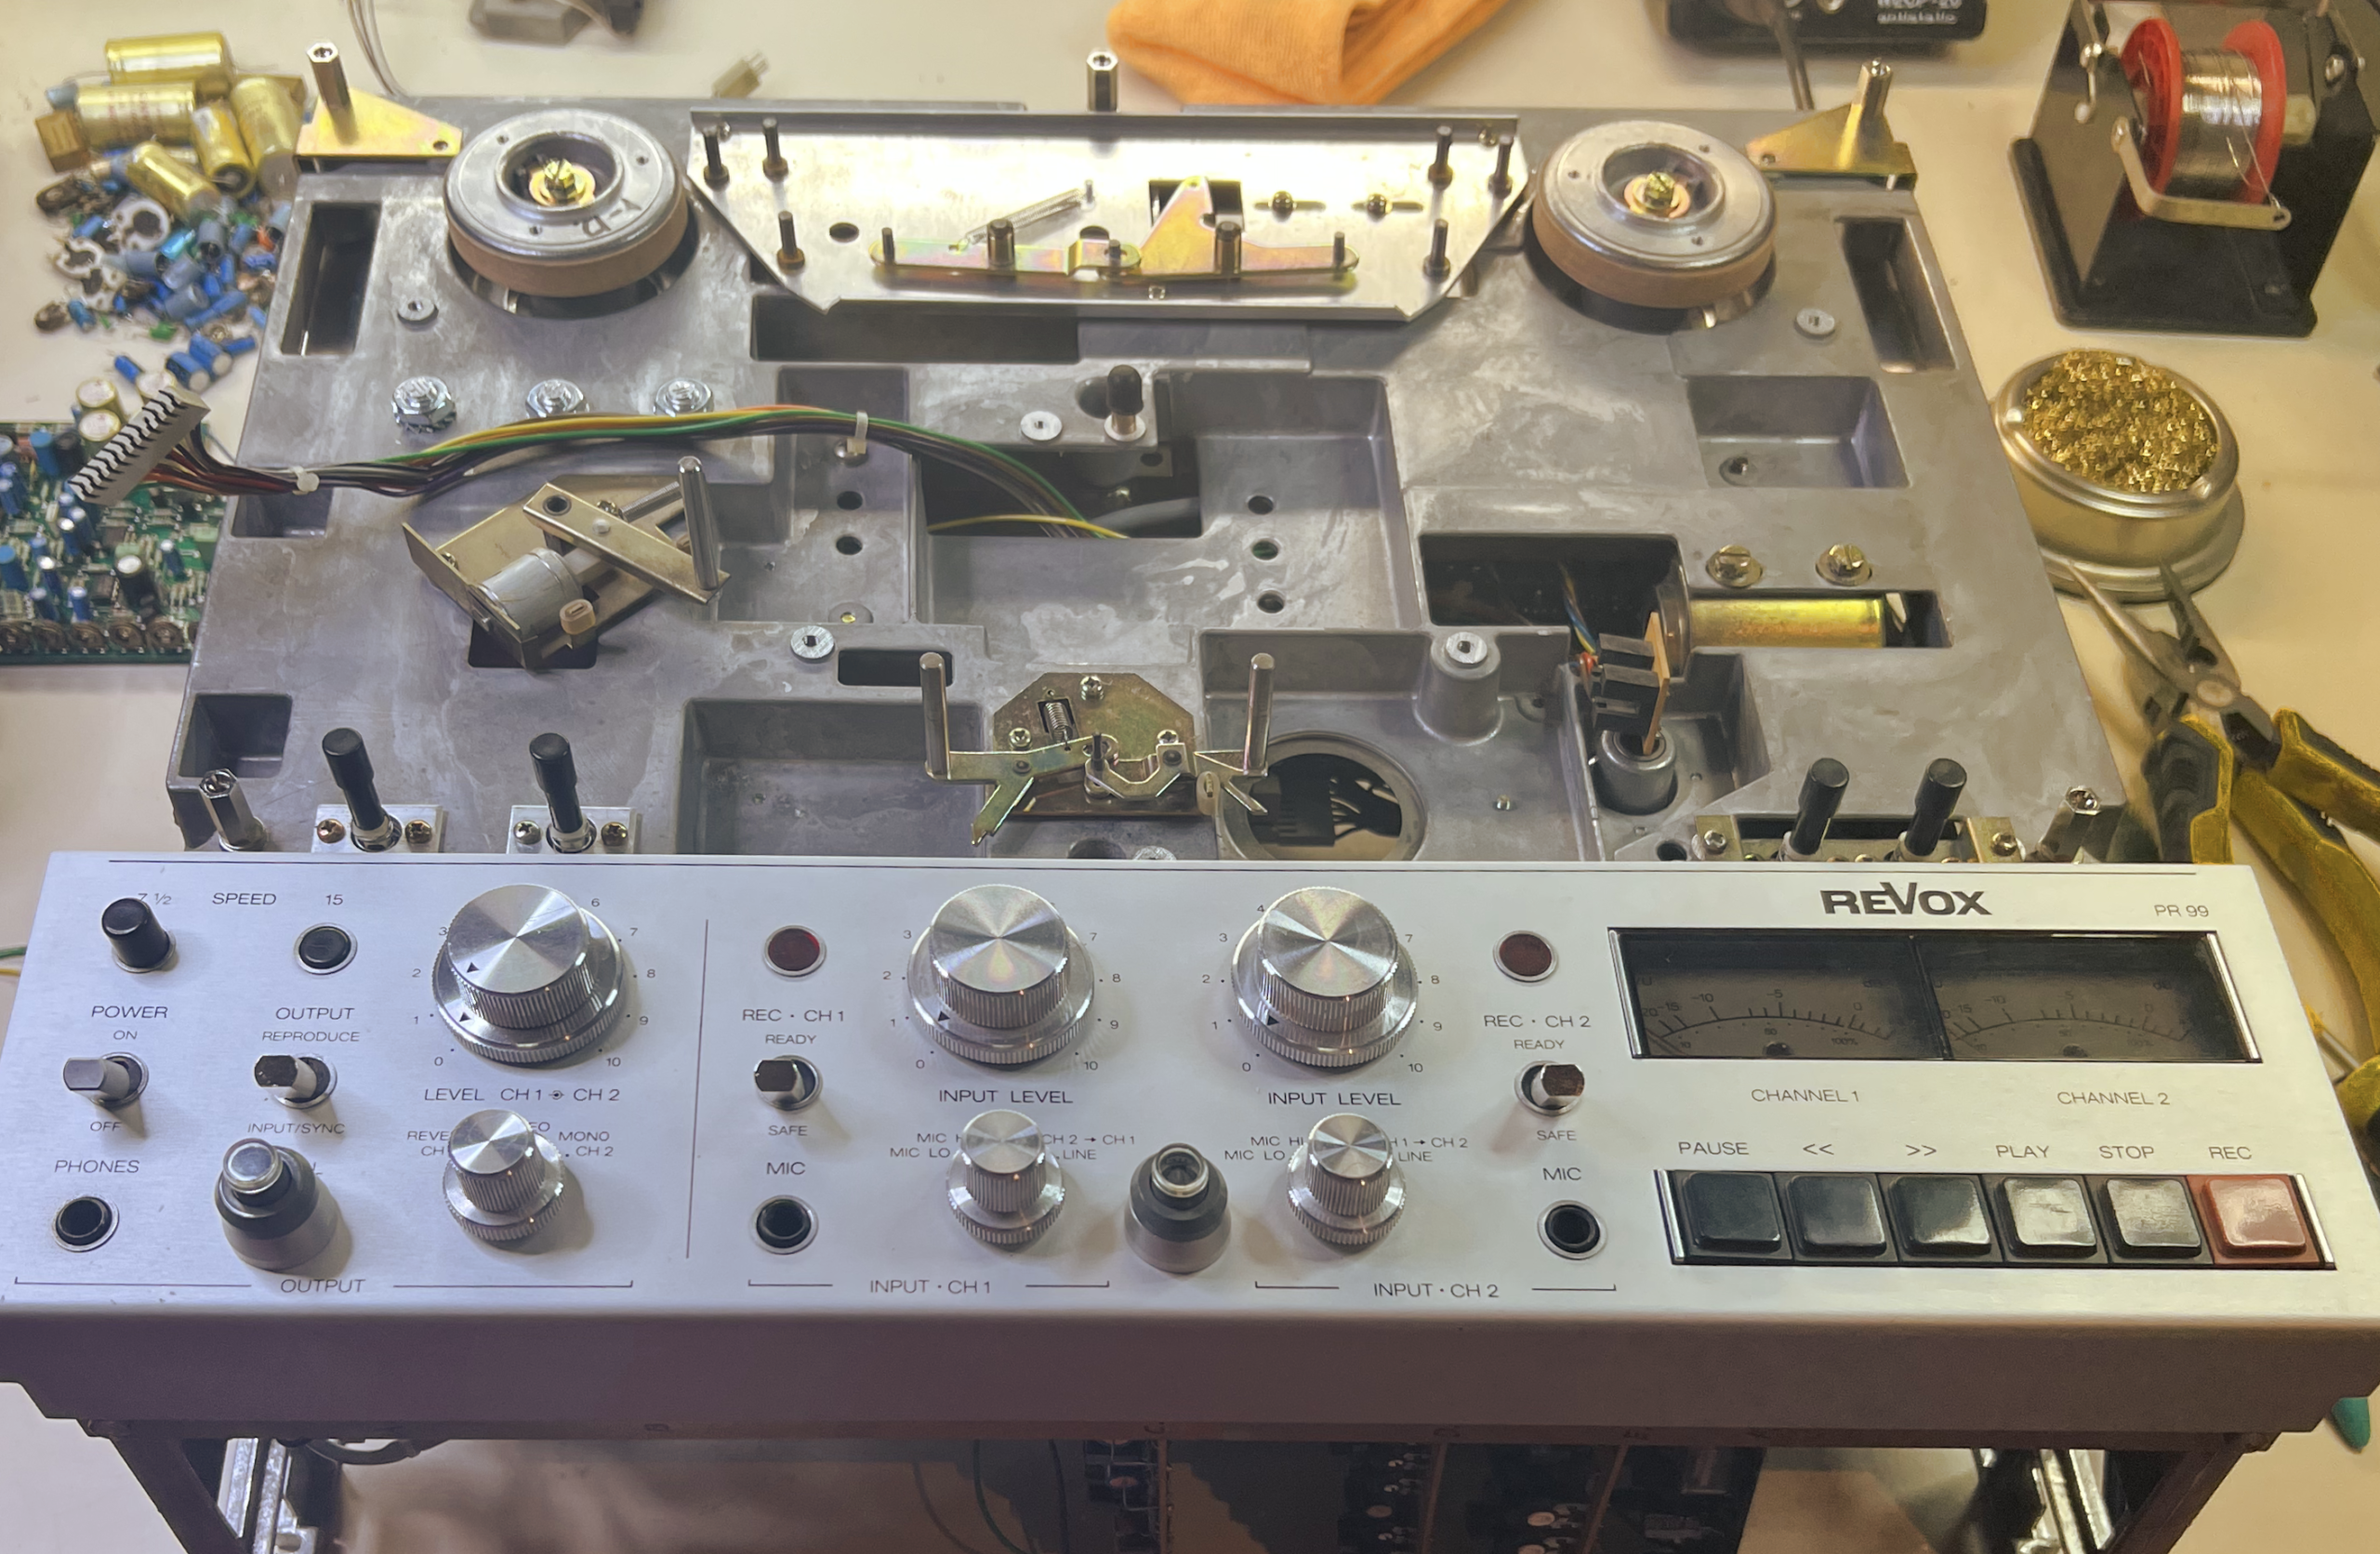
The reassembly of the PR99 started on Saturday June 6 with the chassis. The tape lifters and pinch roller solenoid have been reattached.
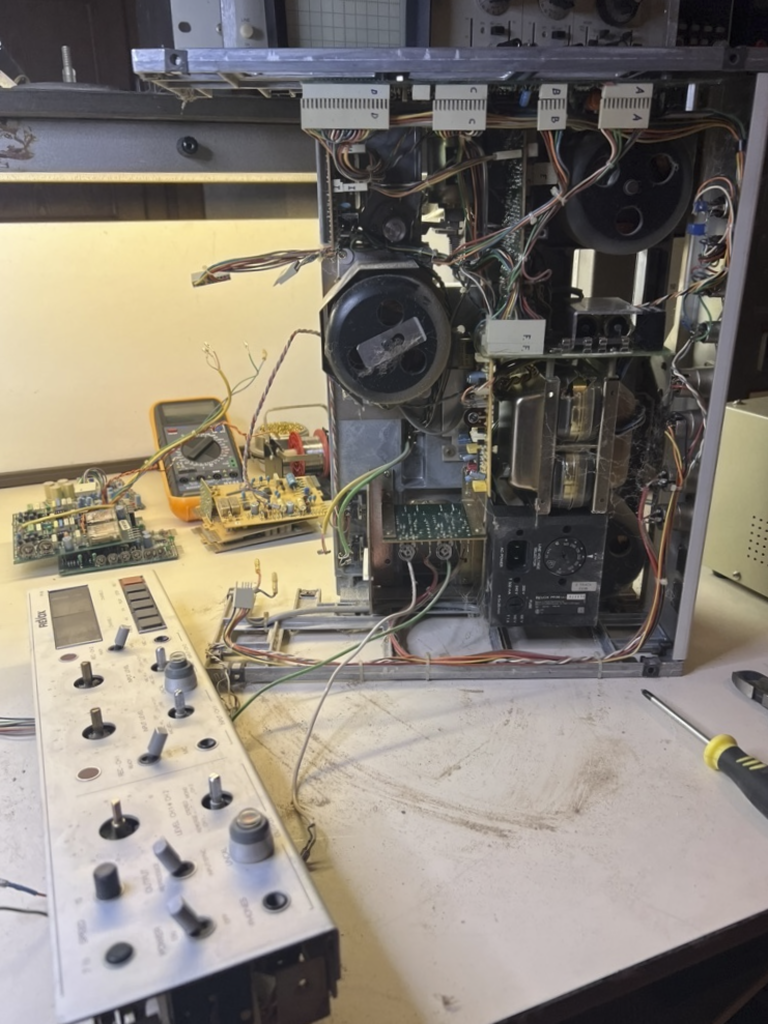
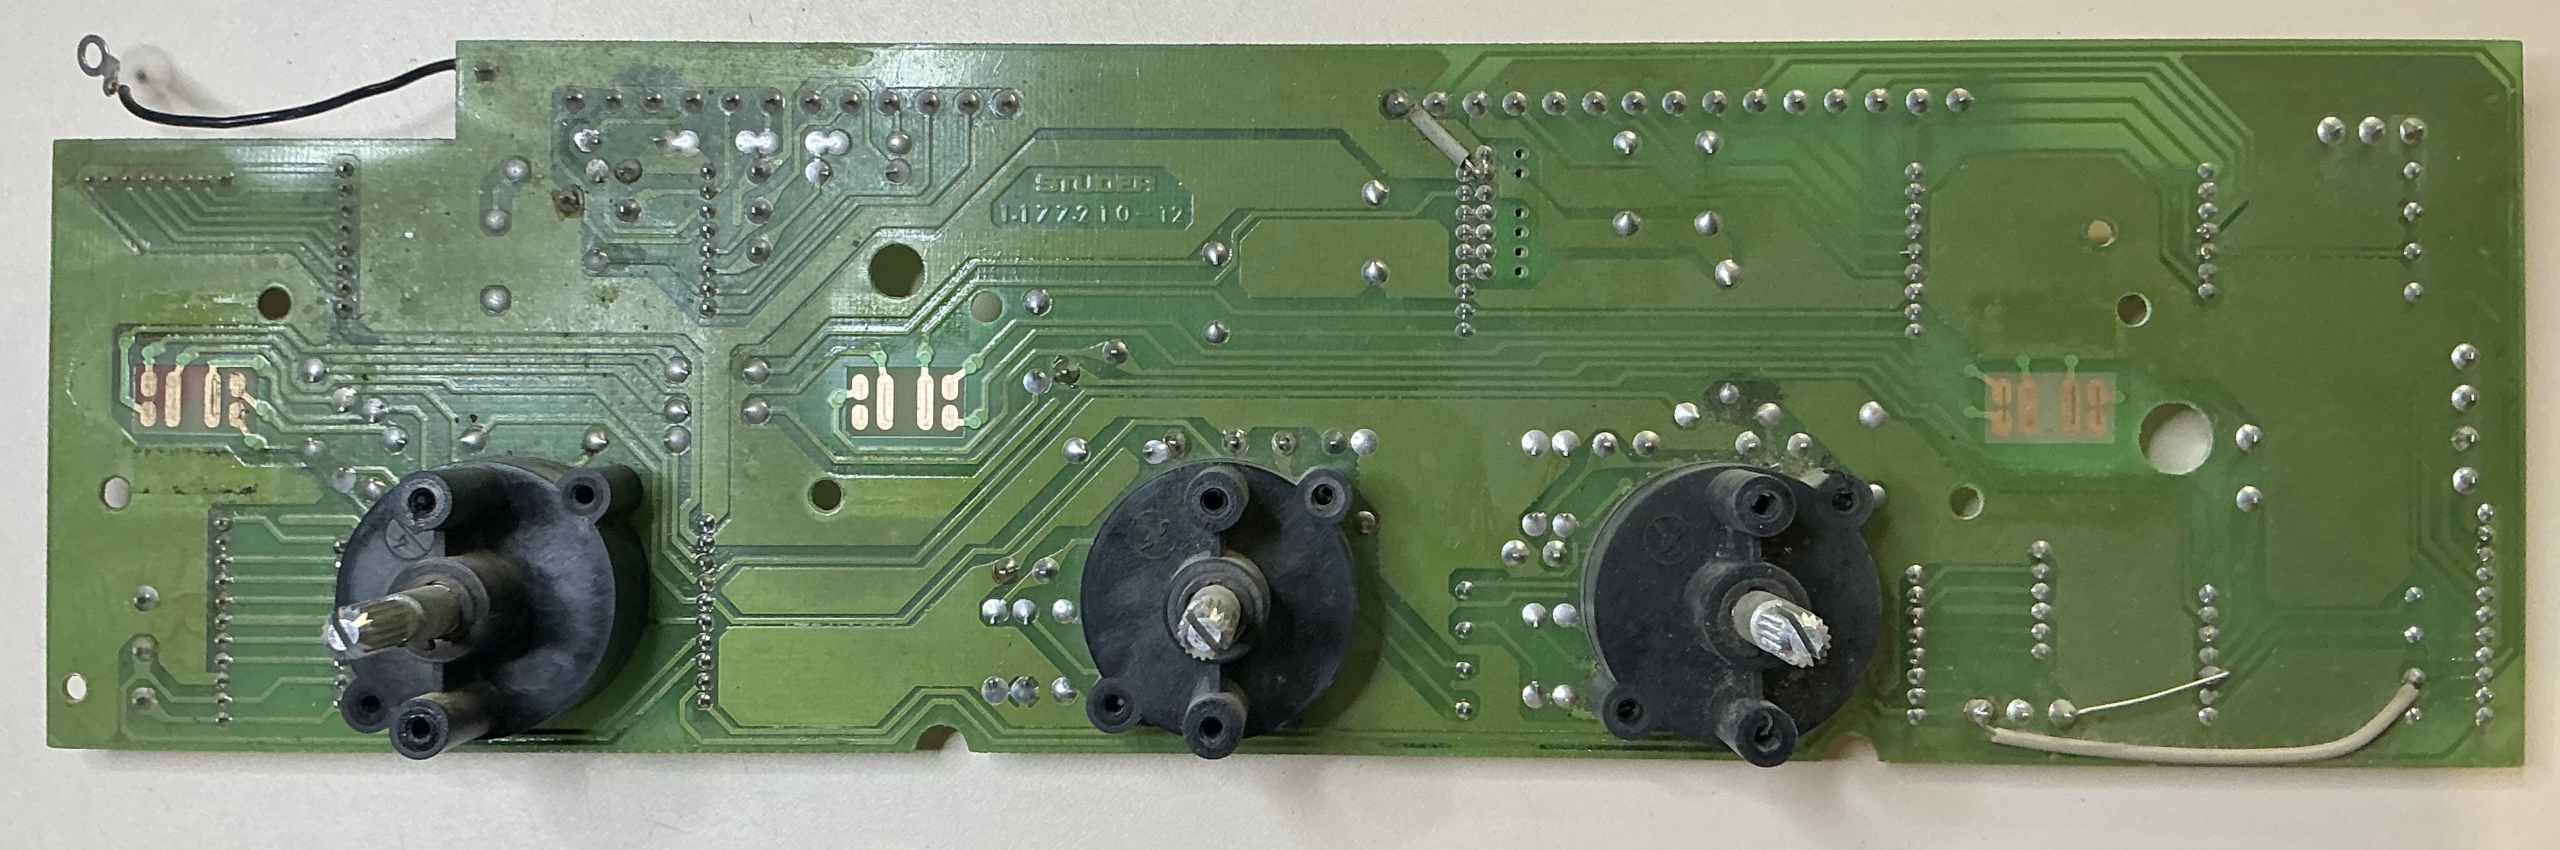
Work progressed slowly albeit without much trouble. The switchboard was duly taken disassembled with switches and rotary knobs pried apart, cleaned, and put back together again. All contact points were polished with a stiff fiber brush.
The three motors were cleaned and received new SKF ball bearings whilst the wiring harnesses went back into place. Next up, the recapping.
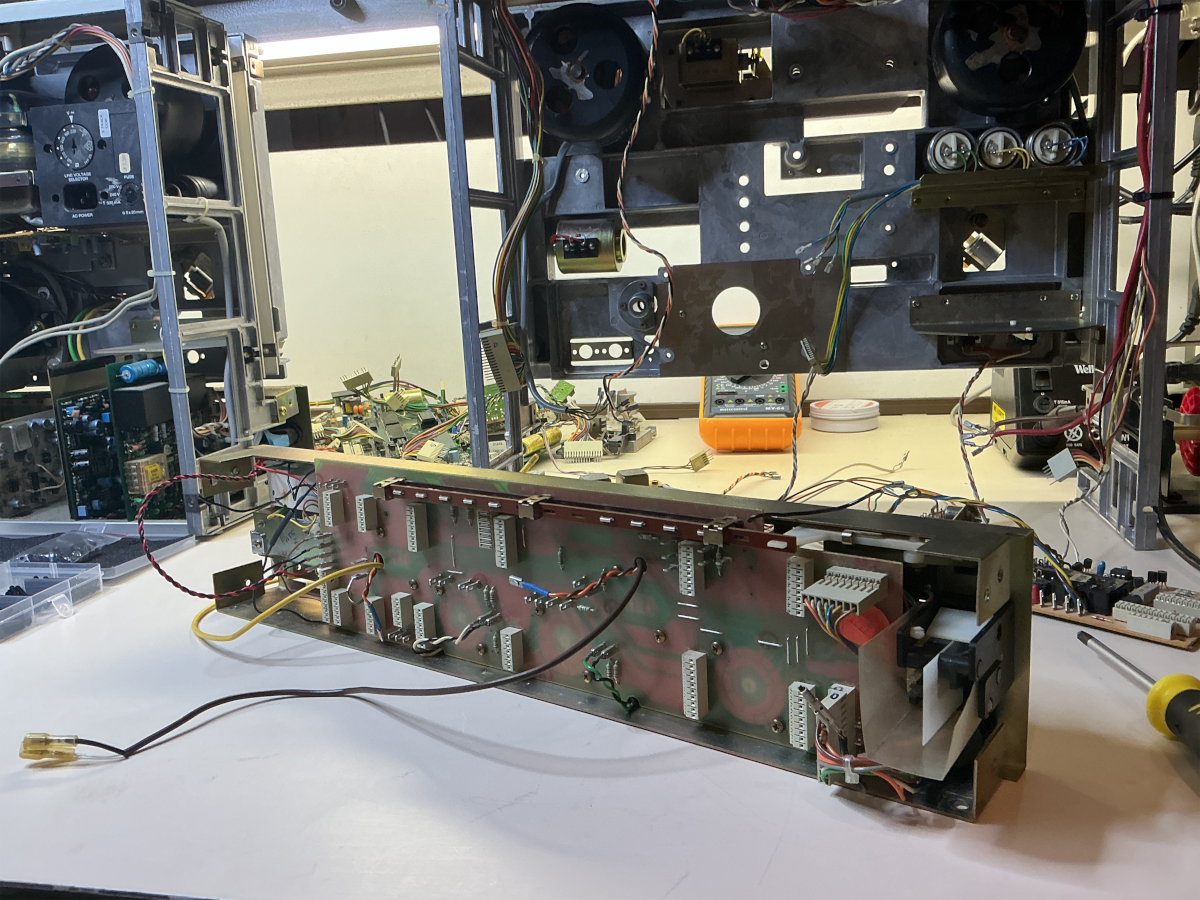
The switchboard, now cleaned, is going back into place together with the lower face plate. This enables most wiring harnesses to be put back and sets the scene for the various module cards to be plugged in after recapping.
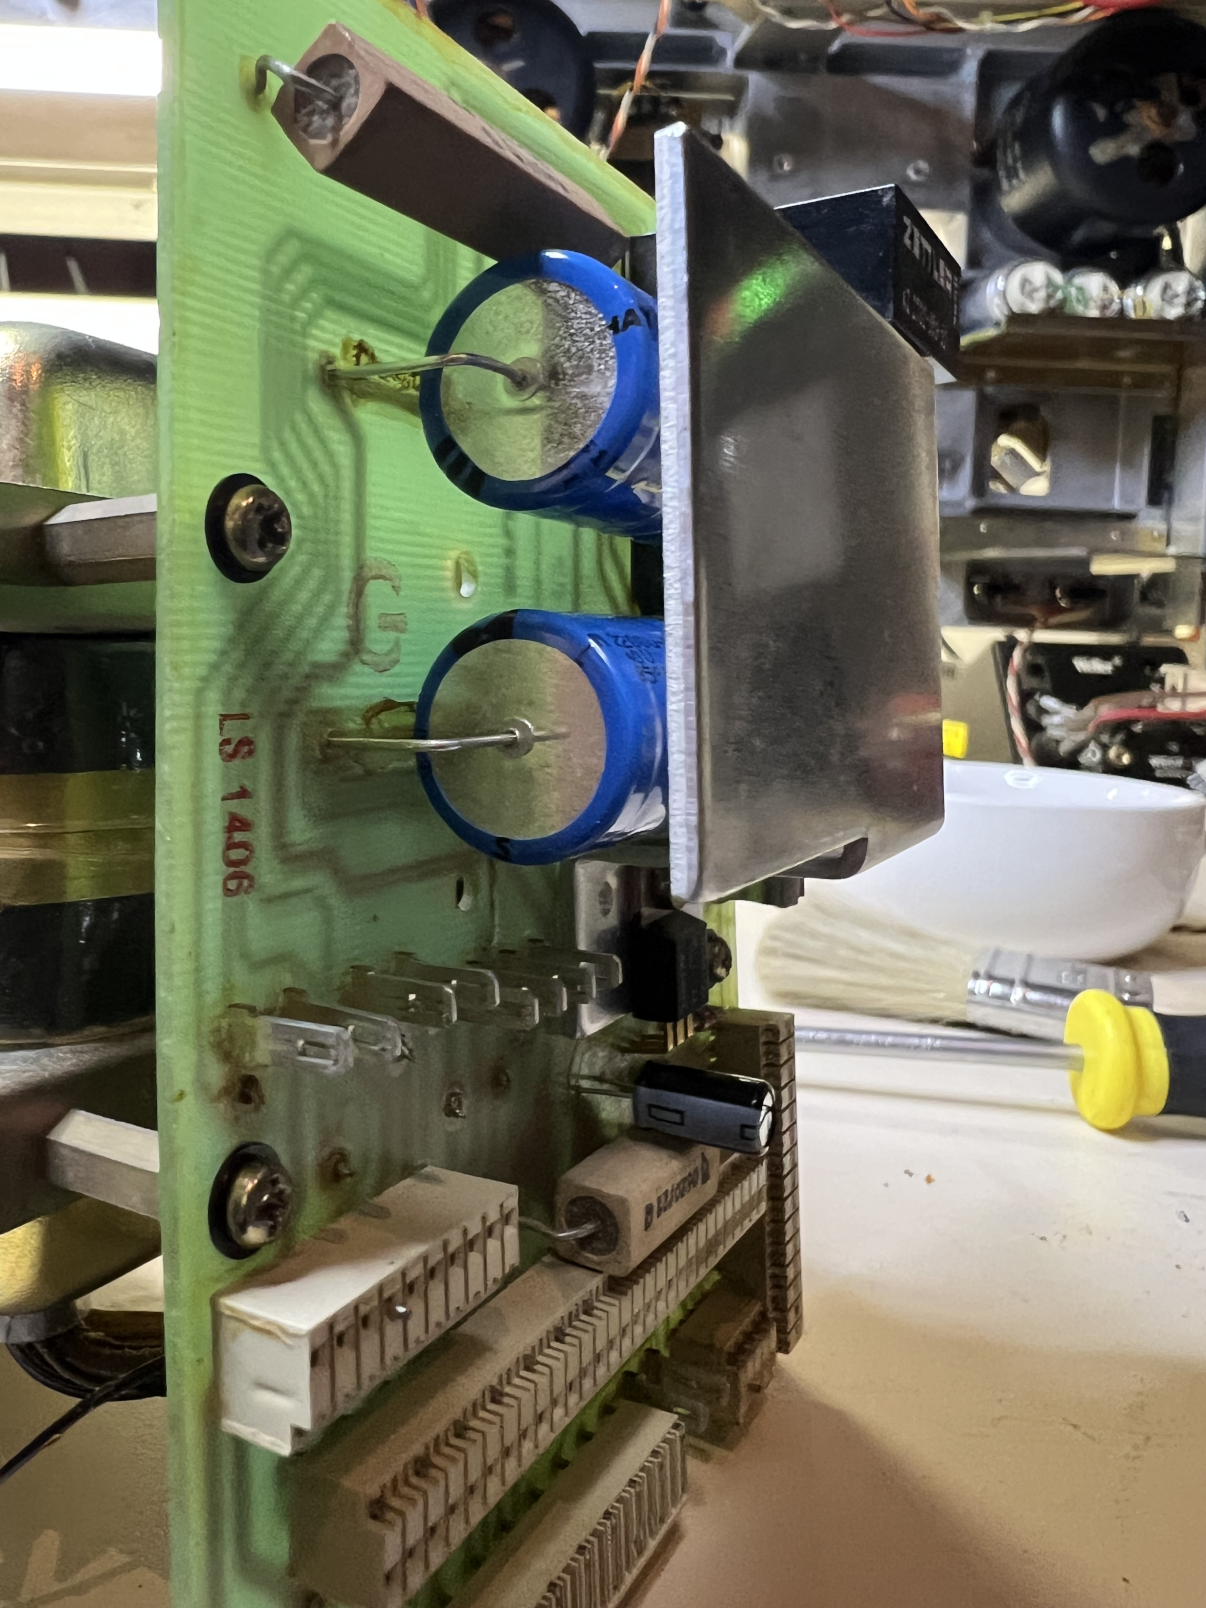
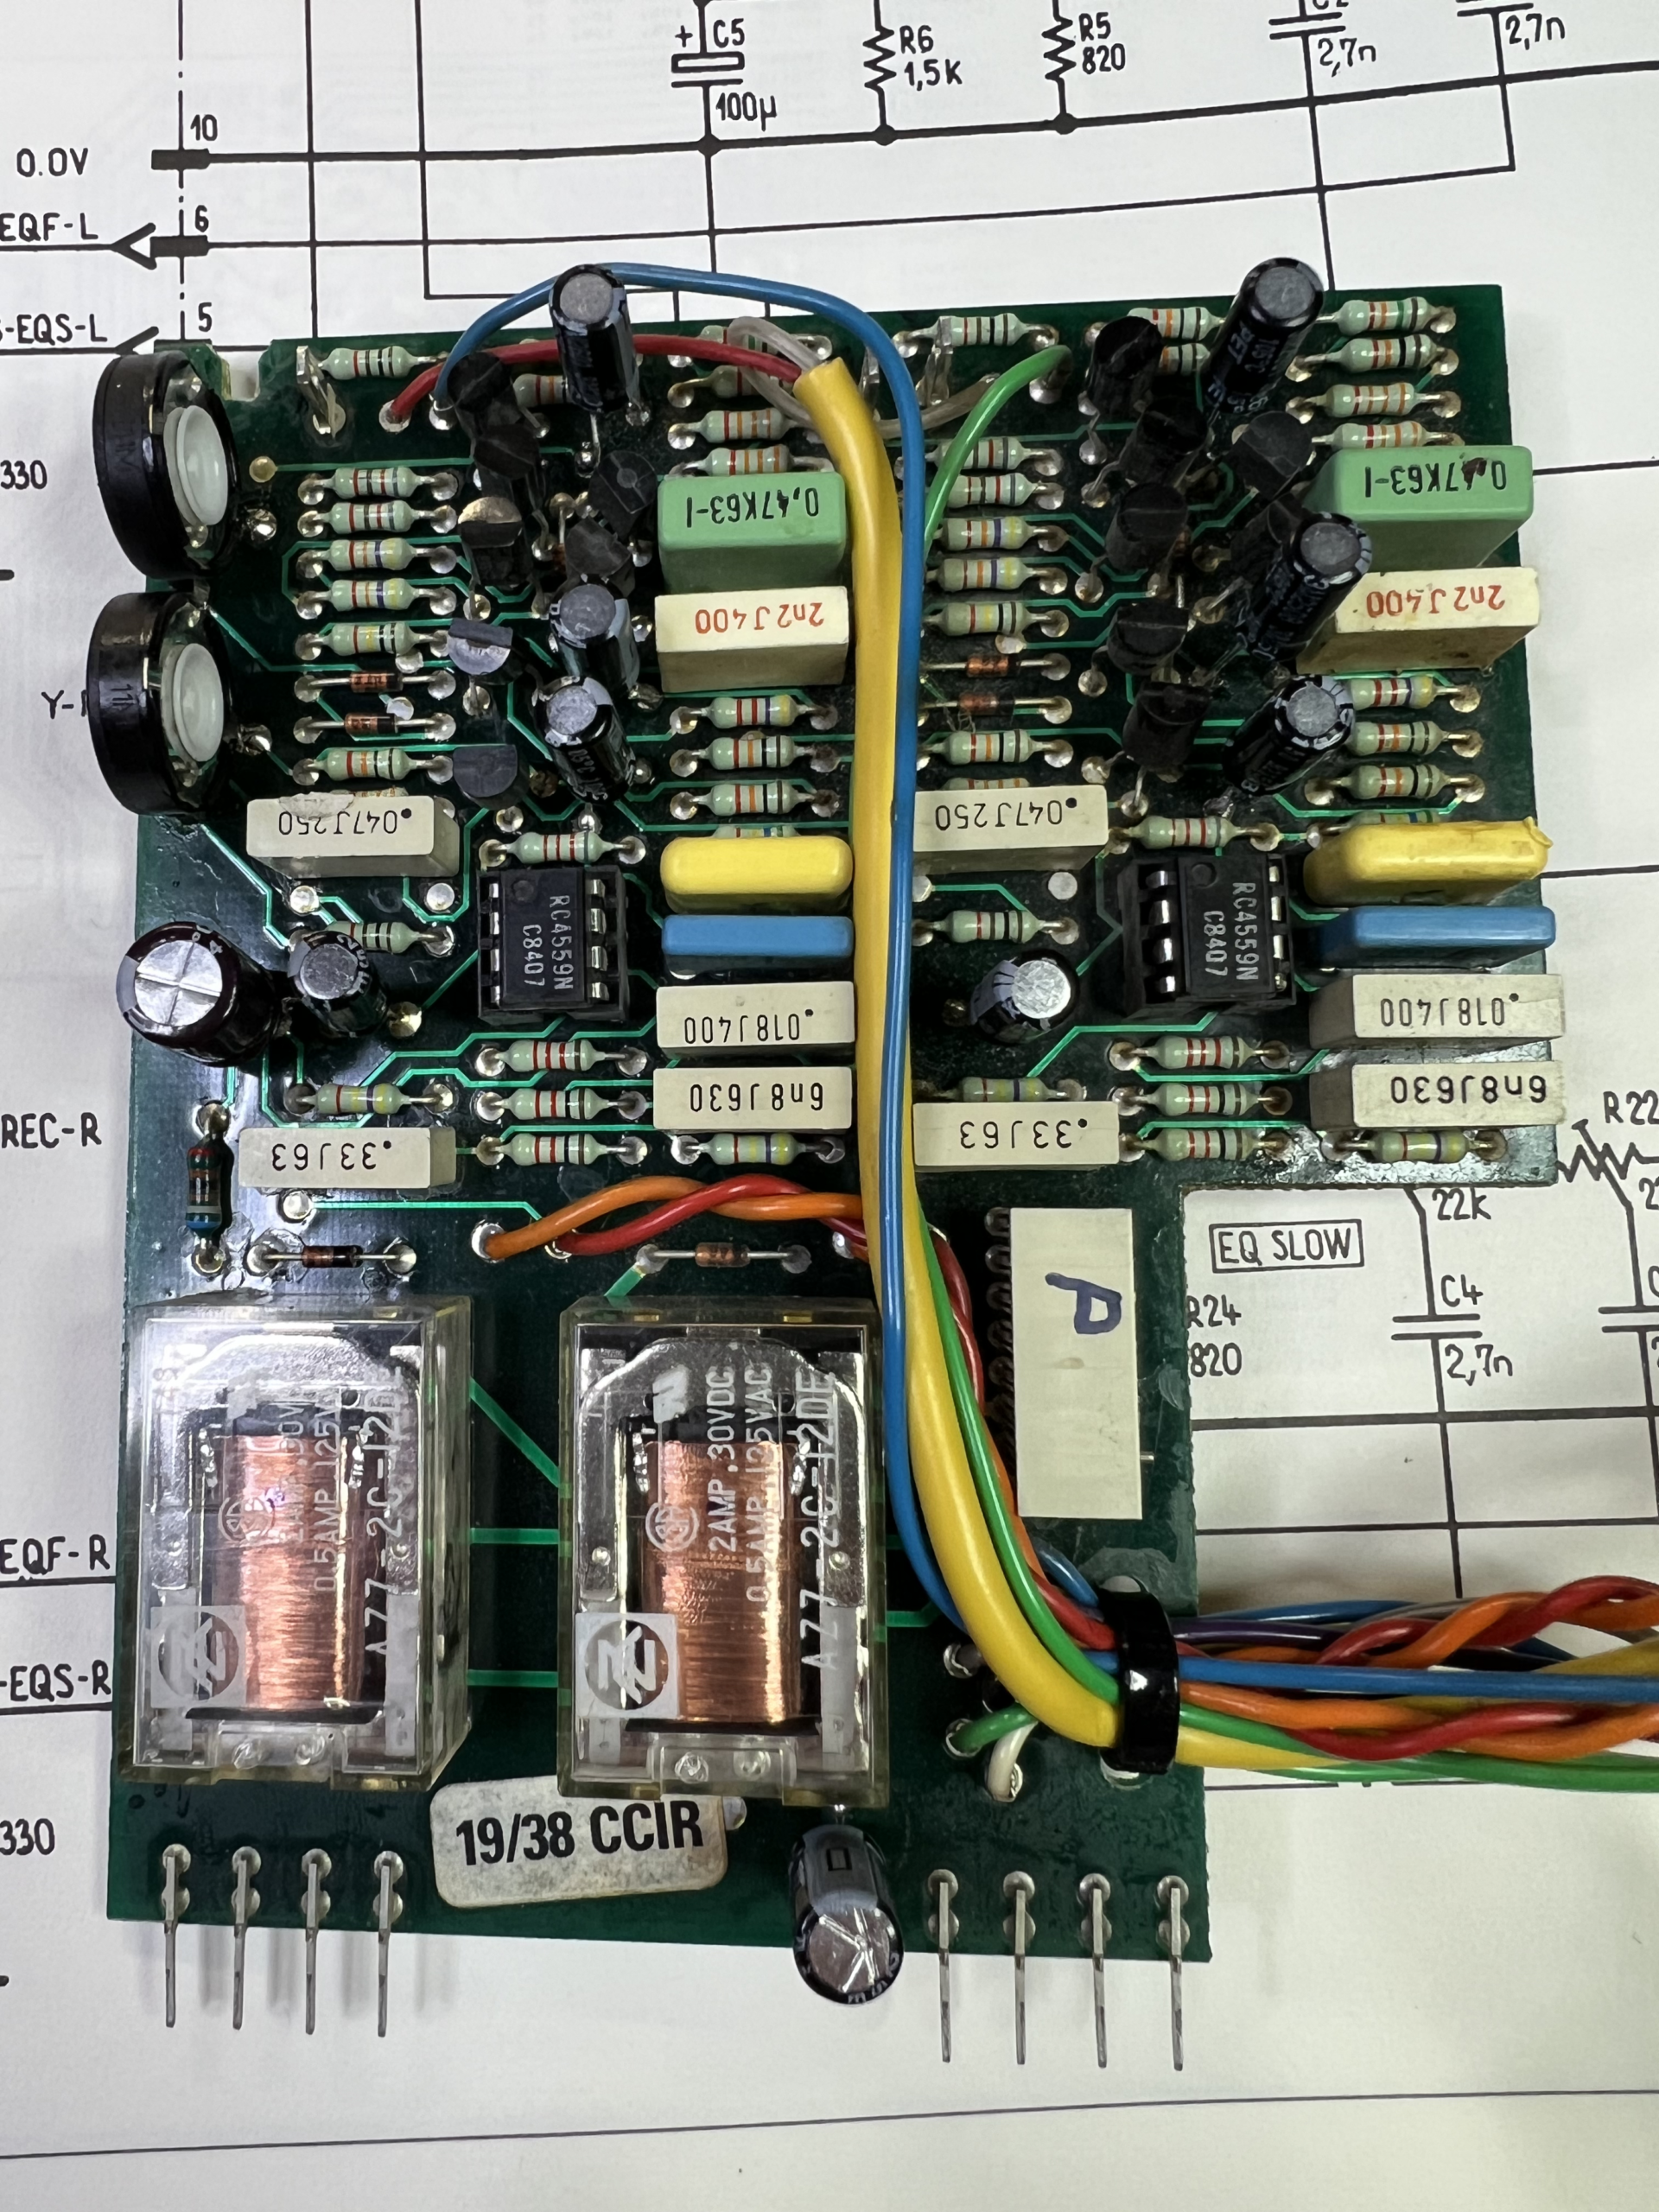
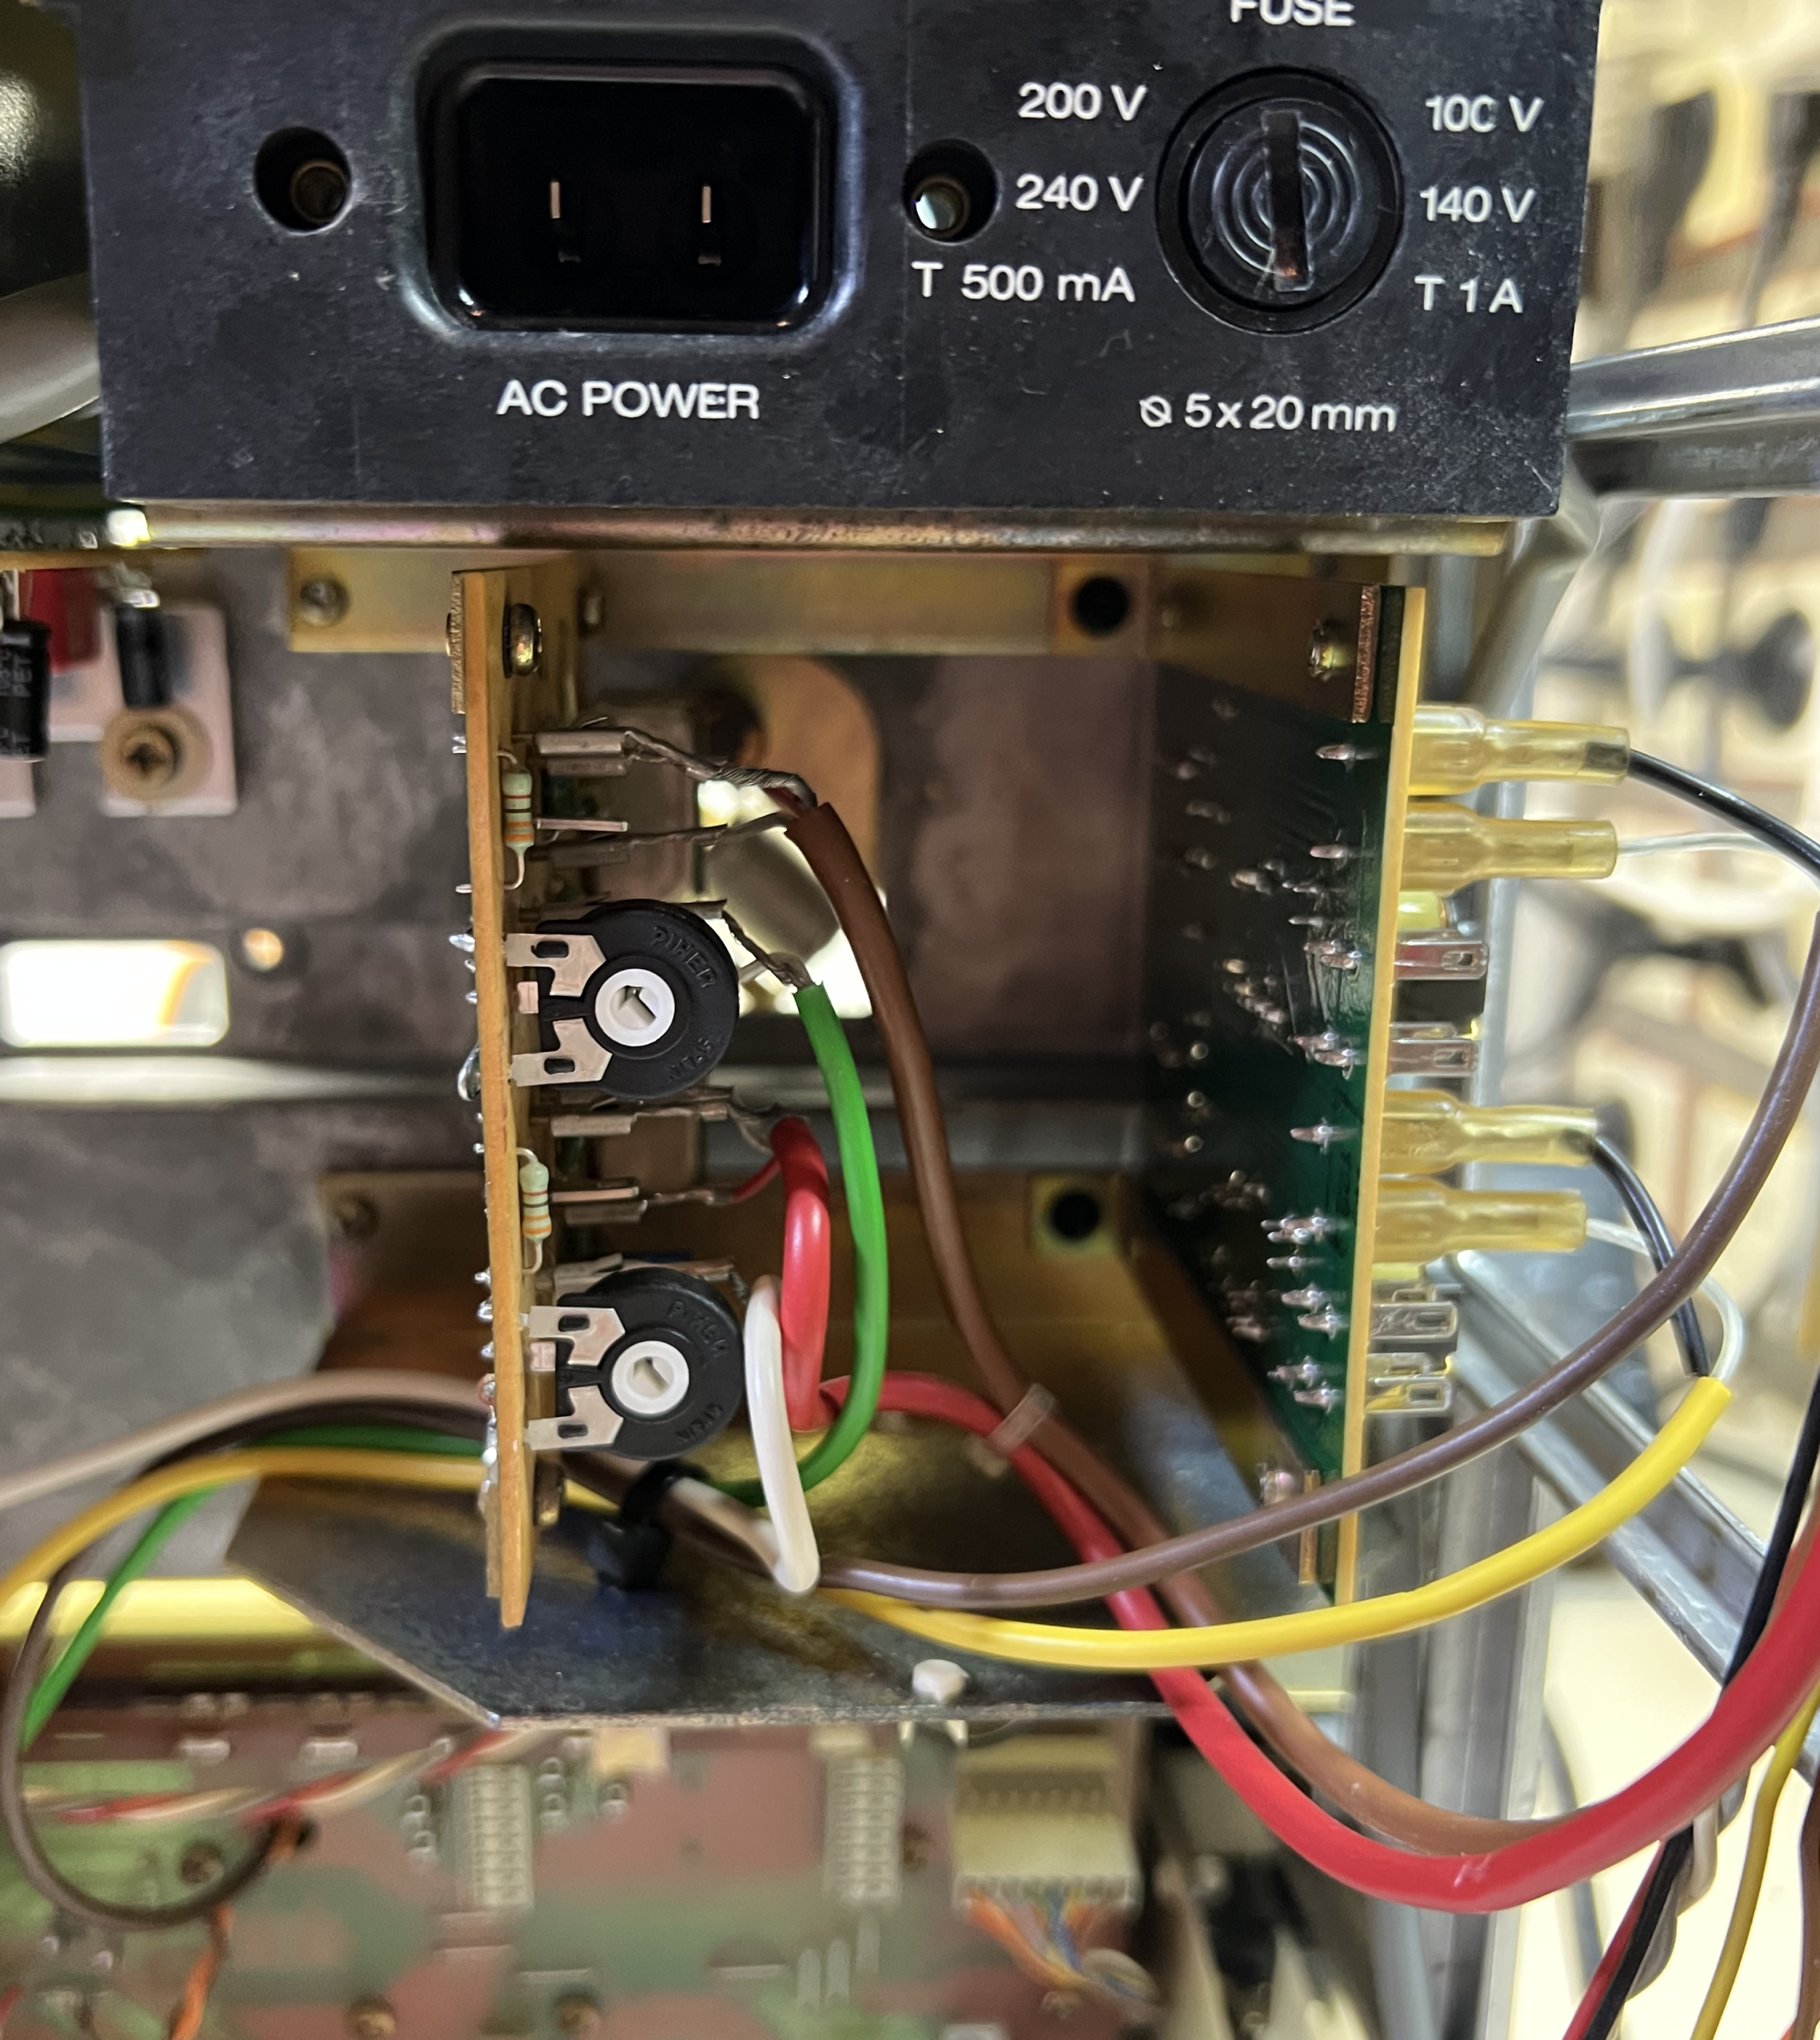
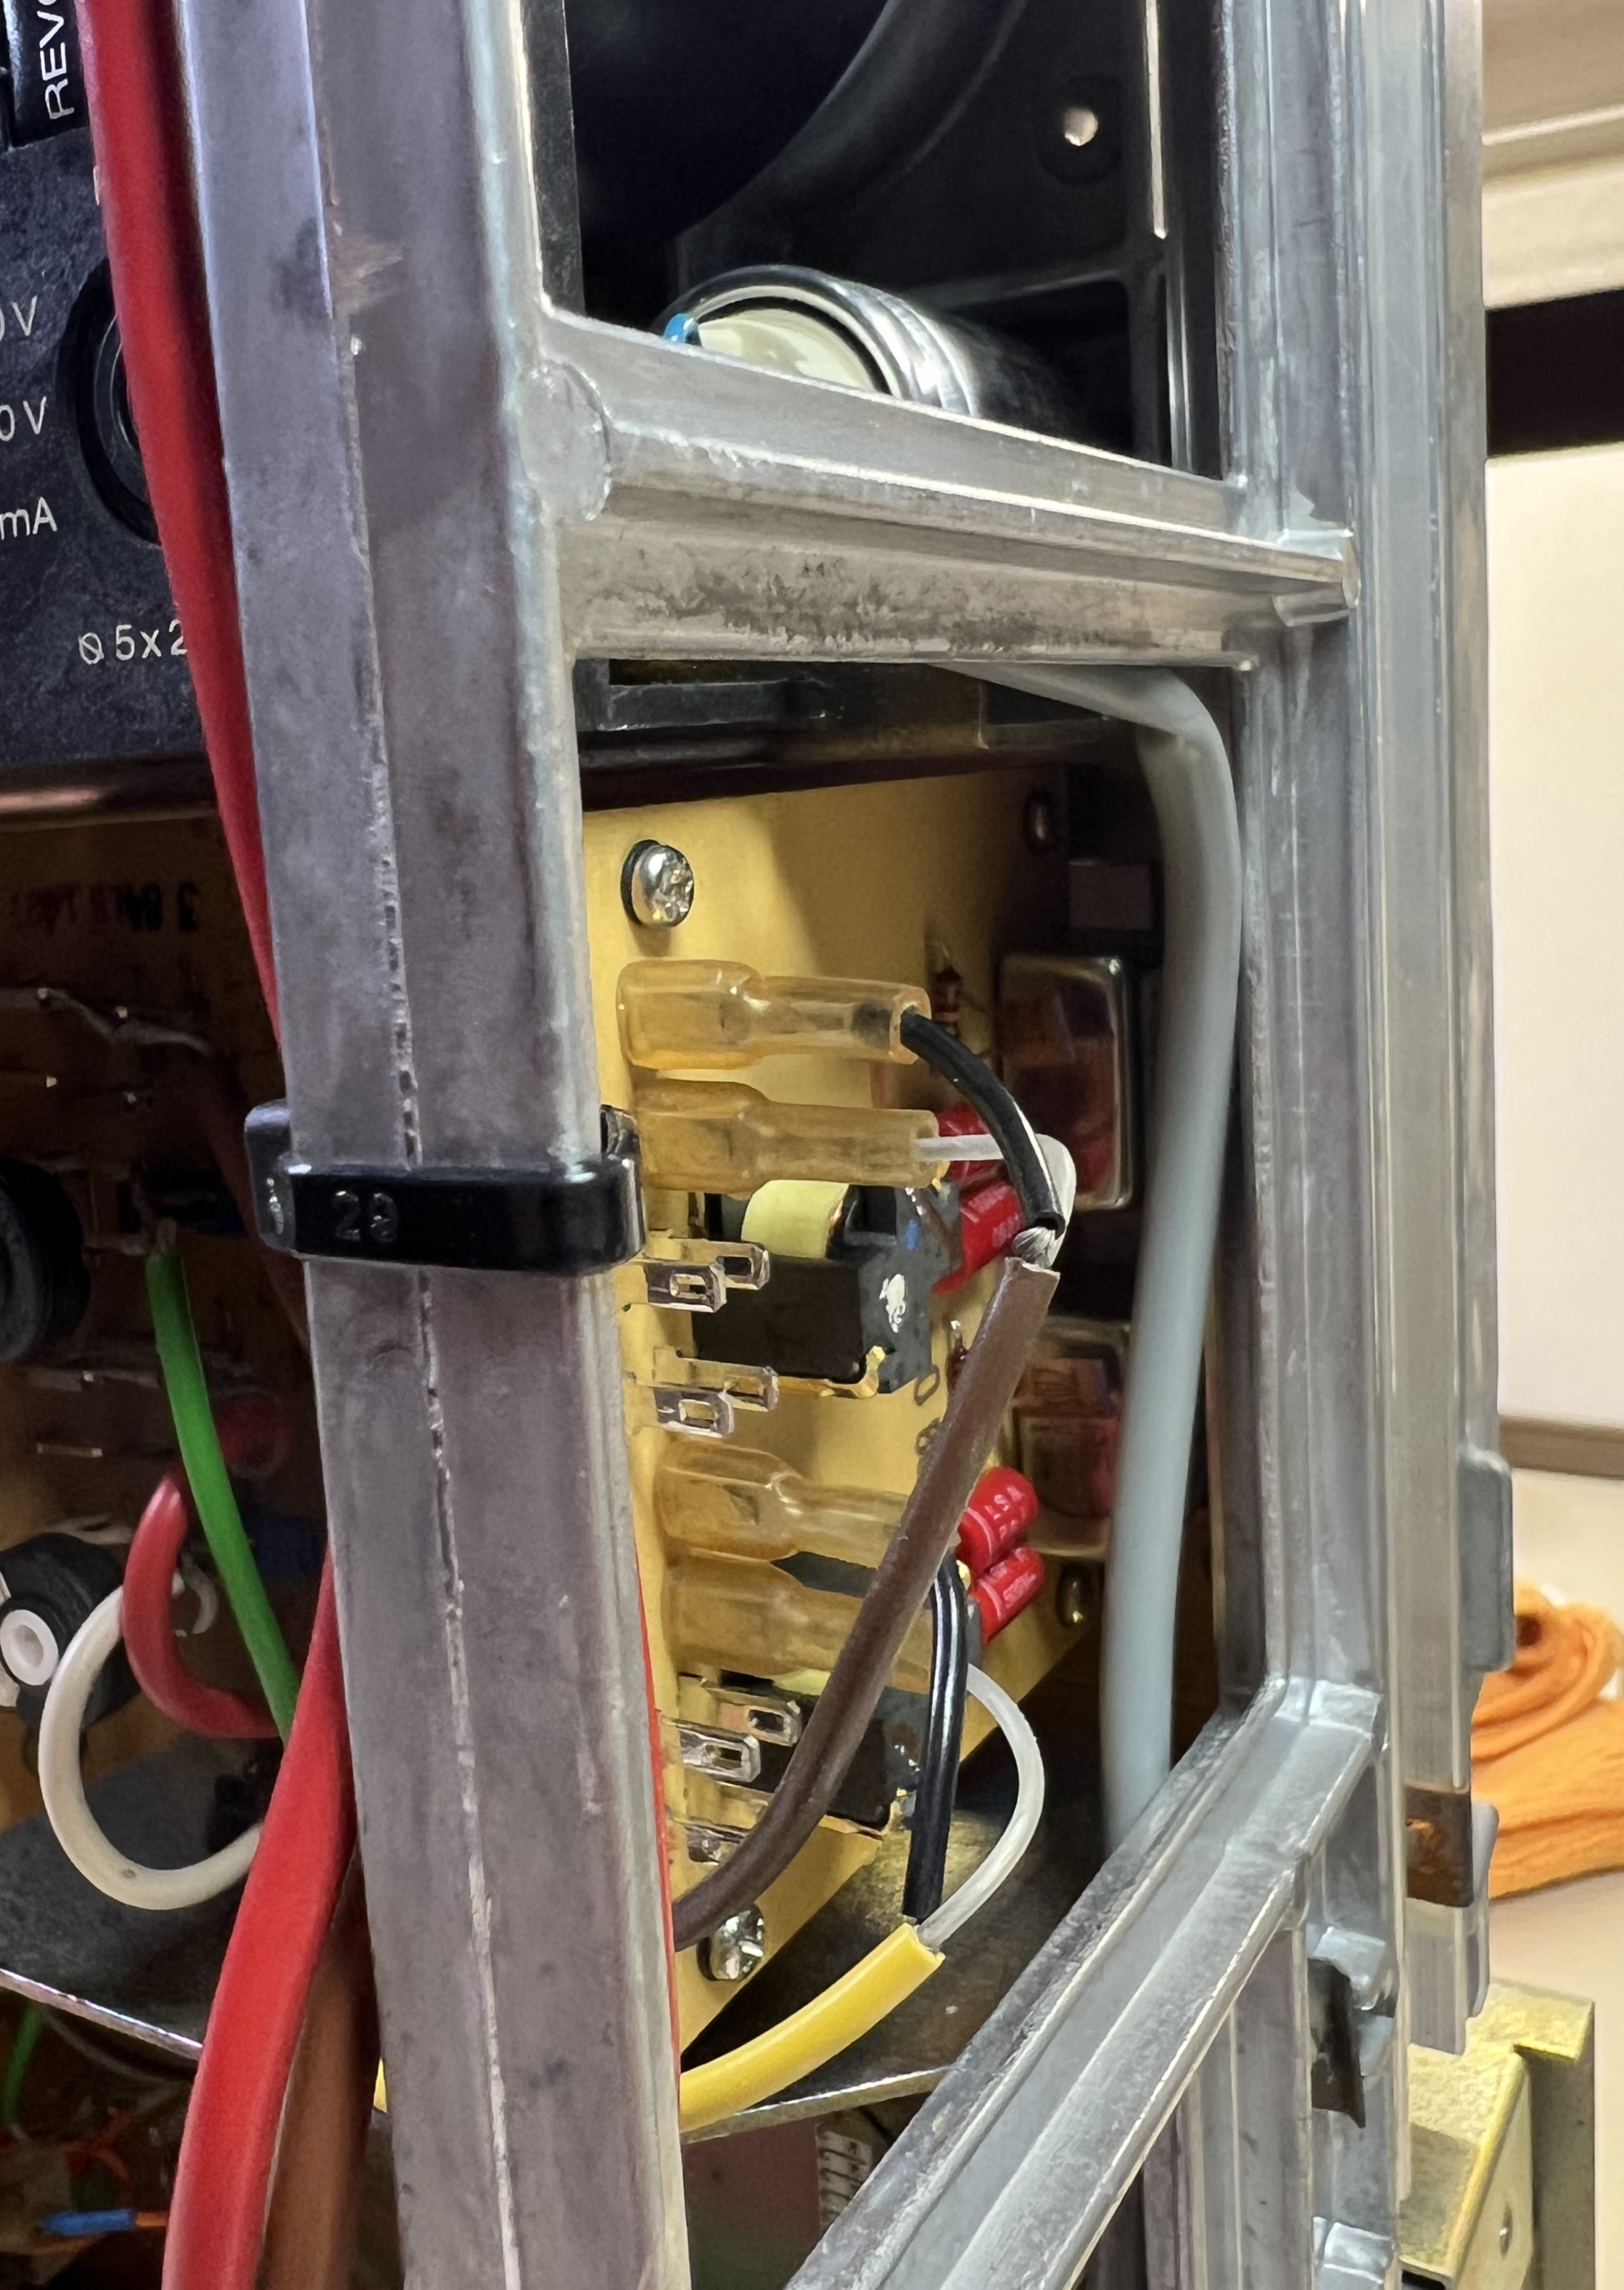
The recapping has now begun (June 19) with the power supply and input printed circuit boards first in line. The double-sided PCBs of the output and recording amplifiers are a bit more finicky to work on but even so their countless tantalum capacitors need to go. These ‘caps’ are particularly susceptible to changes in value. Moreover, they are also prone to failure over time. Of course, all the infamous ‘Frako’ caps have been hunted down and replaced.
Adjustments & Alignment
After a ten-day-hiatus due to a few missing parts, on July 9 the restored and reassembled PR99mkII was ready to be fired up. Plugging the machine into the shop’s regulated and protected AC power supply, the Revox sprang to life without sparks, fumes, or other visible mishaps. All transport functions worked as advertised while the 21V regulated and 24V unregulated DC power lines were spot-on. The tacho head, once properly seated at 0.35mm from the capstan rotor, produced a signal of about 40mV – perfect.
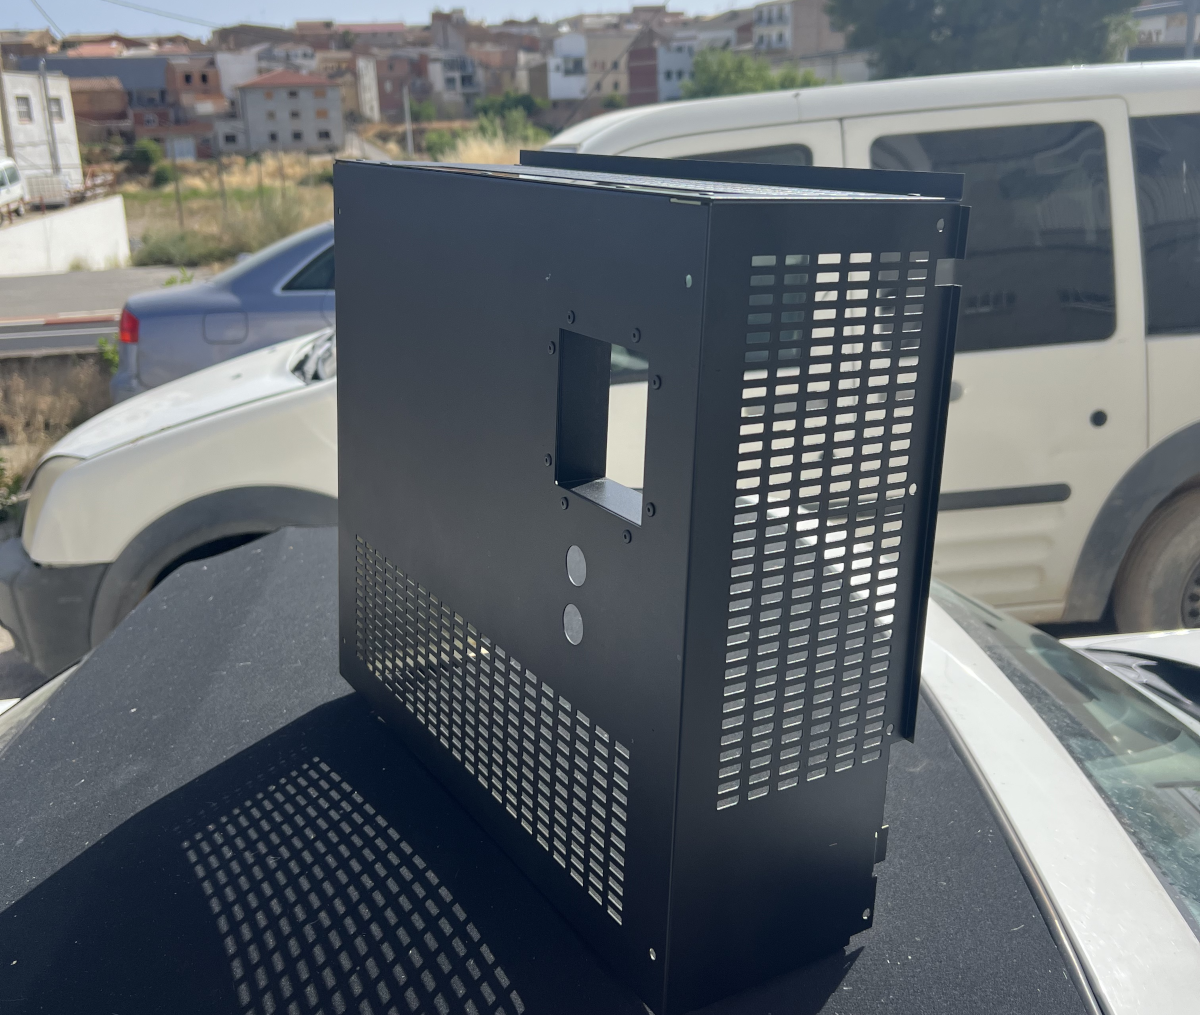
With those preliminary test completed and passed, it’s time for a few mechanical adjustments. First up the brake tensions on the supply and take-up motors and after that the correct setting of the pinch roller pressure. Once this is done, the front cover and reel tables may be mounted and the PR99mkII confined to its newly-painted cage. However…
A Few Curve Balls and Final Victory
Perfection isn’t attained without overcoming a few hurdles and this PR99mkII was no exception.
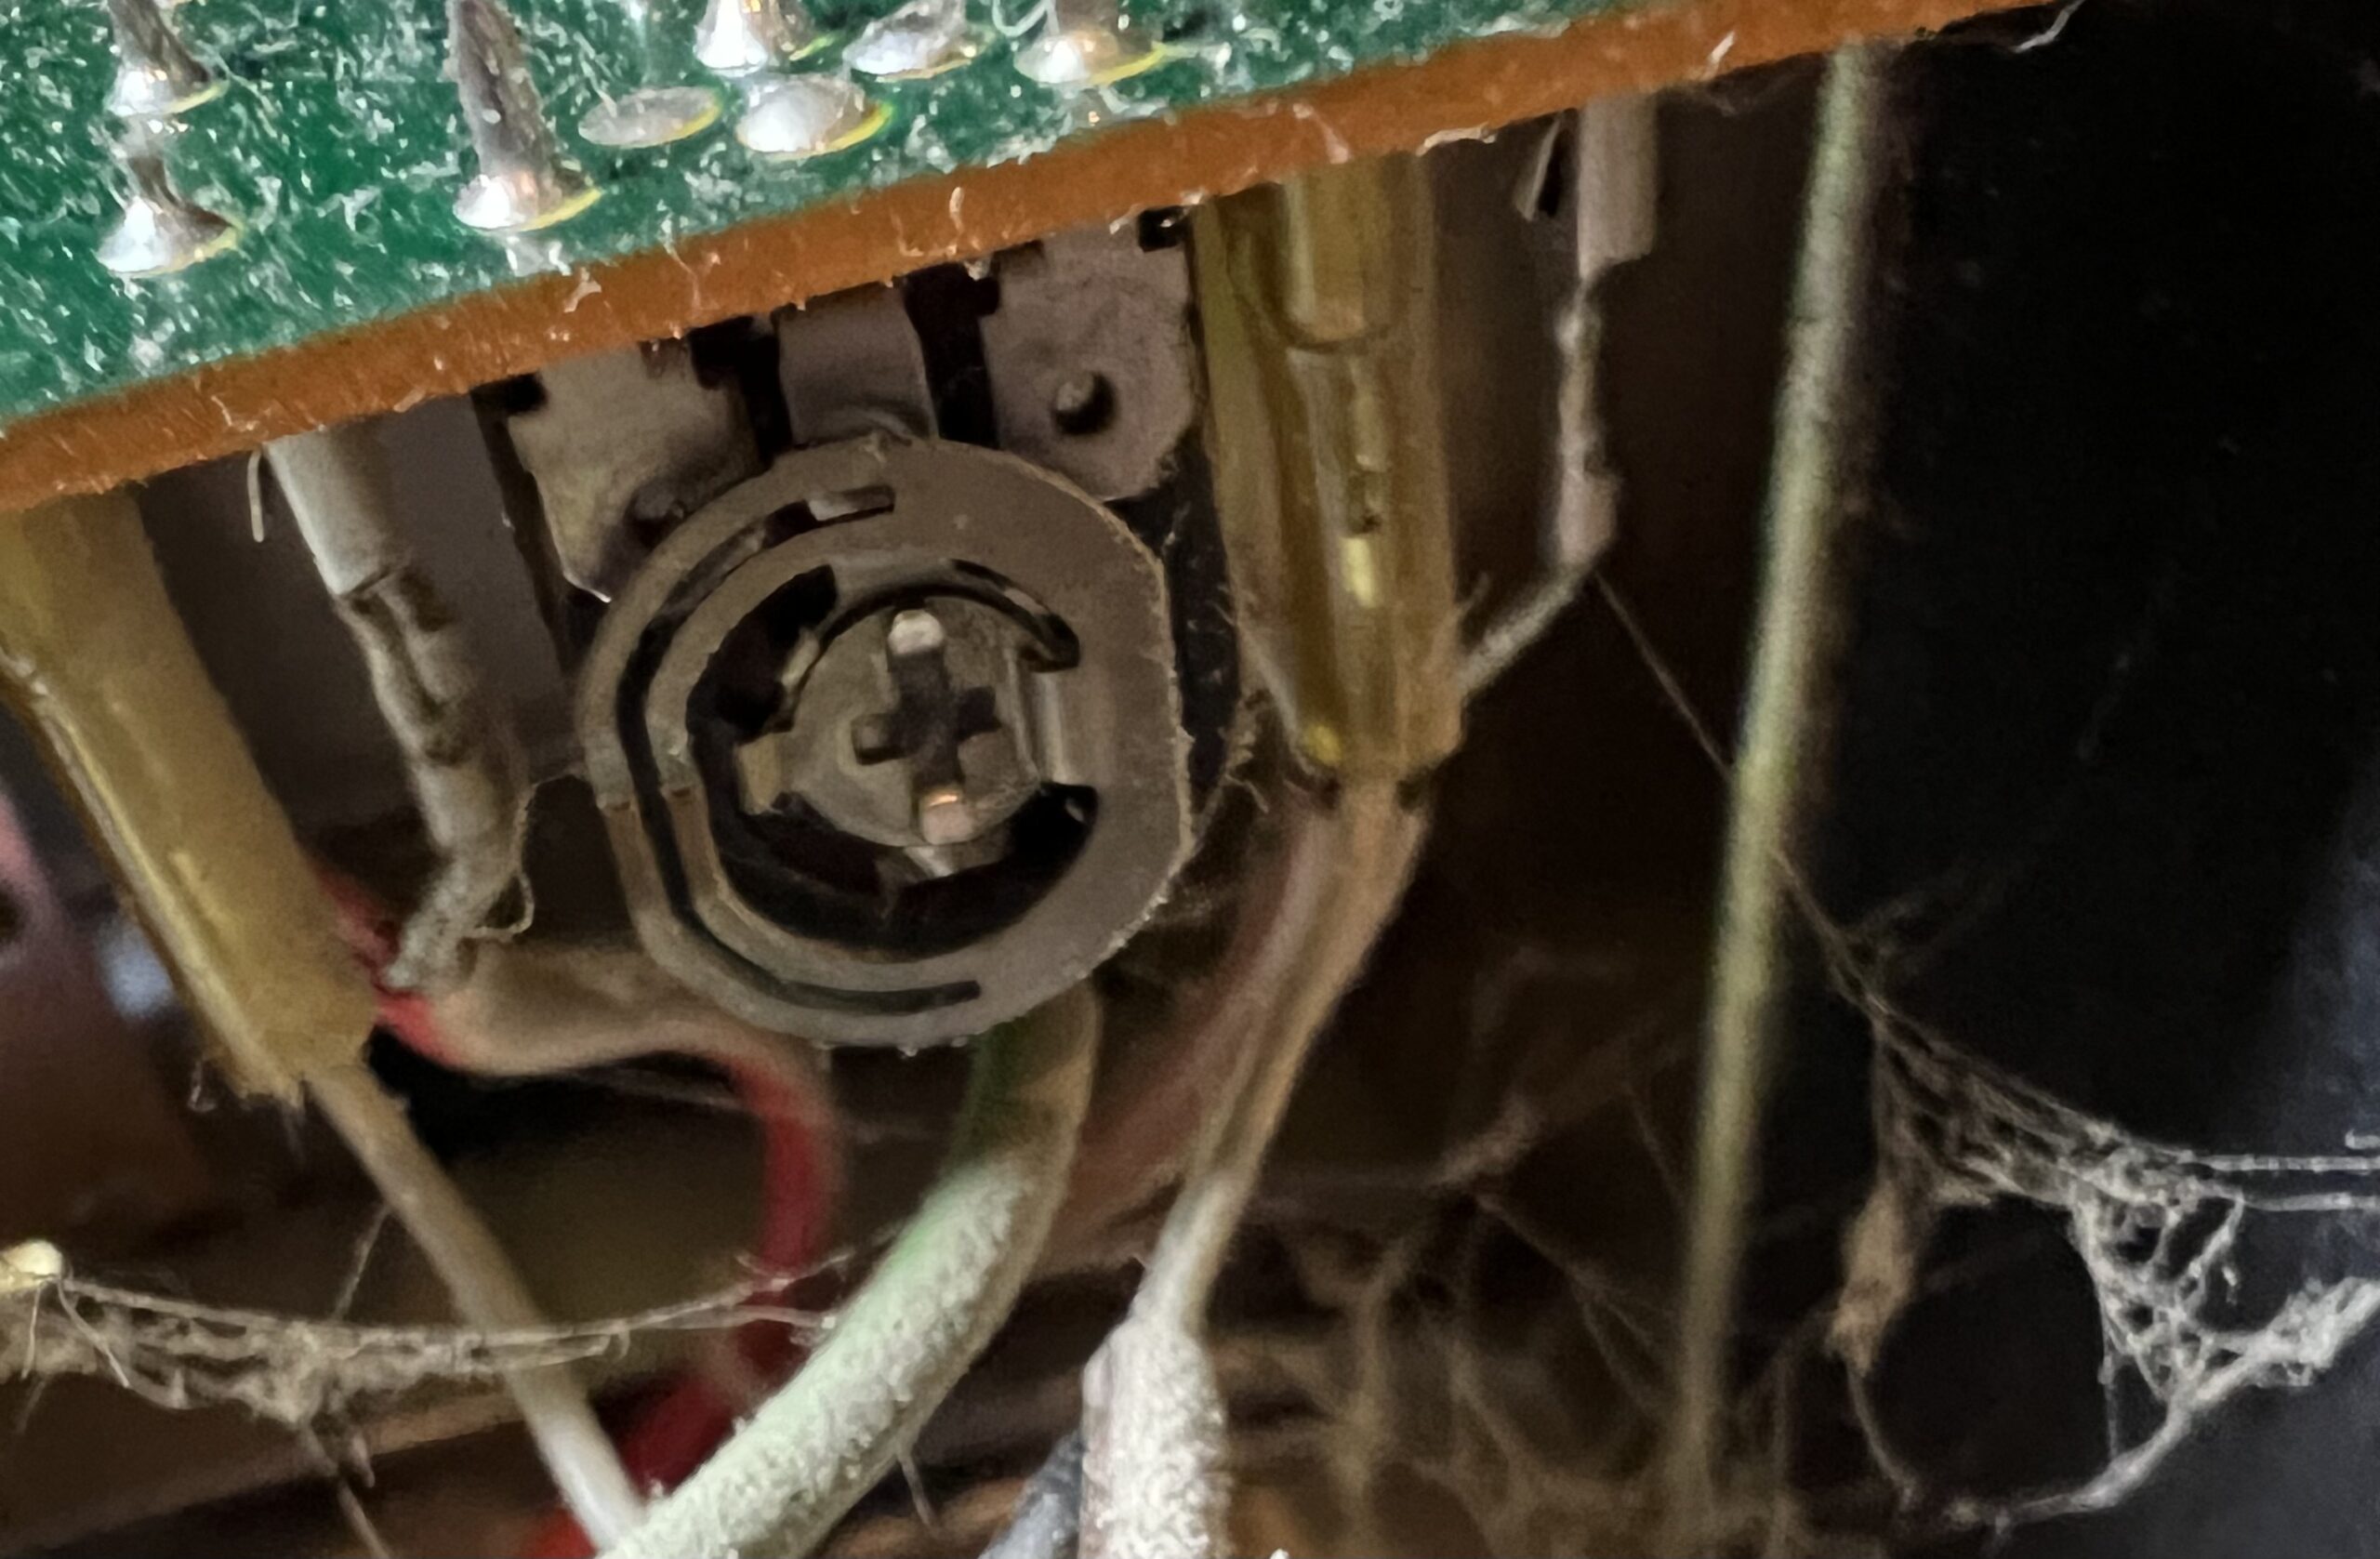
In all likelihood this machine ended up neglected in a barn because it suffered from several faults. For example, the muting circuit was permanently active (with both outputs grounded) due to a missing voltage on the mute line. Also, the pinch roller solenoid refused to activate on play due to a defective BD135 transistor (Q6 shorted) on the tape drive control board. Then the push button switch that selects the reel size turned out to have a broken spring retainer and needed replacement. Also, both the sync playback channels proved non-functional and the ‘fast rec level’ trimmer of the record amplifier was unresponsive.
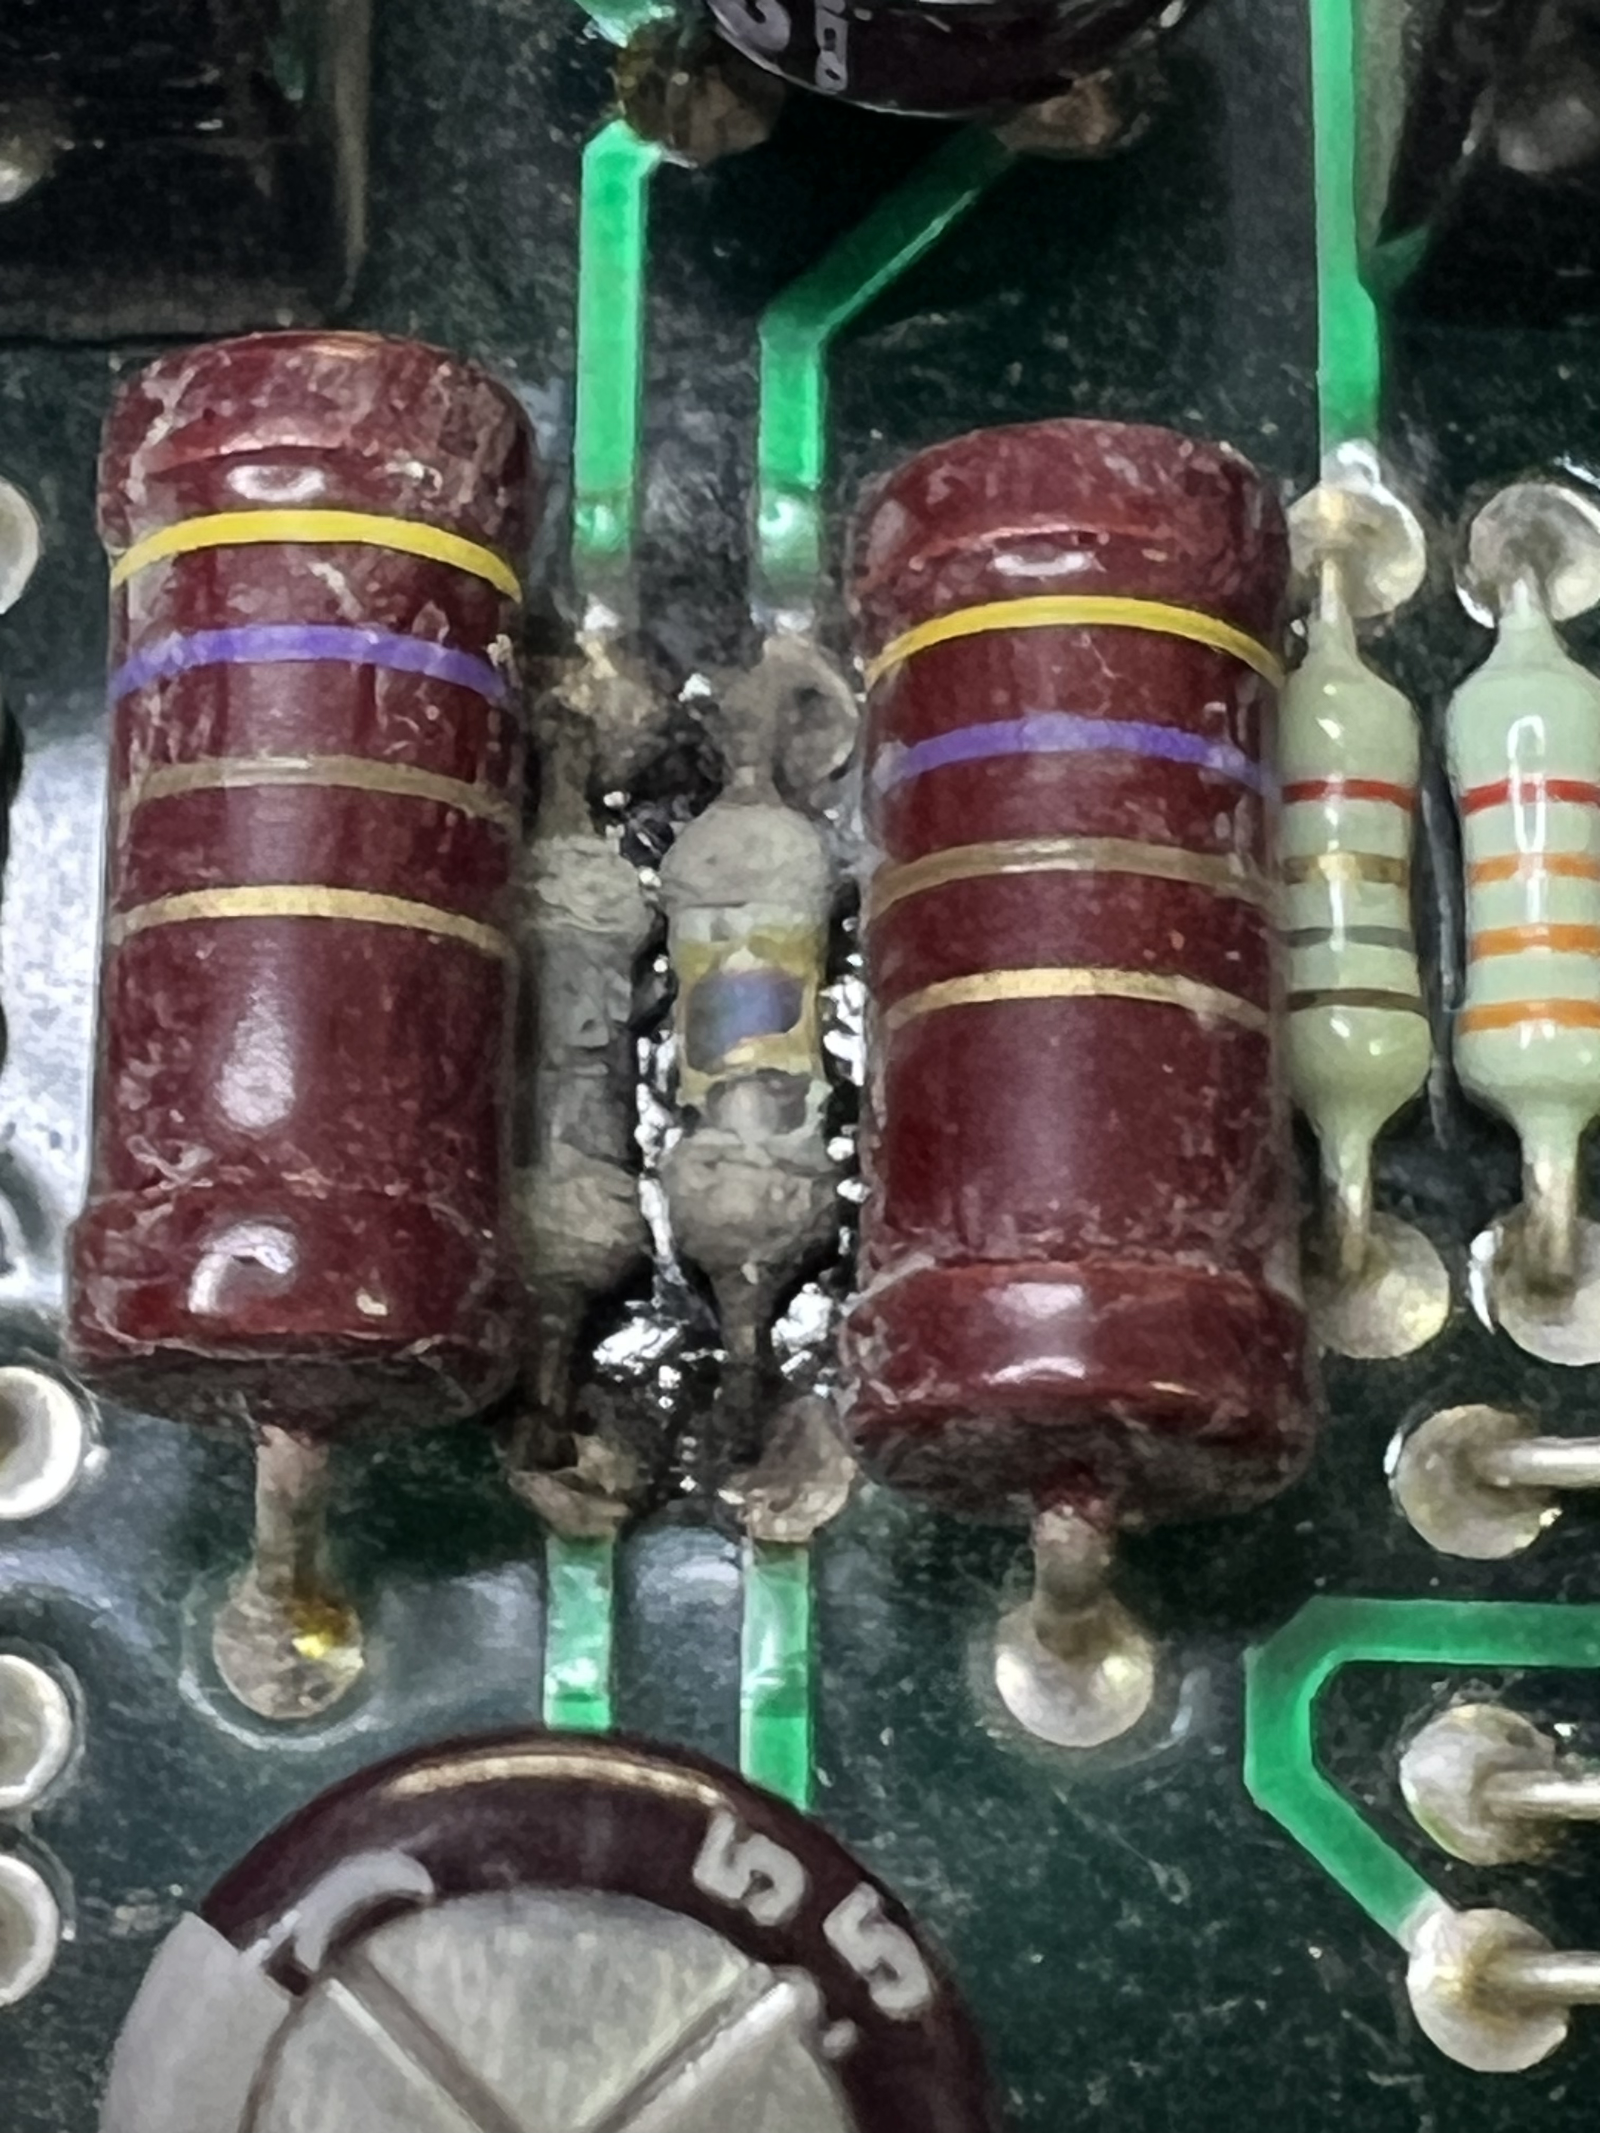
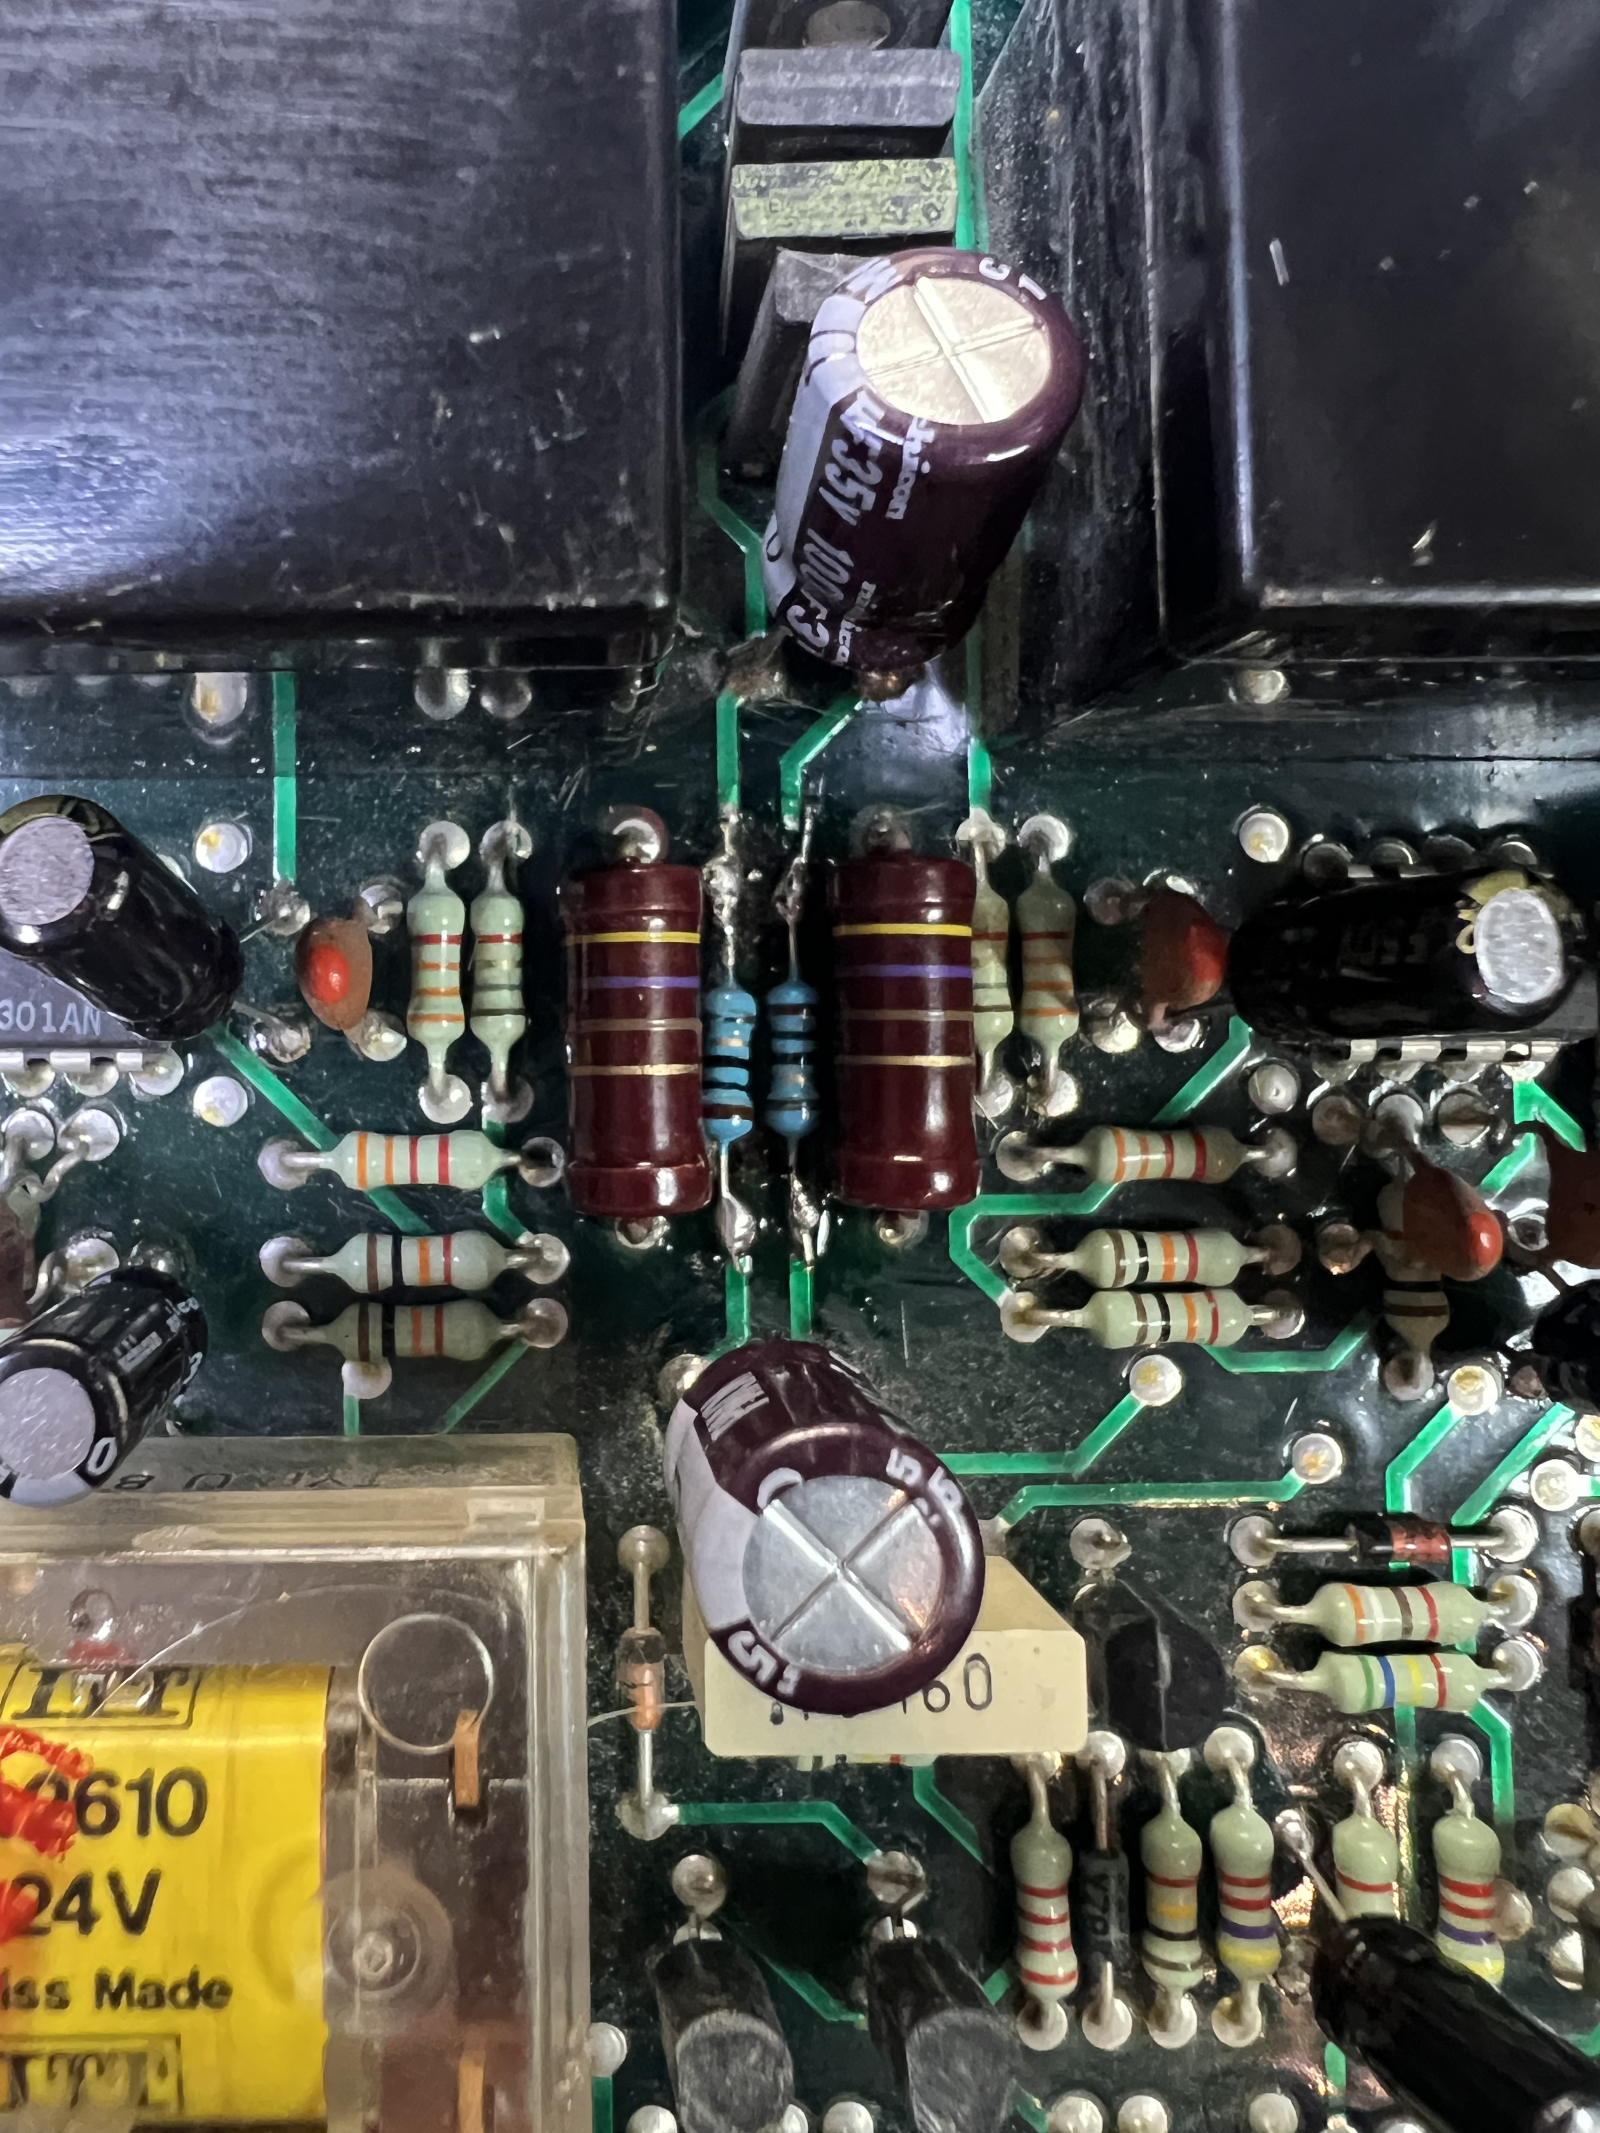
Finally the output amplifier board turned out to be dead: no signal at all. Though the phones worked fine, the line outs kept silent. It turned out that the two 10 Ohm resistors providing power to the circuits had burned out, They were duly replaced. Now, some 24 hours later, the machine is still playing on a loop without any issues whatsoever. Why these resistors fried remains a mystery.
After these and a few minor faults were sorted, alignment could begin with the positioning of the heads; a finicky job. Height, tilt, and azimuth need careful adjusting and each one throws the other two off. This done, standard levels (input, meter, peak led) could be set. The machine has been adjusted for an output of +4dBm on the line outs for a zero dBvu reading. The line input level required for this is 550mV. This produces 775mV at the monitor outputs and +4dB at the line outs.
Bias and equalization were a breeze to set for both speeds. The sync level coming from the record head was also spot-on. Though a feature not often used on a 2-track machine, it’s good to know that it works!
A 30Hz to 22kHz sweep from the audio generator showed a 15 ips response almost flat to within 1.5dB. At 7.5 ips the high end reached 20kHz before tapering off to about -3dB at 22kHz. Impressive! On the low end, discarding the typical low-end bump (about +2.5dB), the response was likewise flat. In all, a result that surpassed factory specs by a wide margin.
Hauling the machine to the ReelTape mastering studio and hooking it up to the console was the final test. The PR99mkII (more feature-rich than the later mkIII) proved a worthy master recorder equal to, if not slightly better than, the rebuilt Revox C270 that also resides here and, in fact, a tad superior to impressive Tascam ATR60-2T that takes pride of place at ReelTape.
After 6 weeks or so of work (we don’t count the hours of labour), this PR99mkII is ready for resale.
The machine was sold on July 29, 2026.